LUVTruck.com

phpBBV3 Message Board
It is currently Sun Nov 10, 2024 1:47 pm

All times are UTC - 6 hours


Post new topic Reply to topic  [ 79 posts ]  Go to page Previous  1, 2, 3, 4  Next
Author Message
PostPosted: Fri Nov 12, 2010 6:45 am 
Offline
PITA Old Fart

Joined: Thu May 22, 2003 8:33 am
Posts: 2286
I hate to state the obvious here...but maybe putting a new head on an old block isn't the best idea. The end result nearly always ends up causing oil to go past the piston rings due to the extra pressure created. Then you almost always end up with a real smoker for an engine. And correct me if I'm wrong - but doesn't a complete head gasket replacement kit usually come with brand new valve guides to replace the old ones in the old head anyway?

I guess I'm trying to figure out why you are replacing the head if you haven't checked your old one yet to see if it is warped or cracked...or if it has any bad valves. Replacing the valve guides really isn't that difficult of a process. Most auto parts stores sell or rent the tool you would need to replace the valve guides. Or you can purchase one from most tool stores. To give you an idea of what you may need and the potential cost - you can take a look here:

http://www.nextag.com/valve-spring-compressor/stores-html

If the head isn't warped or cracked and there isn't any cracked/burnt valves - then scraping the carbon deposits off, cleaning out and/or unblocking the ports and passages as best you can, and then installing new valve guides and gaskets usually gets the job done sufficiently enough. With all of the passages/ports cleaned out and unrestricted, new valve guides, a new thermostat, a cleaned out non-leaking radiator, and all new gaskets - it should run well and stay cool - assuming there are no bad piston rings, the water pump is in good shape, and the engine's bottom end is OK.

But bottom line - attempting any of that without first thoroughly reading your manual's section on head gasket replacement to maybe help you to better understand the whole process a little bit more is probably a bad idea.

Good luck.


Top
 Profile  
Reply with quote  
PostPosted: Sat Nov 13, 2010 12:54 am 
Offline
LUVTruck.com Guru
User avatar

Joined: Tue Aug 10, 2010 11:18 pm
Posts: 151
Location: Estes Park, CO
Hmmm, so your thinking that the new cylinder head will create too much pressure? As in compression? I never considered that, but I suppose its possible. I've heard that putting a G200 head on a G180 block actually decreases compression (just read that in a thread here, could be wrong). So do you think that I could still have that problem? I bought the new head mainly because it was convenient for me and I was unsure of my cylinder heads condition. My gasket kit did come with new valve guide seals, so I could rebuild my current head if I had to, but ideally I was gonna try to avoid it (mostly cuz of my incompetence and fear of automotive shop rates, lol). When I take my head off in the next couple of days I'll thoroughly inspect it and make sure that its not warped or anything, but unless theres a huge risk of blowing my bottom end, I'd still like to use the new head. :)

I read through the service manual again and looked up the cylinder head and smog stuff. I prolly won't remove the smog stuff, but its nice to know what it does, lol. It apparently blows fresh air into the header to burn off any unburned fuel? It does other stuff too, but its not a huge concern for me, just casually browsing, lol.

Hopefully tomorrow I'll be able to get some work done on the luv. At least redo the compression test with the throttle wide open and adding oil to the cylinders this time. :ebiggrin I'm going to buy a new thermostat tomorrow too hopefully. A standard size 180 degree thermostat will work right?

_________________
My Rides:

2002 Mazda B4000 4x4
1978 Chevy LUV - Sold :(
1990 Kawasaki EX500
2008 Yamaha TTR230


Top
 Profile  
Reply with quote  
PostPosted: Sat Nov 13, 2010 8:37 pm 
Offline
Addicted to LUV
User avatar

Joined: Thu Jan 21, 2010 11:47 pm
Posts: 2944
Location: Vancouver, Washington
yes your correct the G200 head will lower your compression... use the new head and go turbo :ebiggrin the increased flow with bigger valves would be niceee with the lower compression so you dont blow pistions

_________________
Luvless :(
1980 Mikado-Sold.

1993 Lexus SC400 my Daily
2004 Yamaha WR250F my new love in life
2016 Toyota Camry my girls ride


Top
 Profile  
Reply with quote  
PostPosted: Sun Nov 14, 2010 11:13 pm 
Offline
LUVTruck.com Guru
User avatar

Joined: Tue Aug 10, 2010 11:18 pm
Posts: 151
Location: Estes Park, CO
Been lazy the past couple days. Slow weekend and the weathers been bad. I'm ordering some new parts; getting new spark plug wires (one of them ripped out when I pulled on it), 180 degree thermostat, "T" hose connecter, feeler gauge, electric points cleaner, assembly lube (what do u guys recommend?), gasket sealer (just in case), couple 10mm nuts, oil, and an oil filter. I think thats all I'll need for now.

Haha, that would be awesome if I could turbo it. About how much do you think that'd run me for future reference, :ebiggrin And love4theluv, how did deleting the emissions go? have u had any performance increases? Jw. Looking at the possibility of a bigger cam eventually also, how much do you think that would run me? and where do u guys even get 'em?

_________________
My Rides:

2002 Mazda B4000 4x4
1978 Chevy LUV - Sold :(
1990 Kawasaki EX500
2008 Yamaha TTR230


Top
 Profile  
Reply with quote  
PostPosted: Mon Nov 15, 2010 8:05 pm 
Offline
LUVTruck.com Guru
User avatar

Joined: Tue Aug 10, 2010 11:18 pm
Posts: 151
Location: Estes Park, CO
Ok so I re-did the compression test today. I got some WILD numbers, so I'm not sure if they're accurate at all.

Before I started I propped the carb open with a paint can opener. I also pressed the acc. pedal to the floor when I cranked it to make sure there was maximum airflow.

Image


Compression Test Results (no oil in cylinders):

Cylinder #1 (Closest to Fan) - 90+90+90+90+90= 90
Cylinder #2 - 98+95+90+87+85= 91
Cylinder #3 - 100+100+95+94+93= 96.4
Cylinder #4 - 120+119+115+115+116= 117


I filled each cylinder with approximately a tablespoon of oil for the next test, however I think the amount of oil that actually got into each cylinder varied.


Compression Test Results (approx. 1 Tbs in each cylinder):

Cylinder #1 (Closest to Fan) - 149+145+145+140+133= 142.4
Cylinder #2* - 190+190+190+190+180= 188
Cylinder #3 - 150+151+151+150+149= 150.2
Cylinder #4** - 235+240+235+225+220= 231

*On the first try I got 90 lbs. Added more oil then got the following results.
**I filled this one pretty full; got 260 lbs then 255 lbs. I unscrewed the hose, cranked it with the port open, some oil sprayed out, then hooked it all back up and got the following results.


231 lbs seems high to you guys too right?

The results after adding oil to the cylinders were significantly higher than before. Do you think its because the oil filled up extra space in the cylinder making the pressure greater? Or could it be that my rings are really bad? I don't know how I could measure exactly how much oil got into the cylinders. I added the oil from a cup, into a funnel, and into the cylinders. The angle was too low, so most of the oil slopped all over the block. What do you guys think?

Bad rings? or were the cylinders too full? Or both...? :smt009


Pic of super high compression result with oil in on cylinder 4.

Image

_________________
My Rides:

2002 Mazda B4000 4x4
1978 Chevy LUV - Sold :(
1990 Kawasaki EX500
2008 Yamaha TTR230


Top
 Profile  
Reply with quote  
PostPosted: Tue Nov 16, 2010 12:31 pm 
Offline
LUVTruck.com Guru
User avatar

Joined: Tue Aug 10, 2010 11:18 pm
Posts: 151
Location: Estes Park, CO
:signanyone

_________________
My Rides:

2002 Mazda B4000 4x4
1978 Chevy LUV - Sold :(
1990 Kawasaki EX500
2008 Yamaha TTR230


Top
 Profile  
Reply with quote  
PostPosted: Tue Nov 16, 2010 1:04 pm 
Offline
Addicted to LUV
User avatar

Joined: Thu Jan 21, 2010 11:47 pm
Posts: 2944
Location: Vancouver, Washington
my haynes manual says its supposed to be 170.64 psi at 3,000 rpm. not sure if it makes a difference from a standard compression test? but i dont see why it would
i did my compression a few weeks ago and got 3 cyls at 160 or just above and 1 at around 170 if that helps at all. i know the g200 head lowers your compression so yours may come out lower... but that 231 doesnt sound right

_________________
Luvless :(
1980 Mikado-Sold.

1993 Lexus SC400 my Daily
2004 Yamaha WR250F my new love in life
2016 Toyota Camry my girls ride


Top
 Profile  
Reply with quote  
PostPosted: Tue Nov 16, 2010 1:18 pm 
Offline
da LUV masta

Joined: Mon Apr 27, 2009 6:32 am
Posts: 548
Well your gauge could be off, you may have over done the oil, or something I am missing.


Top
 Profile  
Reply with quote  
PostPosted: Tue Nov 16, 2010 3:12 pm 
Offline
Addicted to LUV
User avatar

Joined: Thu Jan 21, 2010 11:47 pm
Posts: 2944
Location: Vancouver, Washington
and sorry didnt see the other part above, the delete had an error i just had to fix but it ran for 5k miles before that problem, the plate i used to seal off the EGR port to the intake was too thin, got warped and had a leak and robbed the intake air from the carb.

i had not driven it with the emissions gear, i bought the truck with the block installed and the head off, both rusty so i bought a new engine and rebuilt it without the emissions gear. but it pulls pretty good for having the stock carb and exhaust manifold, (but from manifold back is fairly new).

and plugs for the air rail are a pain to find, for the time being i left if on with a plug around it with a hose clamp for some extra reassurance. look around the forums there are threads on the delete. pretty straight forward you just need to track down whats emissions related and remove it and properly seal it off don't leave any leaks or open ports.i dont have a camera handy at the moment but i will try to get some pics of what needs to come off and where from.. spare engine and the installed one.

_________________
Luvless :(
1980 Mikado-Sold.

1993 Lexus SC400 my Daily
2004 Yamaha WR250F my new love in life
2016 Toyota Camry my girls ride


Top
 Profile  
Reply with quote  
PostPosted: Tue Nov 16, 2010 11:40 pm 
Offline
Addicted to LUV
User avatar

Joined: Tue Aug 18, 2009 9:09 pm
Posts: 1204
Location: Salt Lake City
shelly, if you can, cover your parts so they don't start rusting. it only takes a few hours for it to start happening.

i wouldn't put a new head on it as it's been stated before that you can raise compression beyond what your block and worn rings can handle.
and putting a g200 head on the 18 block will lower your compression and might give you trouble as well.

start what with you have NOW. disassembling the head isn't a difficult thing to do. just remember to keep the valves in their own bags and keep the stems wrapped so they don't get scratched. if you have to, put them in a bag inside of another bag (ziplock works best)

to save yourself some money and get a general idea....
get a 12 inch (or so) combination square from somewhere like home depot or lowes and use it as a straight edge to see if your head is warped.

you have to place the edge of the ruler diagonally across the bottom of the head and use a flashlight to see how much of a gap you have between the edge of the ruler and the head

like this
Image

otherwise, if you haven't already, take the cylinder head from your engine and take it sans camshaft to a machine shop and have it checked first.
pm me if you need some more help!

_________________
Image
To the Oquirr hills for awesome thrills! Go-go 4wd, Activate!


Top
 Profile  
Reply with quote  
PostPosted: Tue Nov 16, 2010 11:47 pm 
Offline
Addicted to LUV
User avatar

Joined: Tue Aug 18, 2009 9:09 pm
Posts: 1204
Location: Salt Lake City
oh, and as far as the smog pump and emissions stuff is concerned,

putting it back on is more of a case of how bad the emissions test will turn out if you dont have the equipment on.

i took mine off only because i knew the rings and block were in good shape. plus, i have a friend mechanic who doesn't really sweat the equipment check so long as the figures match. you know? i would recommend you put it all back on, but if you are a ways from your next registration, just leave it off for now.


(but again, that's up to you. make sure you don't lose anything in the meantime)

_________________
Image
To the Oquirr hills for awesome thrills! Go-go 4wd, Activate!


Top
 Profile  
Reply with quote  
PostPosted: Wed Nov 17, 2010 12:47 am 
Offline
LUVTruck.com Guru
User avatar

Joined: Tue Aug 10, 2010 11:18 pm
Posts: 151
Location: Estes Park, CO
Got some work done today. Started unbolting the intake manifold, the valve cover, and the head.

Started off by unplugging the electrical connection to the carb.

Image

I removed the clamps that held the coolant hoses to the firewall.

Image

Tried to pull of this vacuum hose, but it was too brittle and broke.

Image

Unplugged the same line from the carb and set it aside.

Image

Unplugged this vacuum line at the carb. The other end hooks up to the air cleaner housing.

Image

Pulled the vent hose from the distributor to the carb.

Image
Image

Pulled the secondary fuel line.

Image

Then pulled the primary fuel line.

Image

I pulled this vacuum line that hooked up to the bottom of the carb.

Image

Pulled this vacuum line that was attached to the firewall. The hose used to be red. Gross. :lol:

Image

Next I started taking off the valve cover.

Image

Pulled it off and found that the inside was coated in a whitish gooey stuff. Hmmm...

Image

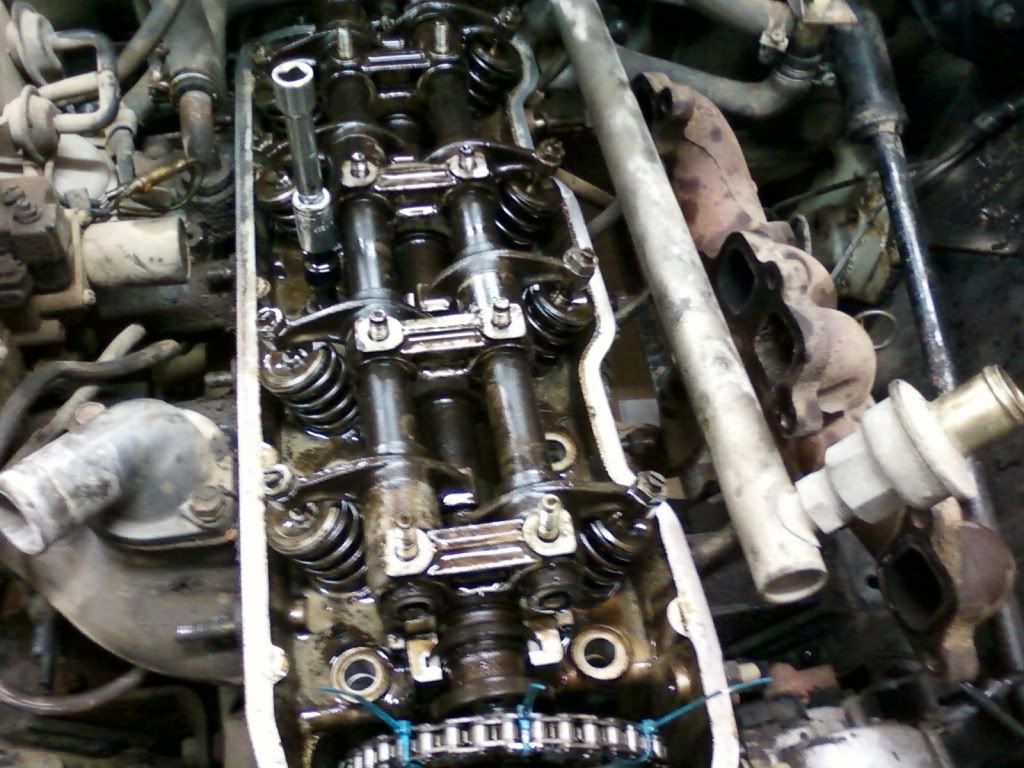
Pic of head with valve cover removed.

Image


Here is where I started to unbolt the intake manifold, however I couldn't reach the three remaining nuts on the underside of the intake manifold. How did you guys get to them? I'm using a normal socket set with an extender to try and reach them.

Image

Even though I couldn't reach those bolts, I decided to keep moving. I zip tied the chain to the camshaft gear like figuarus did. :D

Image

Overview so far.

Image

Removed the camshaft gear bolt (note that the pin is down. note to self, lol). Also, while removing the camshaft gear bolt, the washer that was on it fell off and went down into the engine. :evil: I can't see it, but if I get one of those extending magnet things, I should be able to get it.

Image

And let the cam gear sit on the chain tensioner below.

Image

At this point, I realized I didn't have a 10mm hex head socket, so its time to make a trip to AAP.

Image

And this is where I left it for today. Not a whole lot of work done, but some.

Image


Ok, so question time, lol.

How in the heck did u guys get to the lower intake manifold nuts? I can't reach them with my socket set or my adjustable wrench. :x I'm debating just taking the whole head off as is, then unscrewing the intake manifold after its off.

You really don't think that I should use the new head huh? What do u think is the worst that can happen? I'm getting mixed stories. Some think it'll cause me all kinds of trouble, but others are saying it'll be just fine if not better than what I got now. I'm almost positive that my head's coolant passages are clogged, the valve seals I know are bad, and it may be warped. I guess from my point of view, the new head seems like a win-win. When I pull the old head tomorrow (if I can) I'll measure it with a straight edge and post pics of it so you guys can tell me what you think.

Some (more like all) of my coolant and vacuum hoses are pretty bad. When I go to Advanced Auto Parts tomorrow I'll pick up some new hoses. I've been debating deleting the emission stuff, but from what u guys r saying it might not be in my best interest. I'm gonna look through threads about deleting the emissions stuff to get more info, but in the meantime. Where do you think I'll have the most trouble if I do delete the emissions? Do you think the truck will still pass emissions if I remove that stuff (as far as the numbers, I'm guessing urs did figuarus, but i guess with a questionable block would it be wise, hmmm.... :? )?

Also, with the washer that fell down into the engine, if I can't fish it out with an extendable magnet, I will probably have to remove the oil pan to get to it. Do I have to remove the entire engine in order to remove the oil pan? I really hope not... :esurprised

Ooh, didn't even think about the rust. I'll go cover it up right now.

Side note:

Luckily I convinced my landlady to let me push the truck into her garage and work on it there for the next couple days. That'll help alot with the next steps. I was working outside in the mud and snow before... Also, the parts I ordered are in, (thermostat, spark plug wires, oil filter, etc.), so thats good.

Hope to get this project finished soon so I can start driving it!! :ebiggrin


Haha, u called me Shelley. My name is Brian Shelley. Lol. That brings me back to my football days... :lol:

_________________
My Rides:

2002 Mazda B4000 4x4
1978 Chevy LUV - Sold :(
1990 Kawasaki EX500
2008 Yamaha TTR230


Top
 Profile  
Reply with quote  
PostPosted: Wed Nov 17, 2010 1:24 am 
Offline
Addicted to LUV
User avatar

Joined: Tue Aug 18, 2009 9:09 pm
Posts: 1204
Location: Salt Lake City
DUDE!

the pic of the cylinder head exposed with the gray/green mix is clear evidence of a blown gasket. (pic 14)

the fel pro kit you got should have the intake and exhaust valve stem seals in the kit. (that is, if you used the part number i posted in the thread i did)
i highly RECOMMEND you get the head checked out before you decide how to proceed.

as far as the intake bolt nuts are concerned, i had to take out the head and intake assembly out together. it just works a little easier that way.


hey at least you will have a garage to do this in. i did this in the middle of winter under a carport with a small tool shed as the only cover between me and the wind that seems to tunnel between it an the side of the aparment! lol

yeah, i have a habit of calling people by their last name. my 5th grade teacher used to call us all by our last names, and i have come to understand that it is the most respectful way to address a person when you don't know them well. ( i have a new driver at work that i call "the major" as he is named Lee Major)

football you say? i used to play. never learned the rules. i was always told "see that guy? tackle that guy." :lol:


oh, btw, get a can of seafoam when you're done and place half of it in the oil and the other half in the gas tank. drive for about 50 miles, and then do another oil change. it will clean the CRAP out of the crankcase. Personally, i like the Wix filters for fuel,air and oil :wink:

_________________
Image
To the Oquirr hills for awesome thrills! Go-go 4wd, Activate!


Top
 Profile  
Reply with quote  
PostPosted: Thu Nov 18, 2010 2:20 am 
Offline
LUVTruck.com Guru
User avatar

Joined: Tue Aug 10, 2010 11:18 pm
Posts: 151
Location: Estes Park, CO
Hey guys,

So I did alot of work today on the truck. There a ALOT of pictures, so I apologize to those with dialup. Please read through it carefully so you wont miss anything. Also, sry for some of the crappy pics. I don't have a real camera, I'm using my cell phone, lol. I got lots of questions at the end of this one so bear wit me, :lol: .


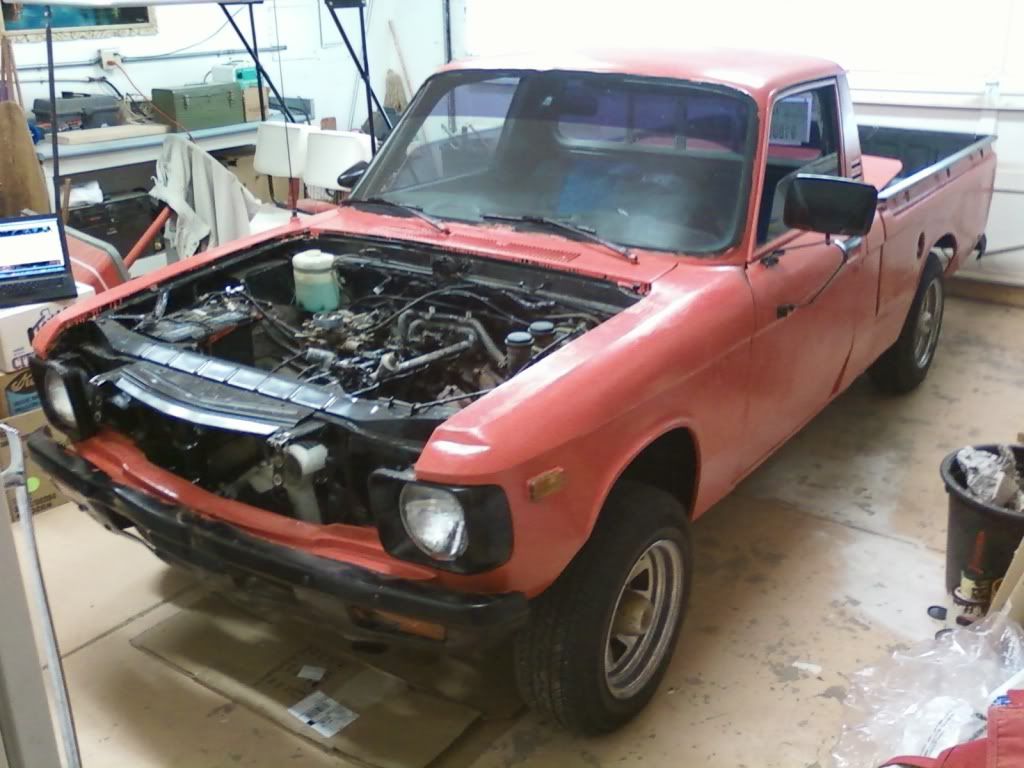
Got the truck moved into the landlady's garage. MUCH better working environment, :ebiggrin

Image

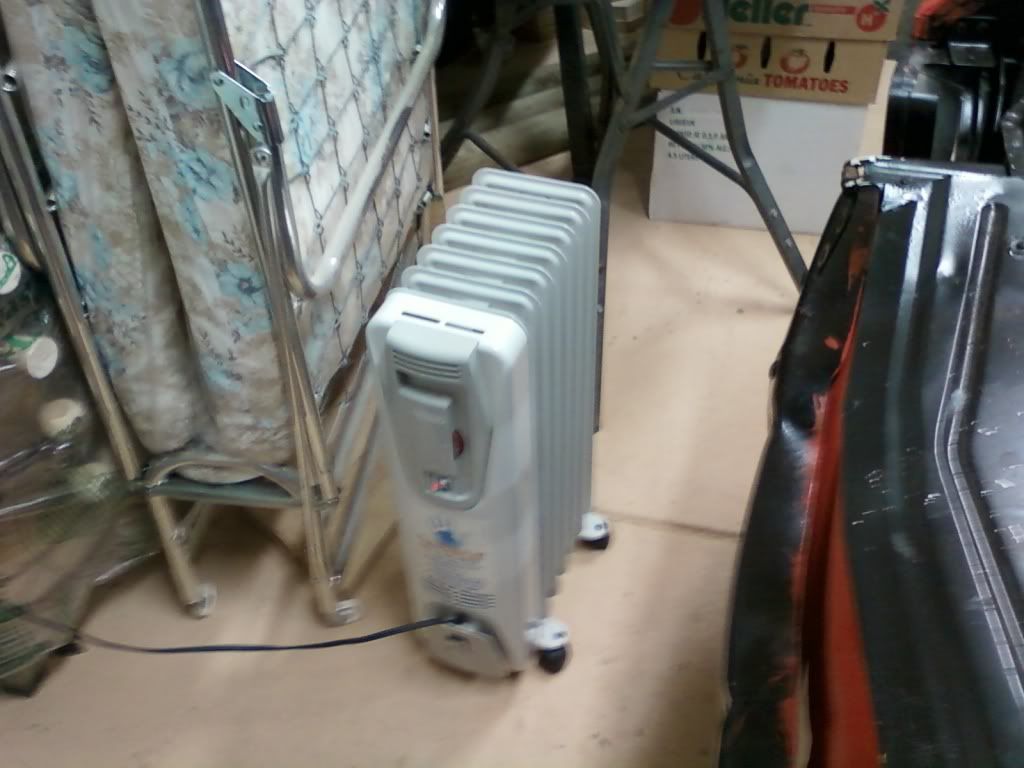
I moved a heater out there and let it warmup for about 30 mins before I went out, :)

Image

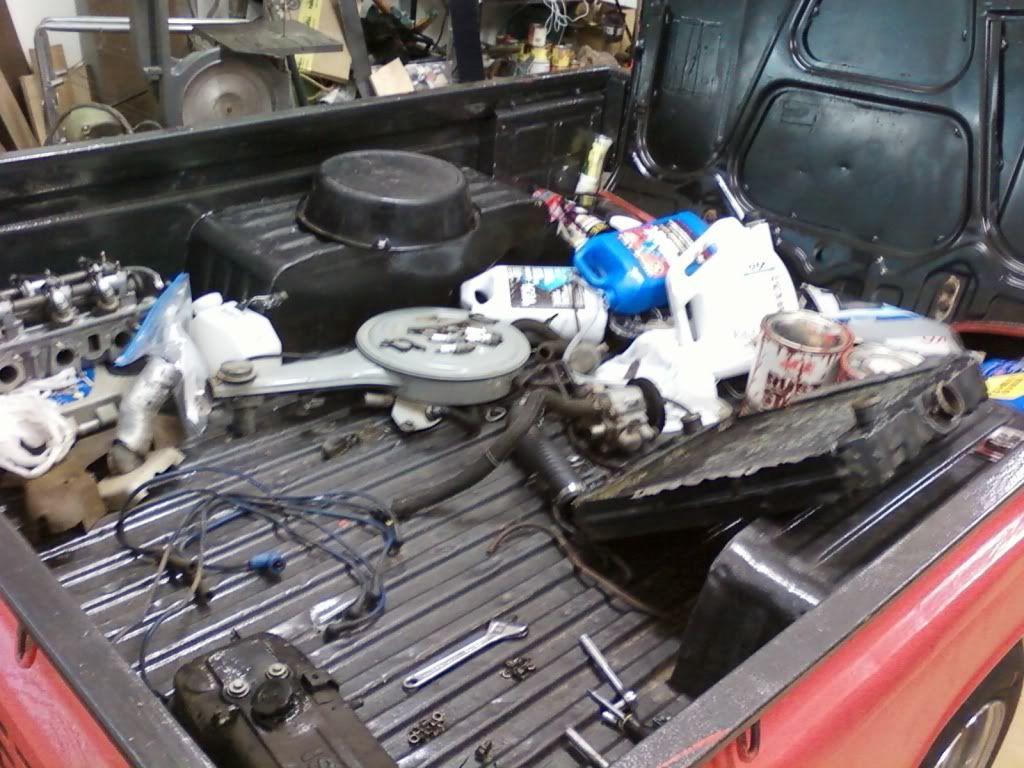
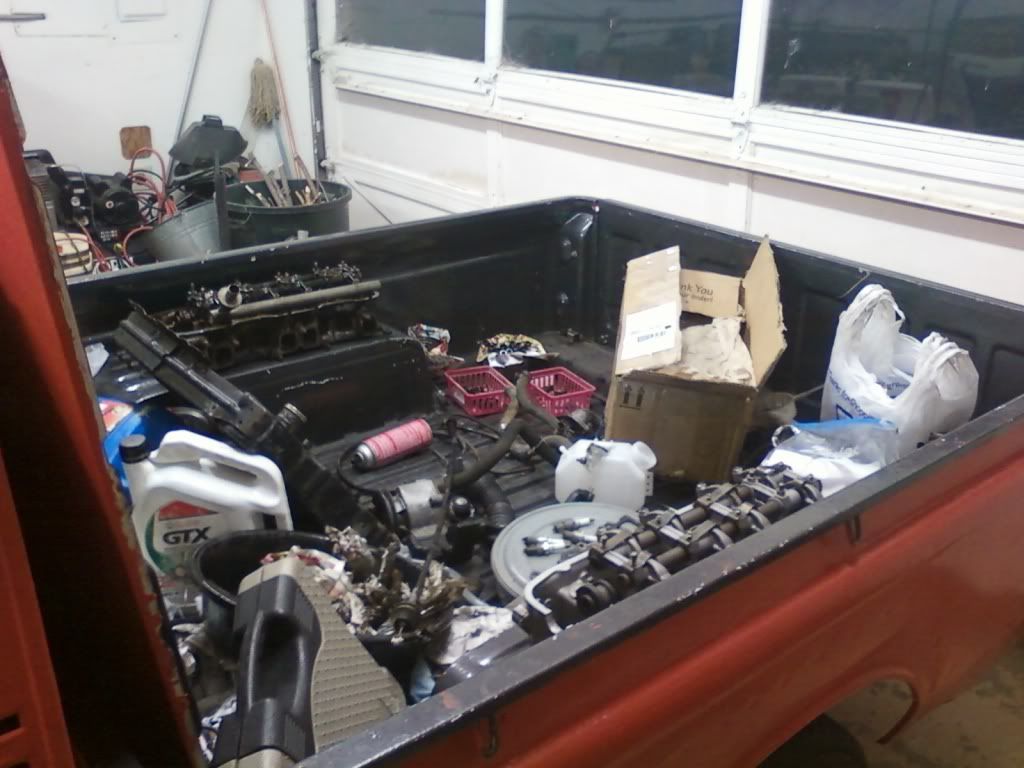
The load of crap in the bed. Just wait, it gets better later. :o

Image

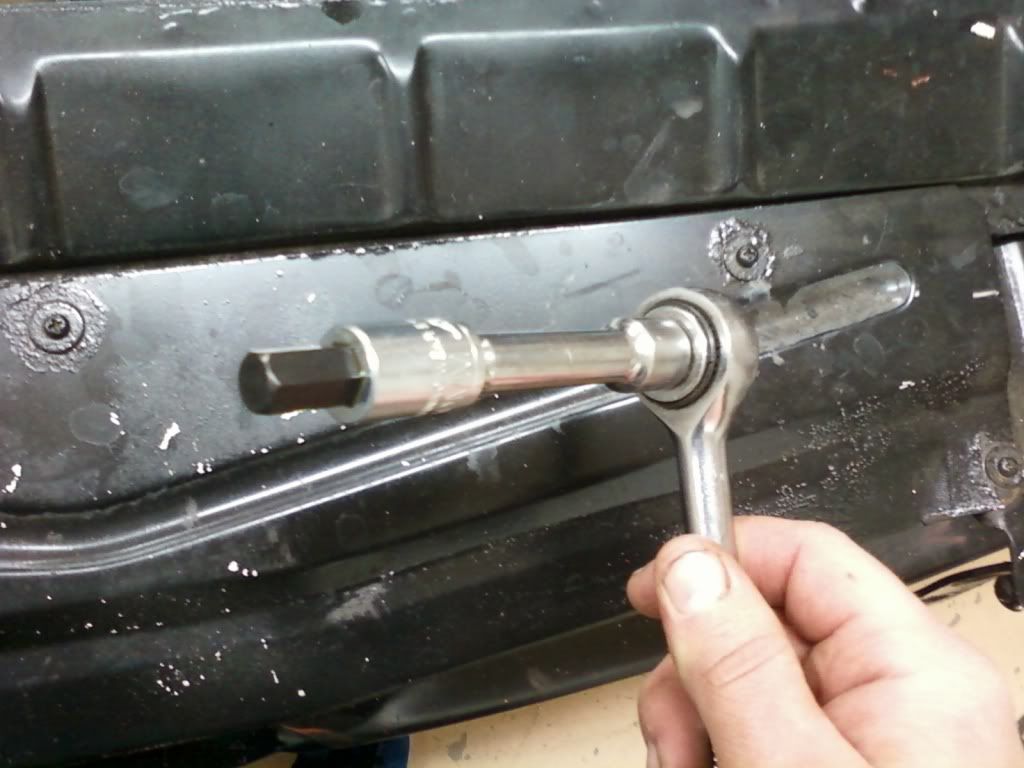
The 10mm hex head socket I bought for $3.34.
Image

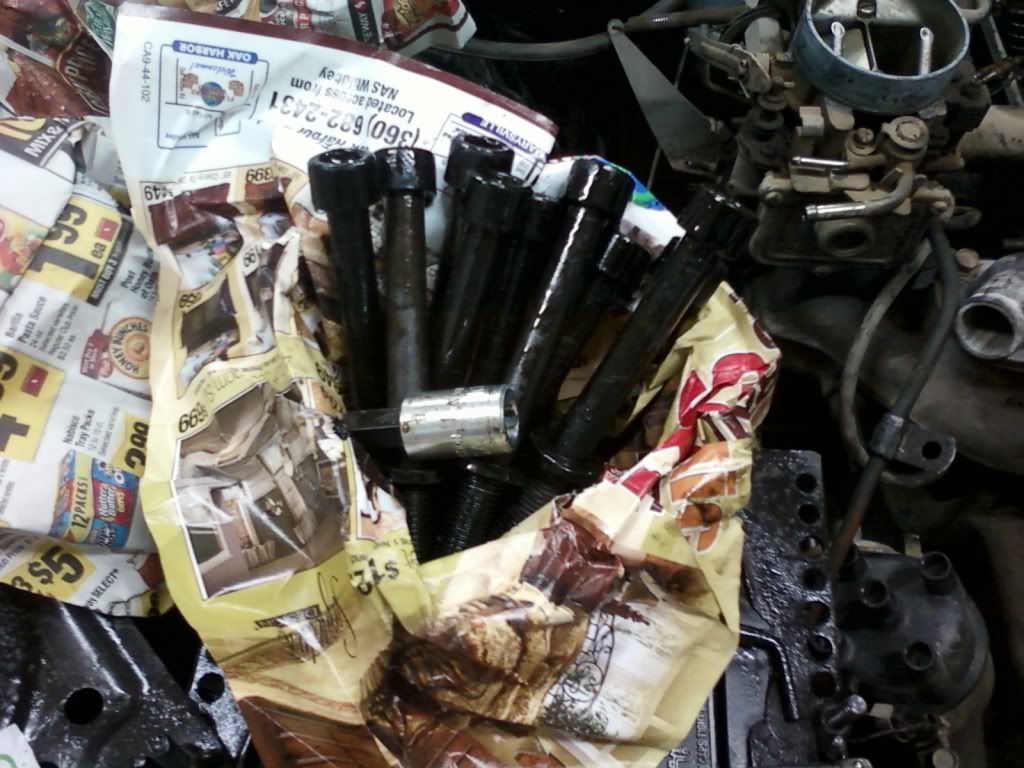
I started removing the head bolts. Some of them were real tight, while others were almost loose... :econfused

Image
Image

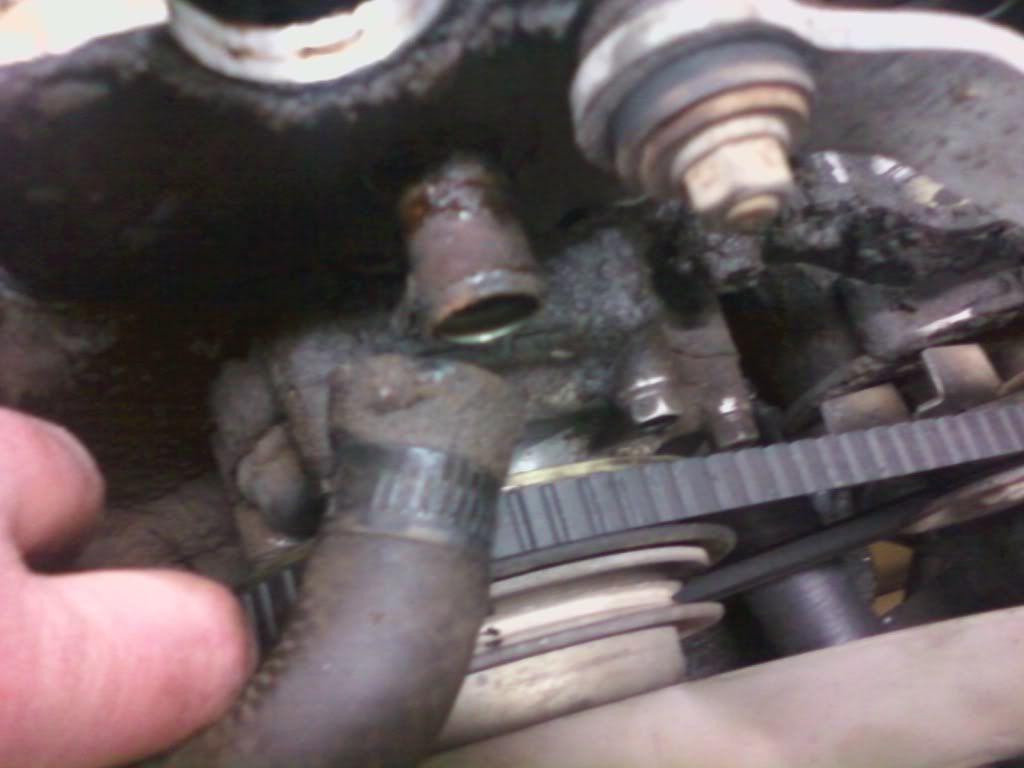
Removed the coolant hose on the front of the head.
Image

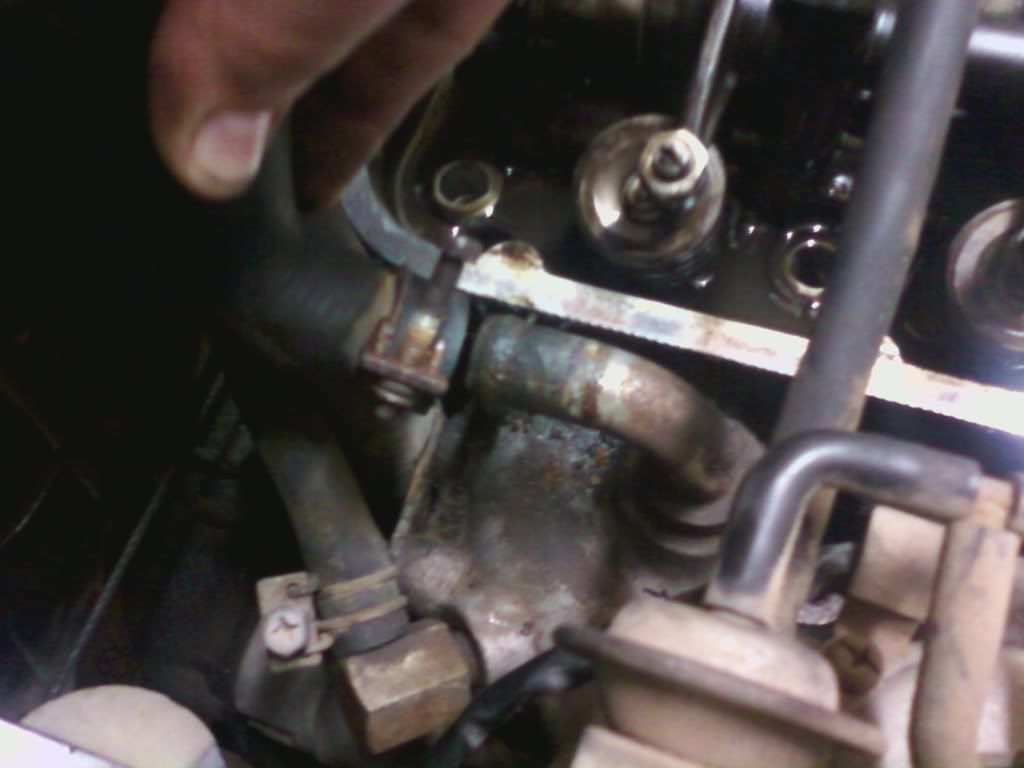
Removed a coolant hose attached to the upper intake manifold.
Image

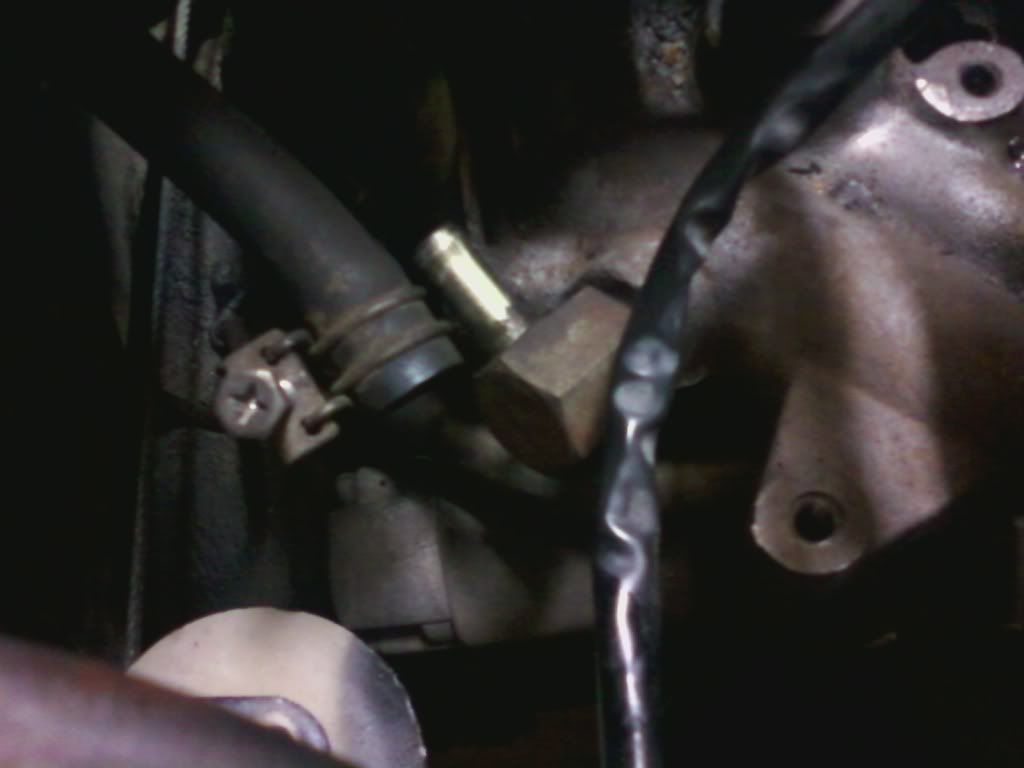
Removed a coolant hose from the lower intake manifold.
Image

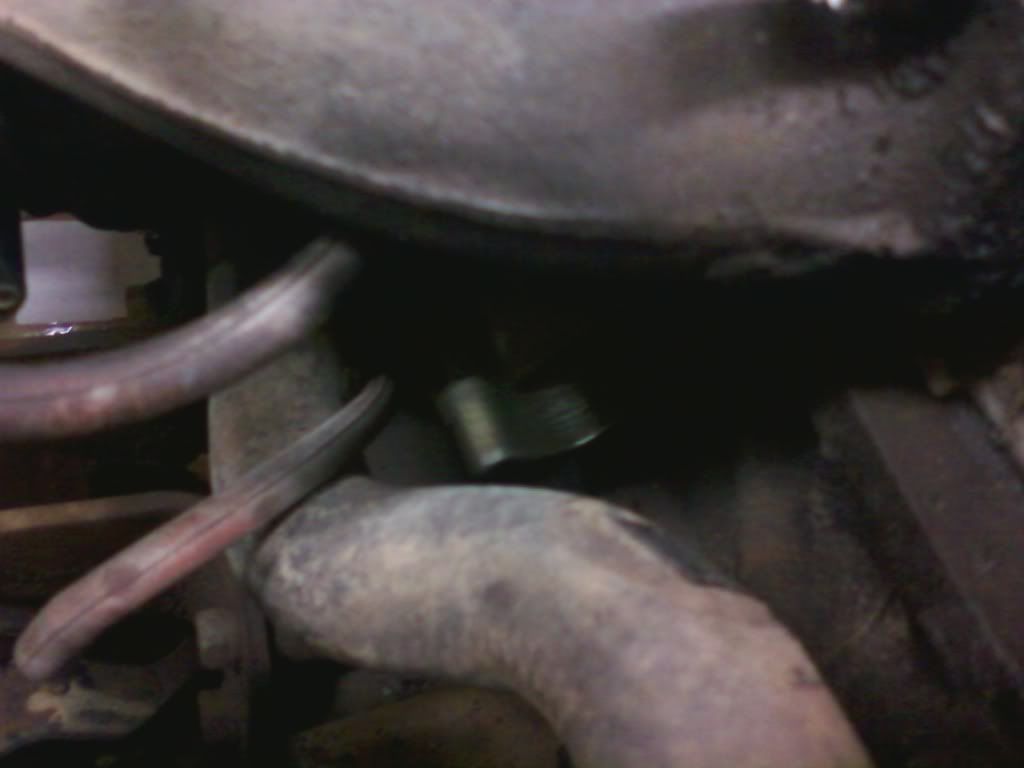
Pic of clamp holding the coolant hose attached to the front of the head to the intake manifold.
Image

Pulled apart the coolant hoses attached to the firewall. They were stuck together pretty good...
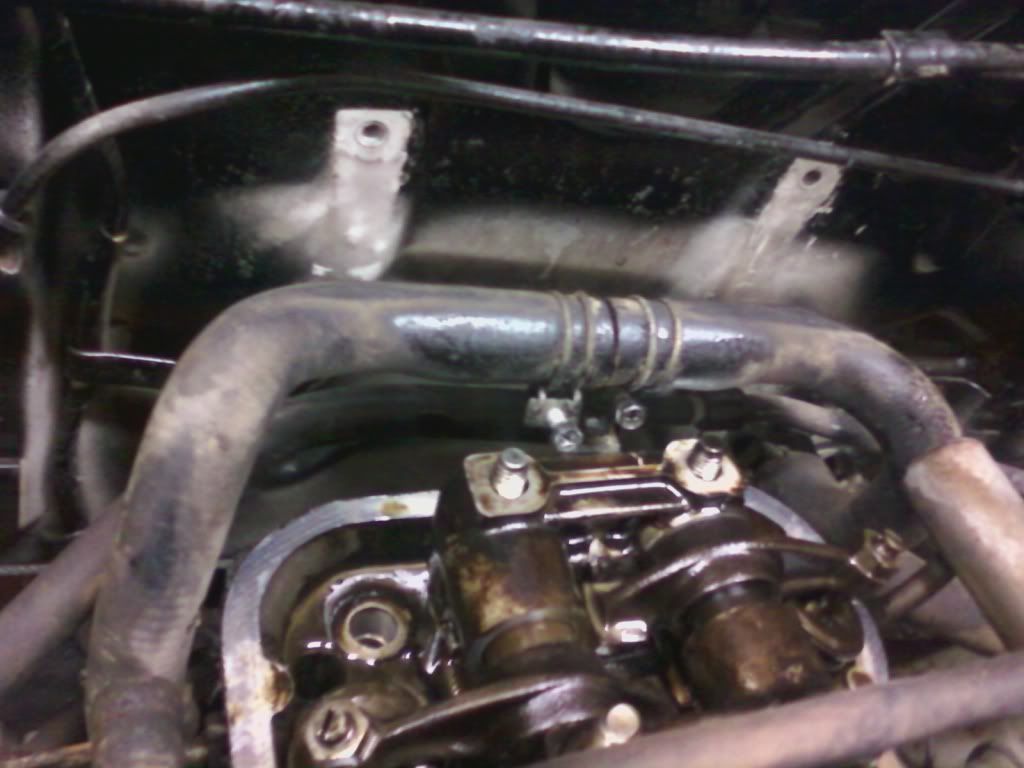
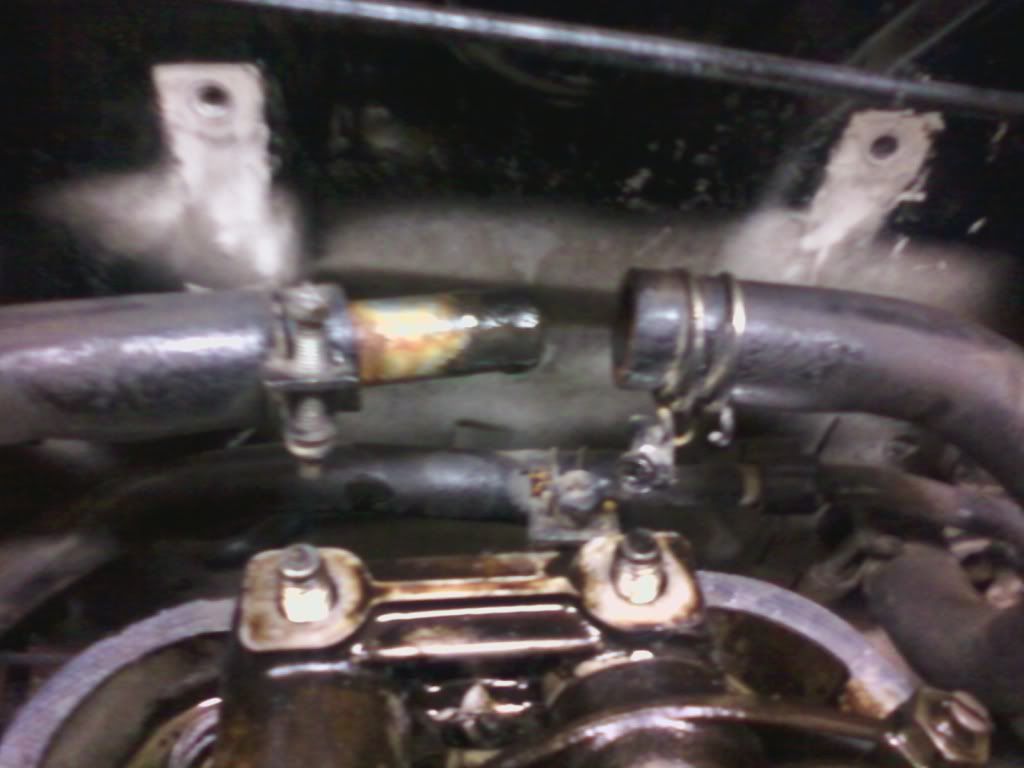
Image
Image

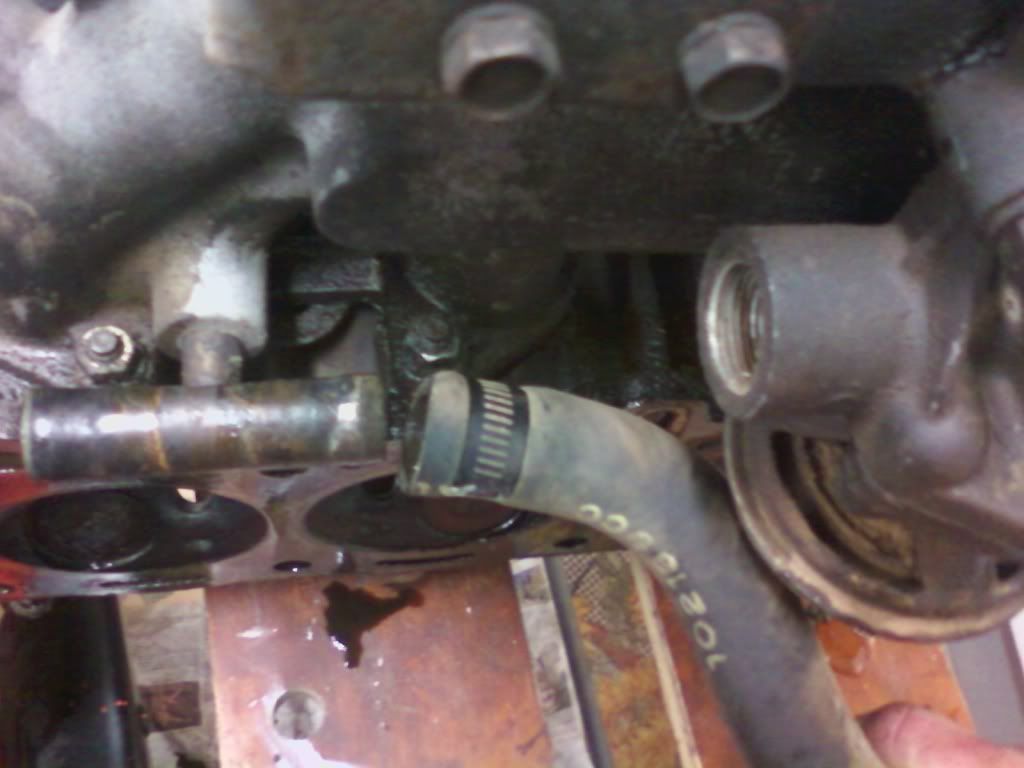
I tried to pull up the head after that, but the metal hot air transfer tube was held in a clamp attached to the transmission.
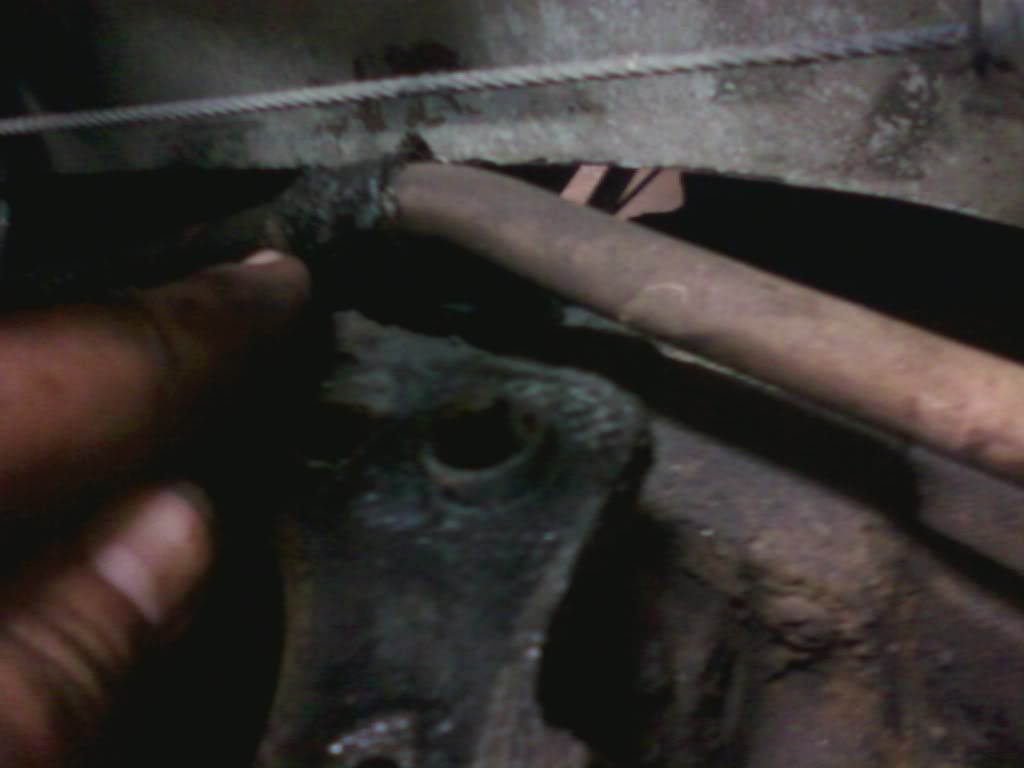
Image

I unscrewed the hot air transfer tube from the bottom of the intake manifold.
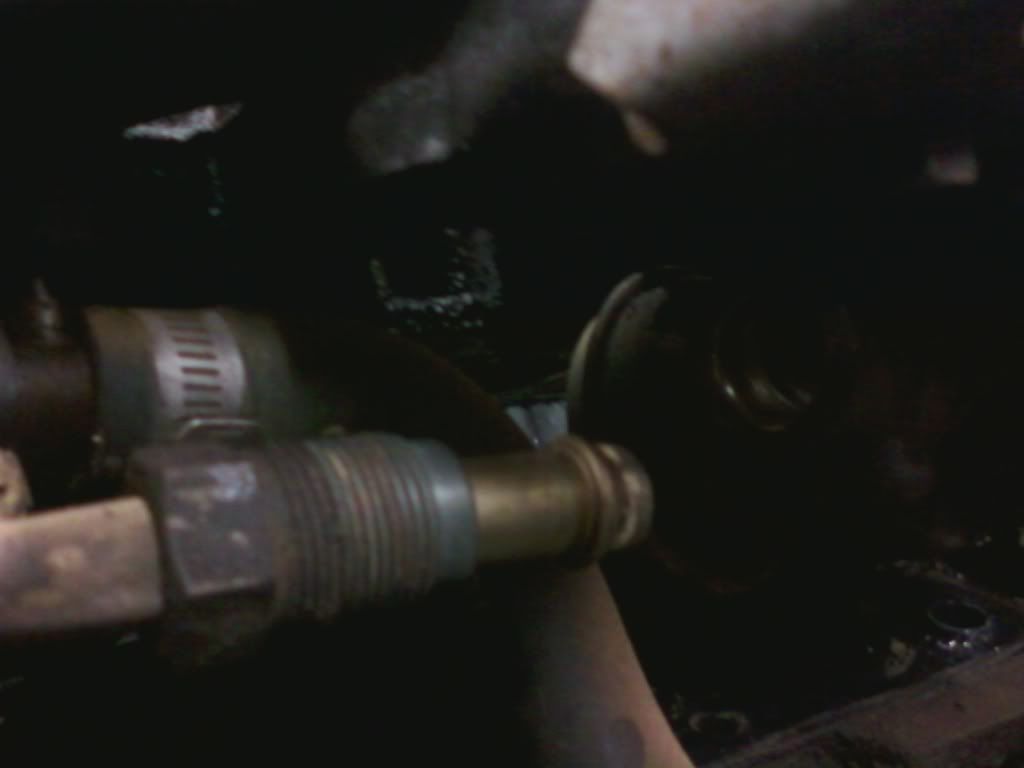
Image

The throttle cable was kinda stuck, so I had to bend the mounting bracket a bit to un-attach it. I should be able to bend it back fine.
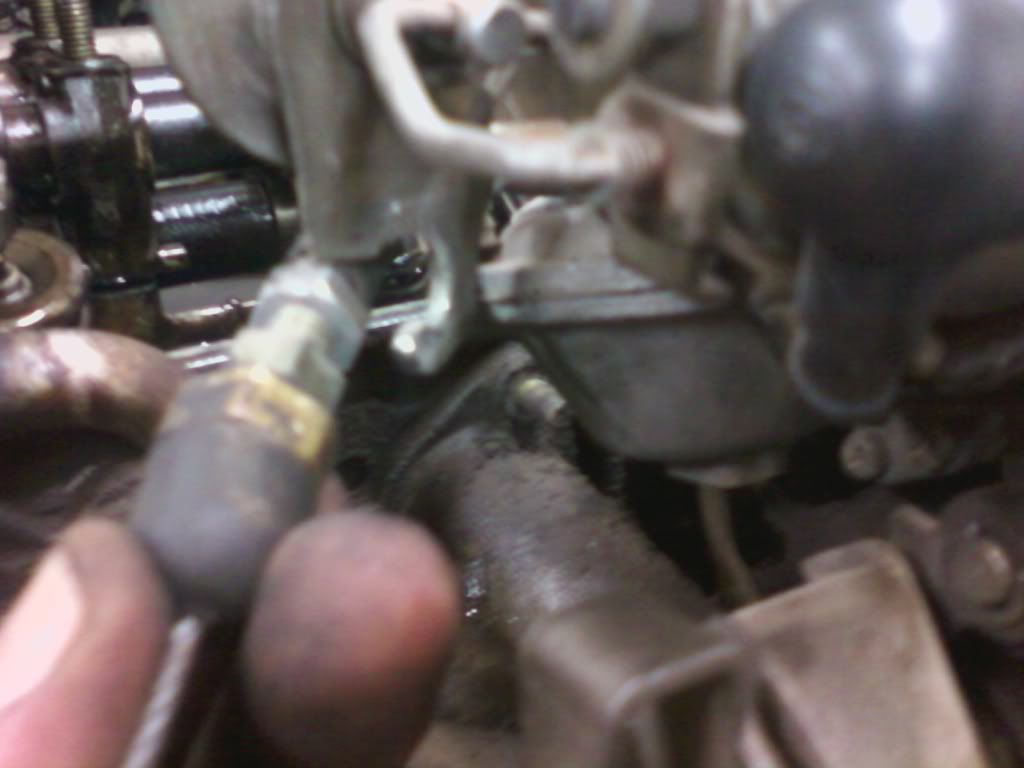
Image

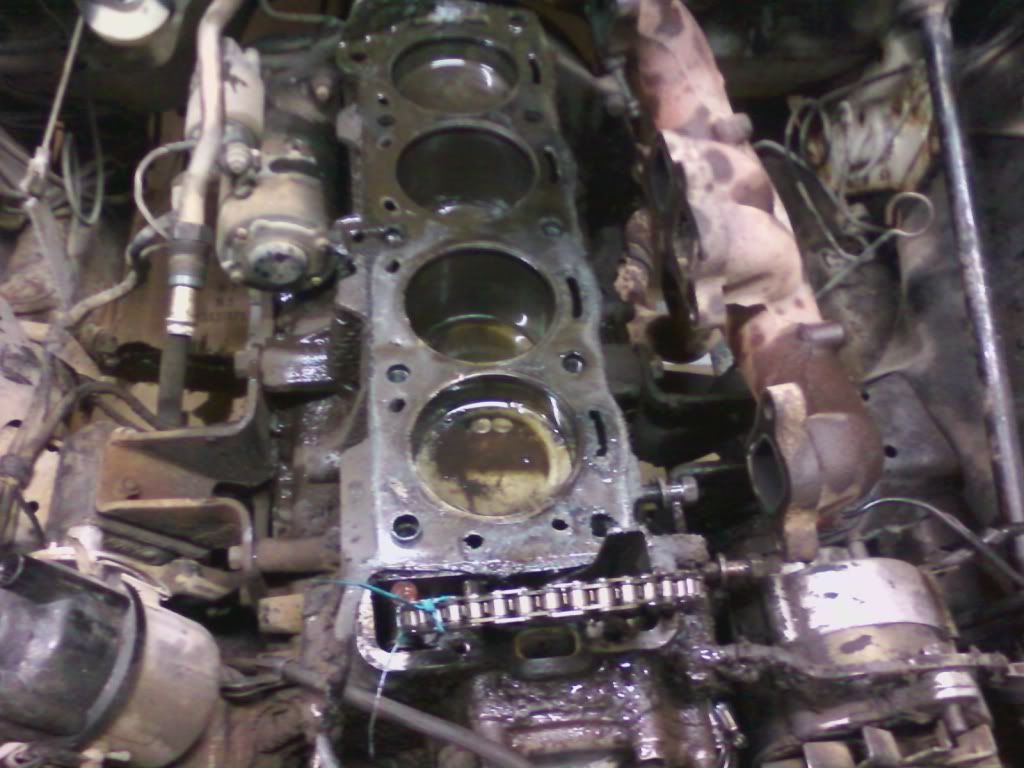
Lifted the head off and this is what the block looked like underneath the head.
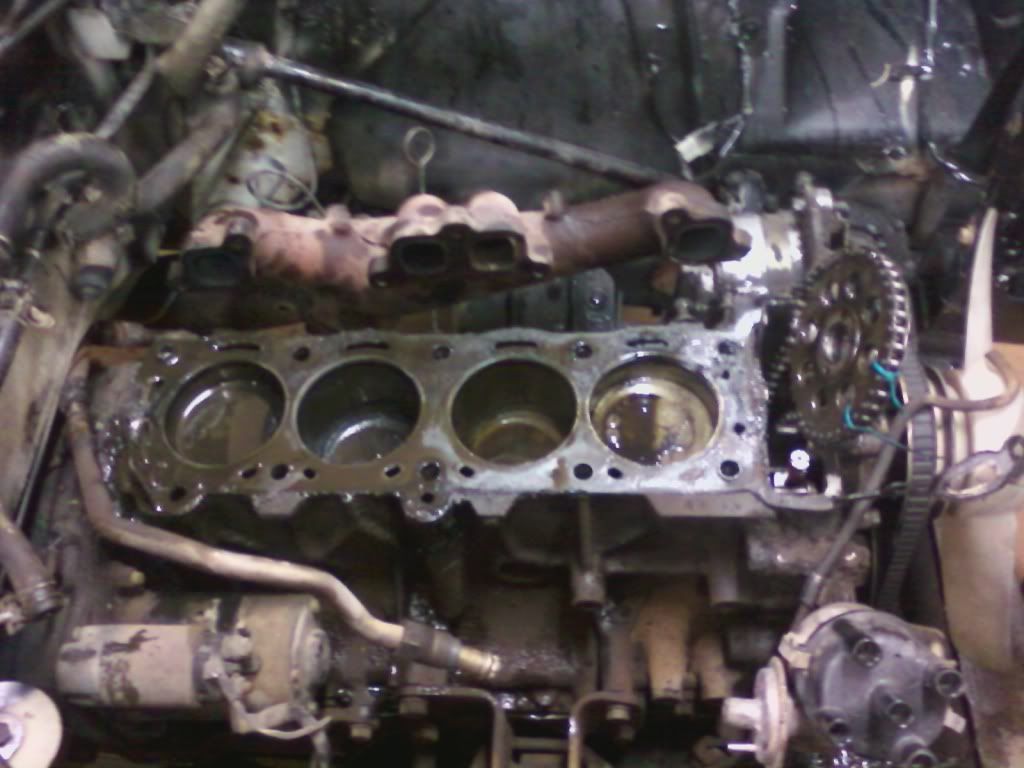
Image
Image

Next I pulled off the old head gasket. It was definitely shot.
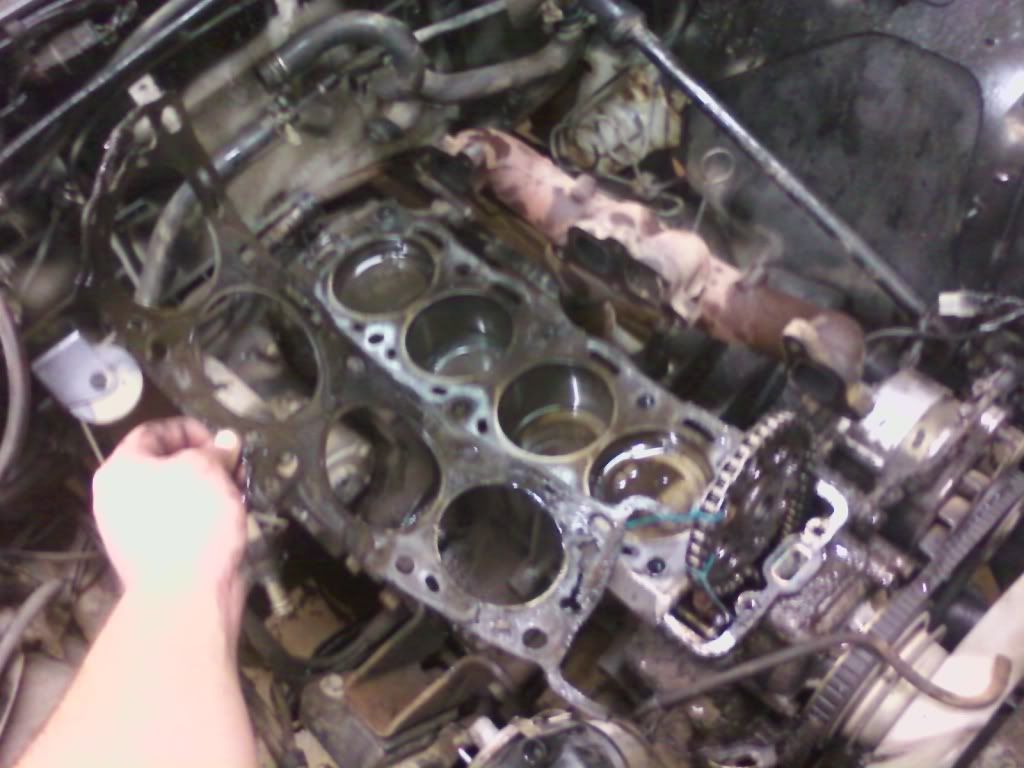
Image

The block surface was dirty, but looked ok. For some reason the cylinders had oil in them. ? :? I think it prolly was oil that poured into them from the camshaft reservoir as I pulled the head off.
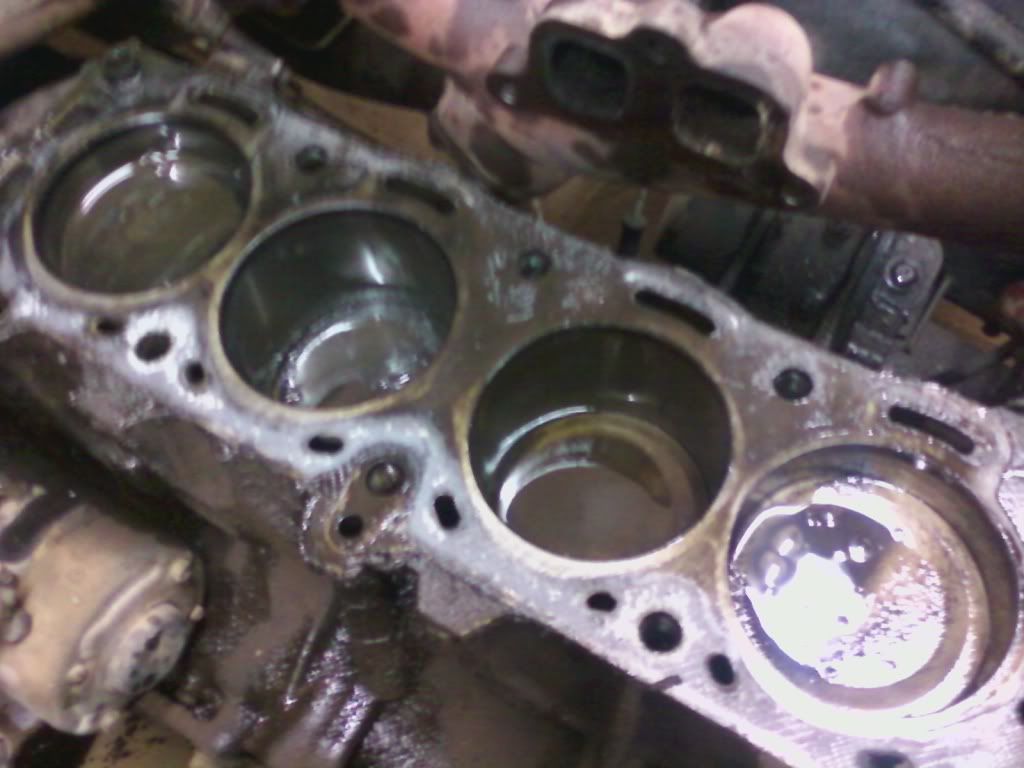
Image

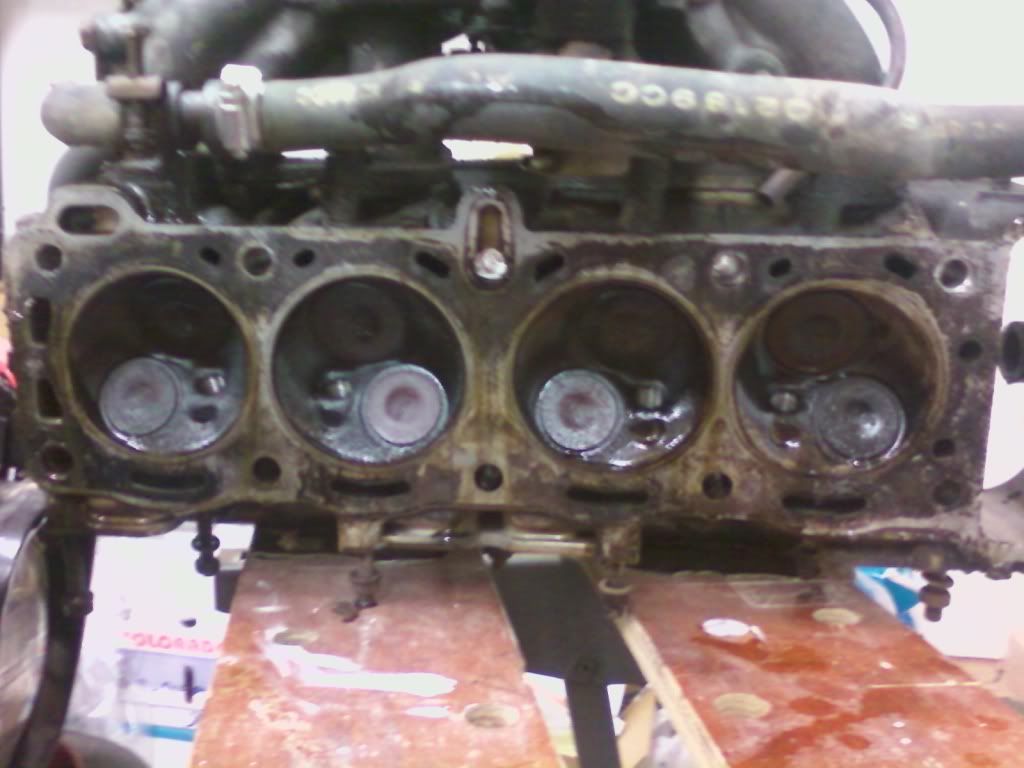
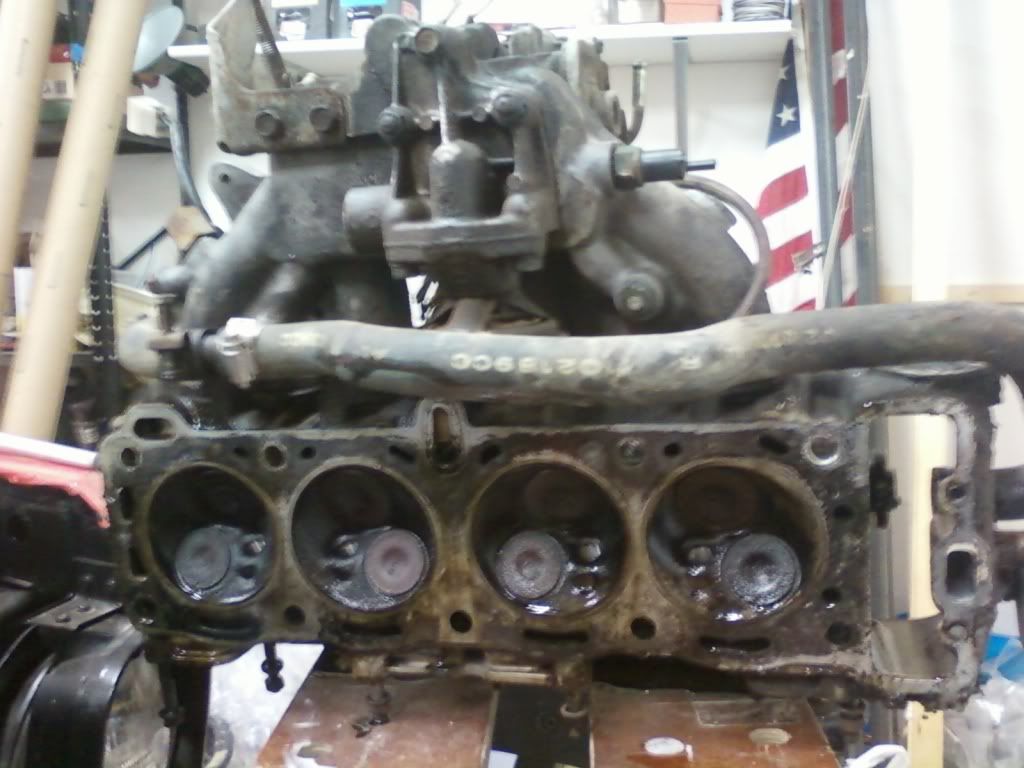
I stopped to take a look at the old head.
Image
Image
Image

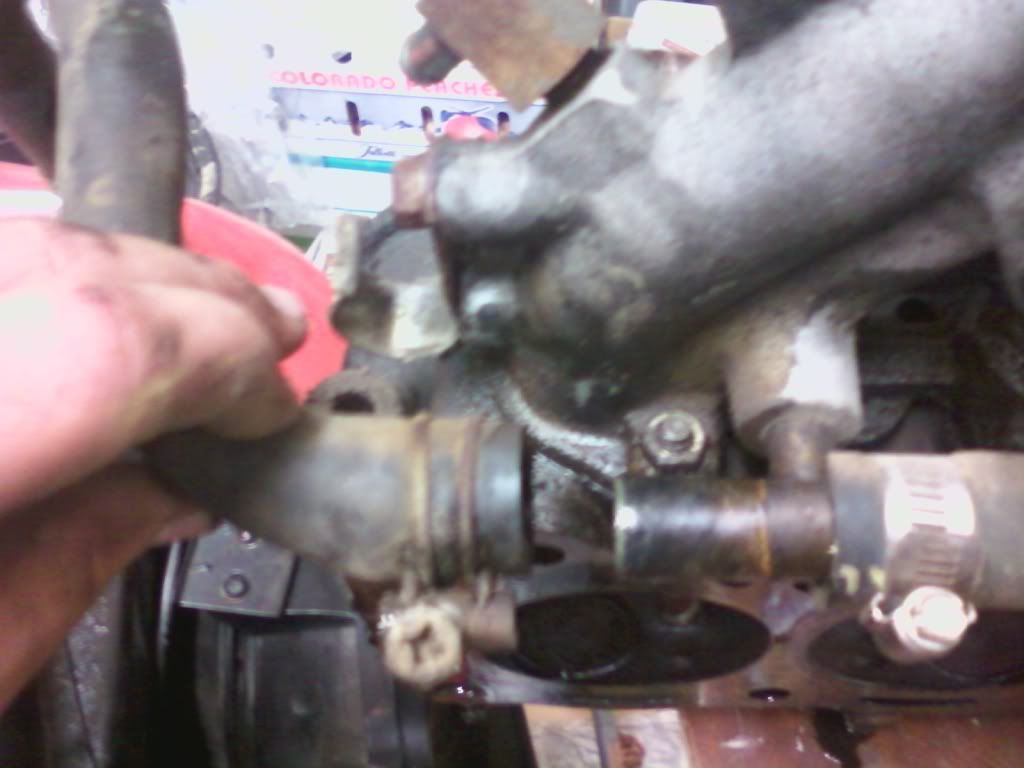
Next I removed the two remaining coolant hoses from the "T" connector on the intake manifold.
Image
Image

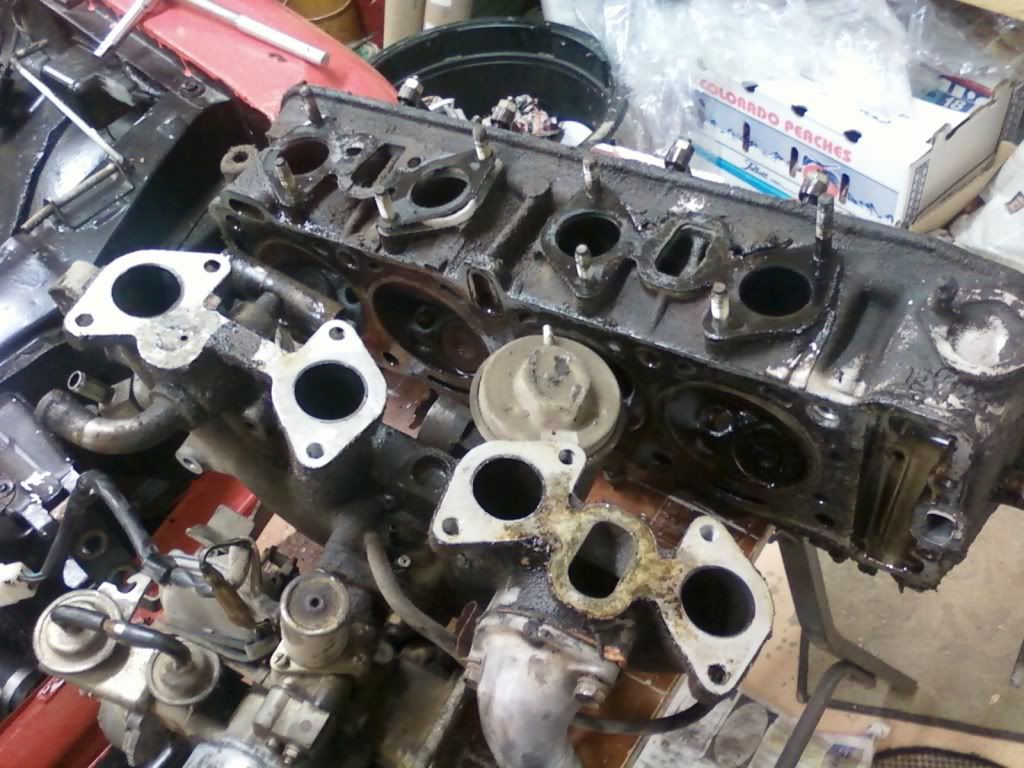
Then I unbolted the intake manifold from the head. Haha, there's those stupid single punch intake gaskets that fooled me into thinking that there were two large coolant ports in the intake manifold. :lol:

Image

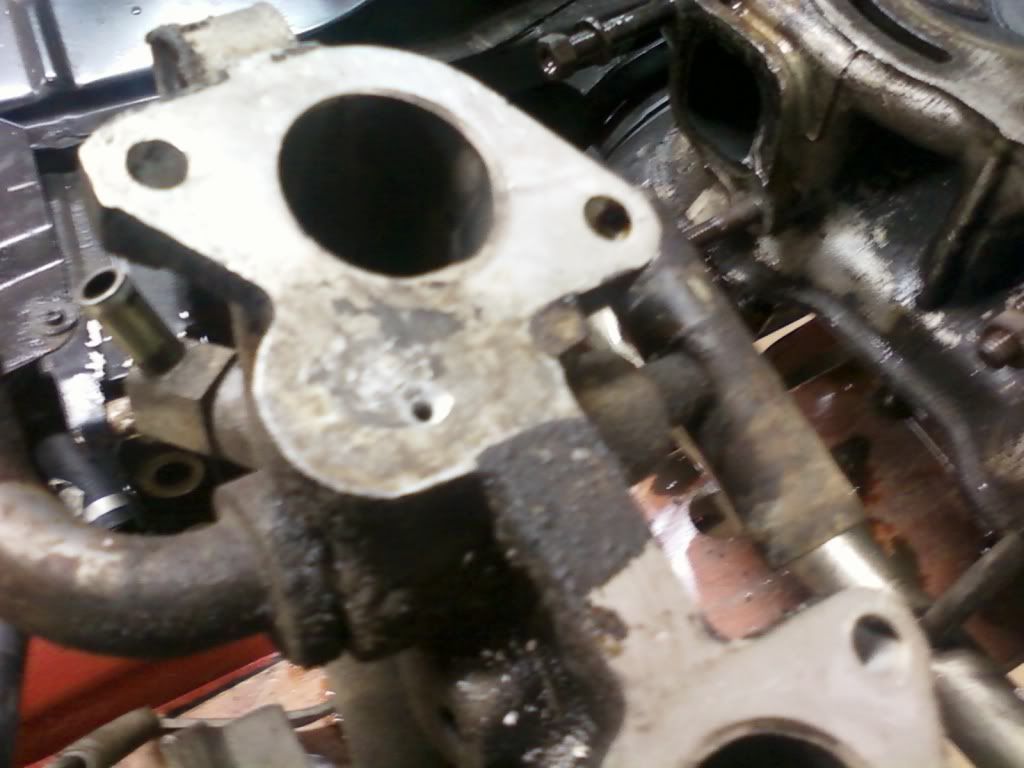
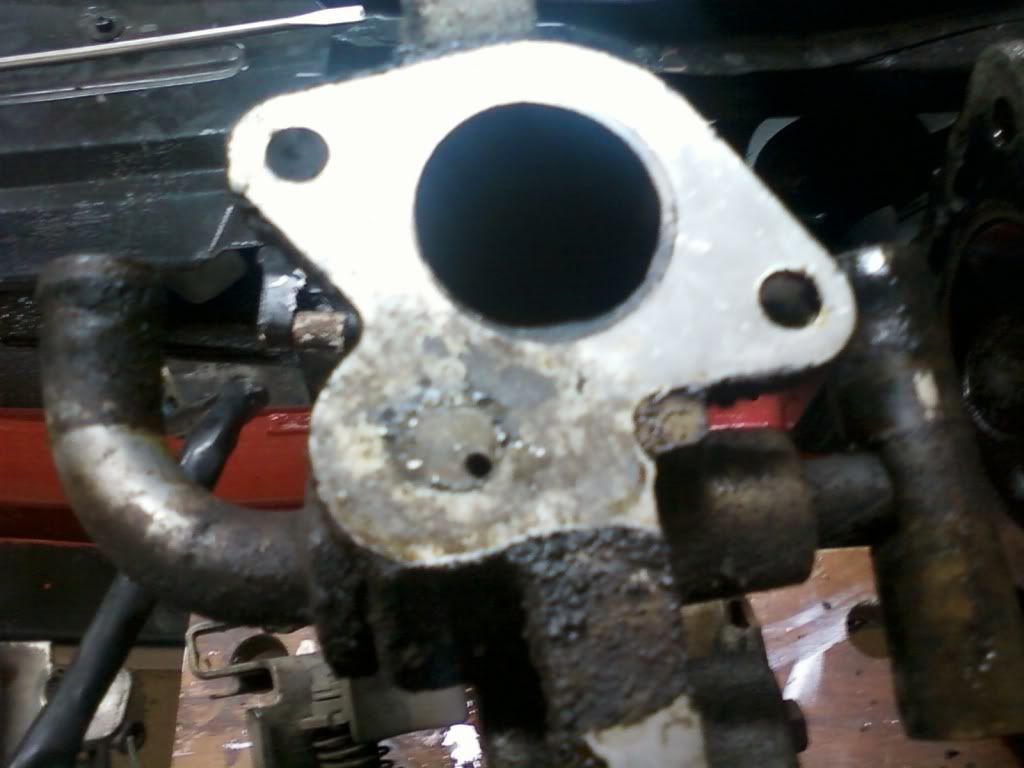
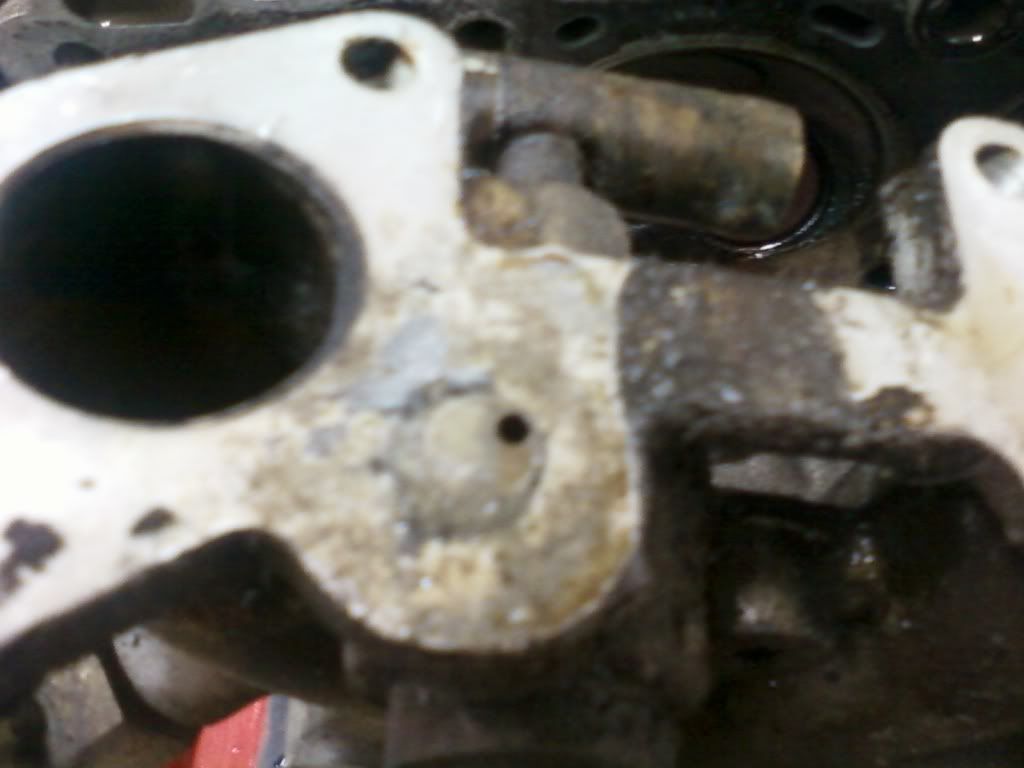
Thats when I noticed that the left hand coolant port was almost completely plugged. That, I believe, was the source of all my overheating problems. It appears to be filled with lead. Maybe from a past application of radiator Stop-Leak? Anyways, that has changed the situation a bit. I originally thought that the head's coolant passages where blocked, but they look fine. Will I need the new head now? Do I have to get a new intake manifold instead? Hmmm...
Image
Image

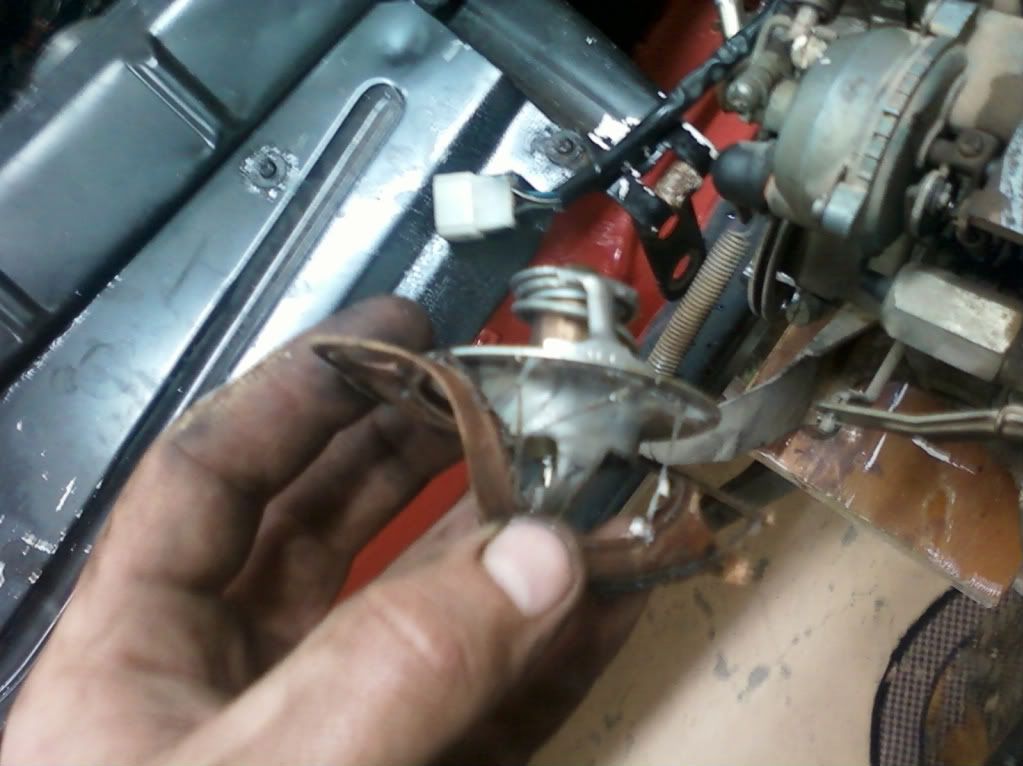
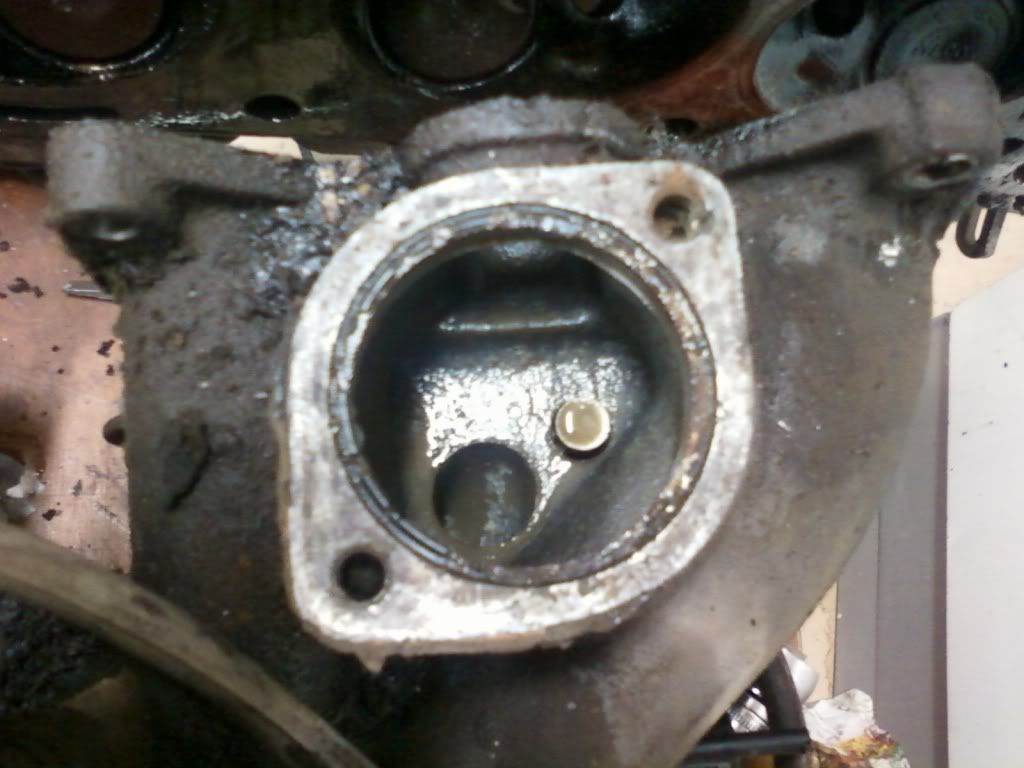
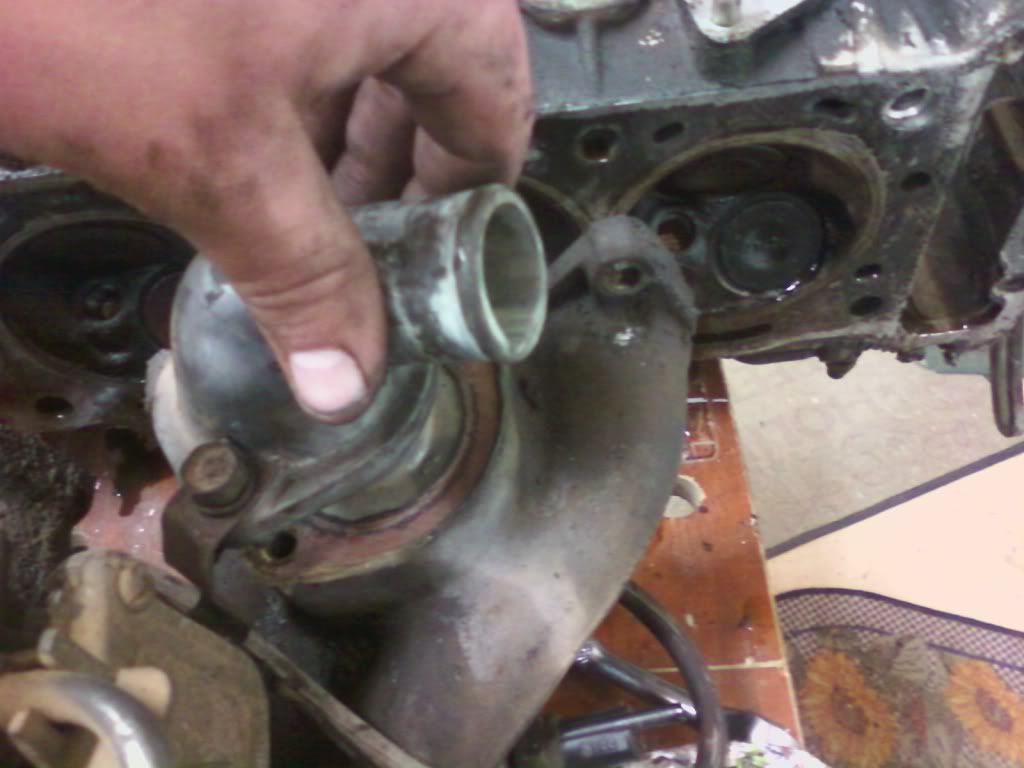
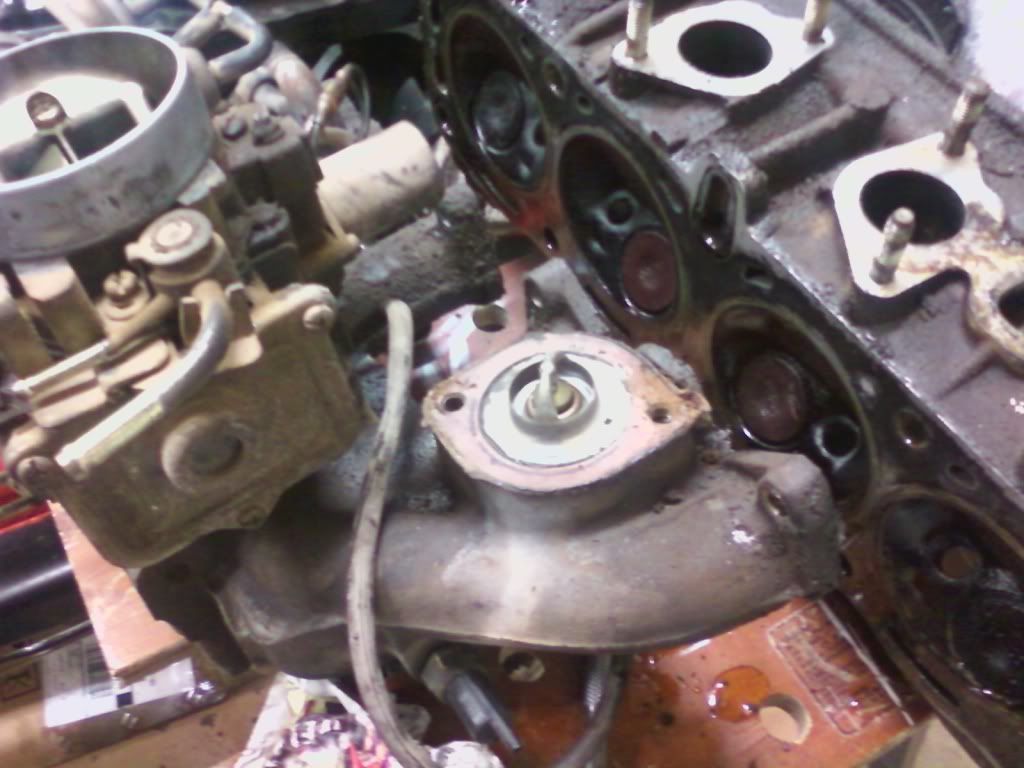
Since I'm replacing the thermostat anyways, I opened up the thermostat housing in the intake manifold and inspected it to see if it too was clogged with Stop-Leak.
Image
Image
Image

Luckily the passage looked clear.

Image

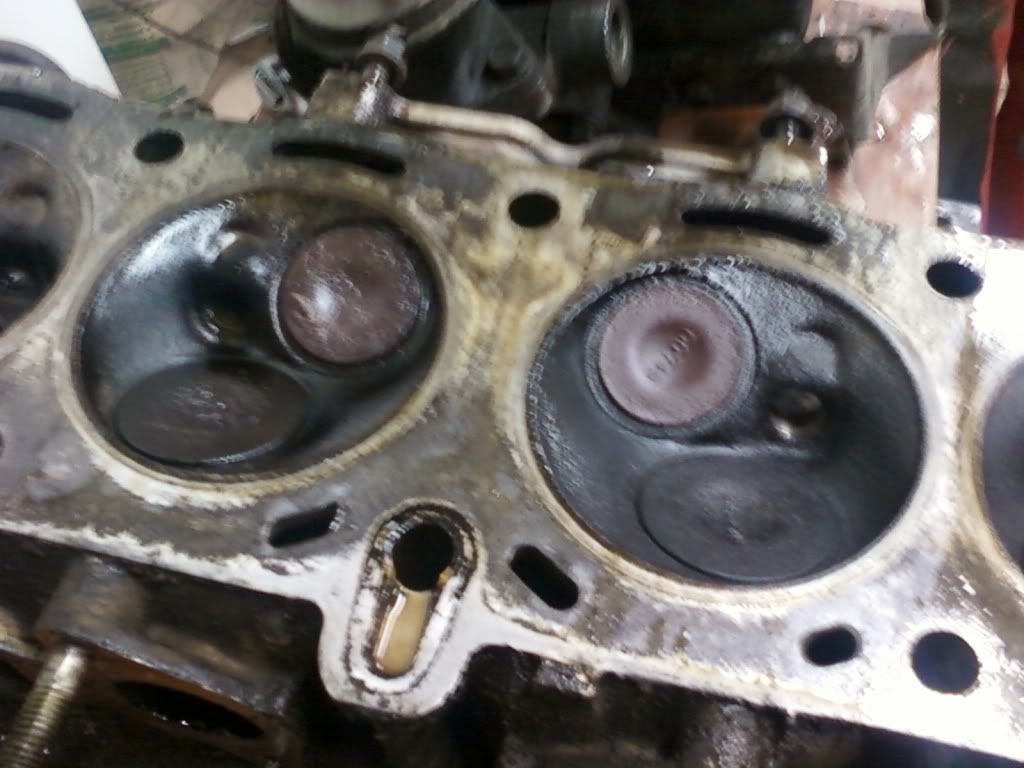
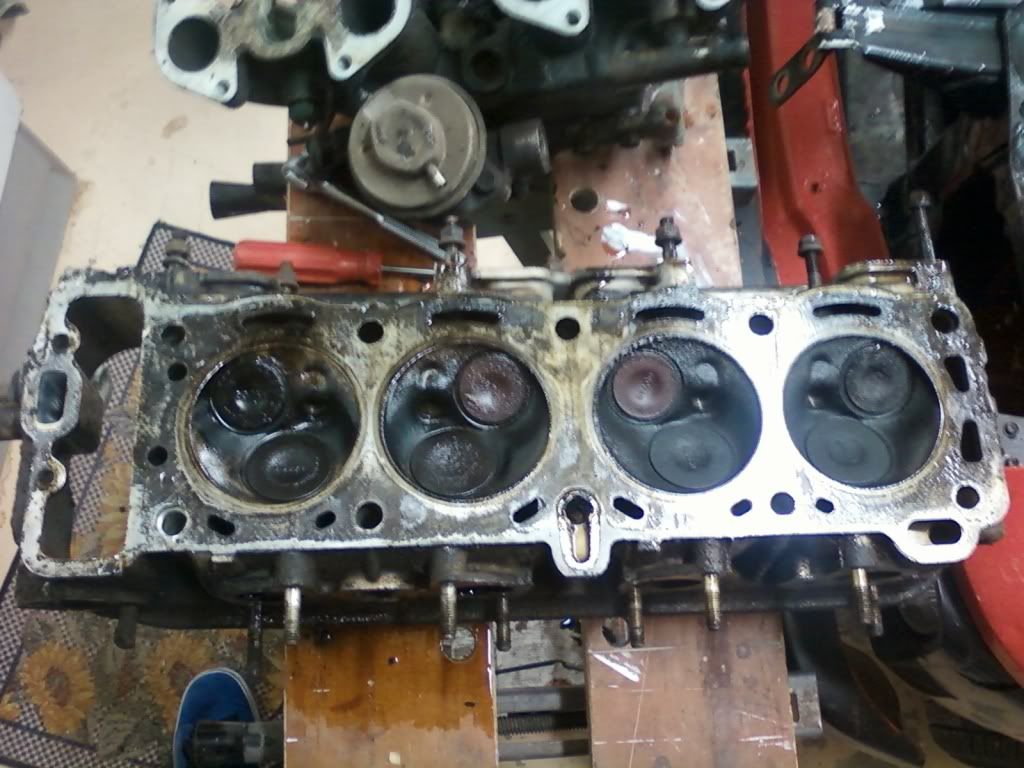
After that, I thoroughly inspected the old cylinder head.
Image

The two valves in the middle were a rust color. What is that color a sign of? I don't know. :esurprised

Image

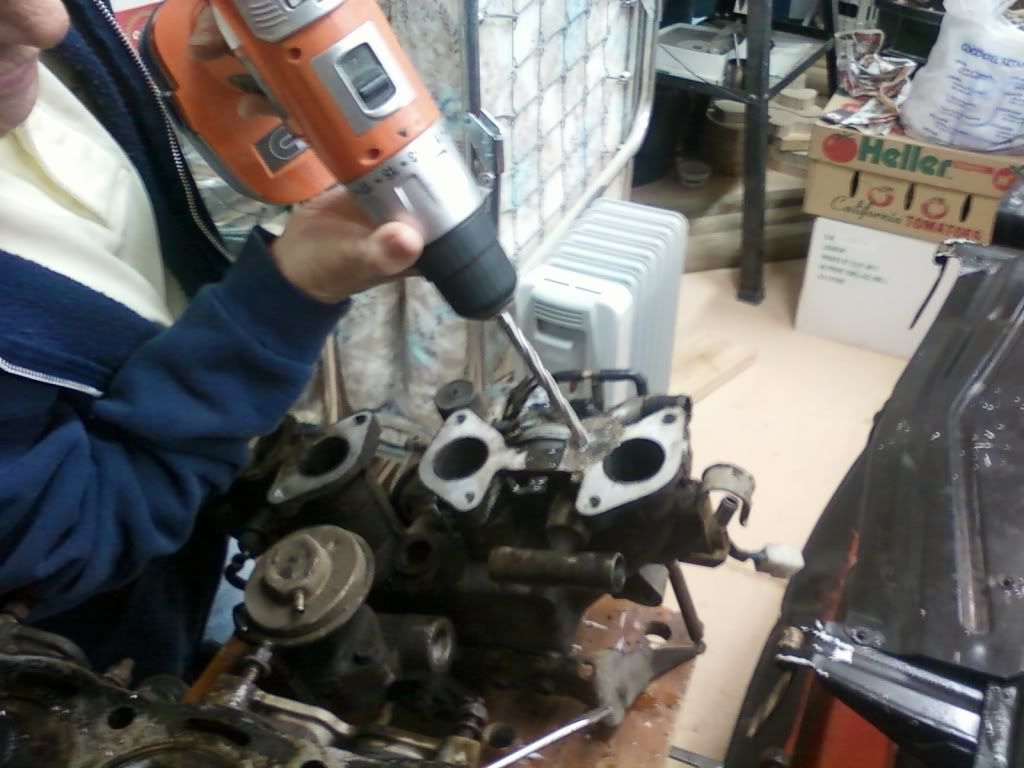
This is a pic of my landlady trying to help me out by attempting to drill out the blocked coolant port in the intake manifold. I don't think it helped too much unfortunately.
Image

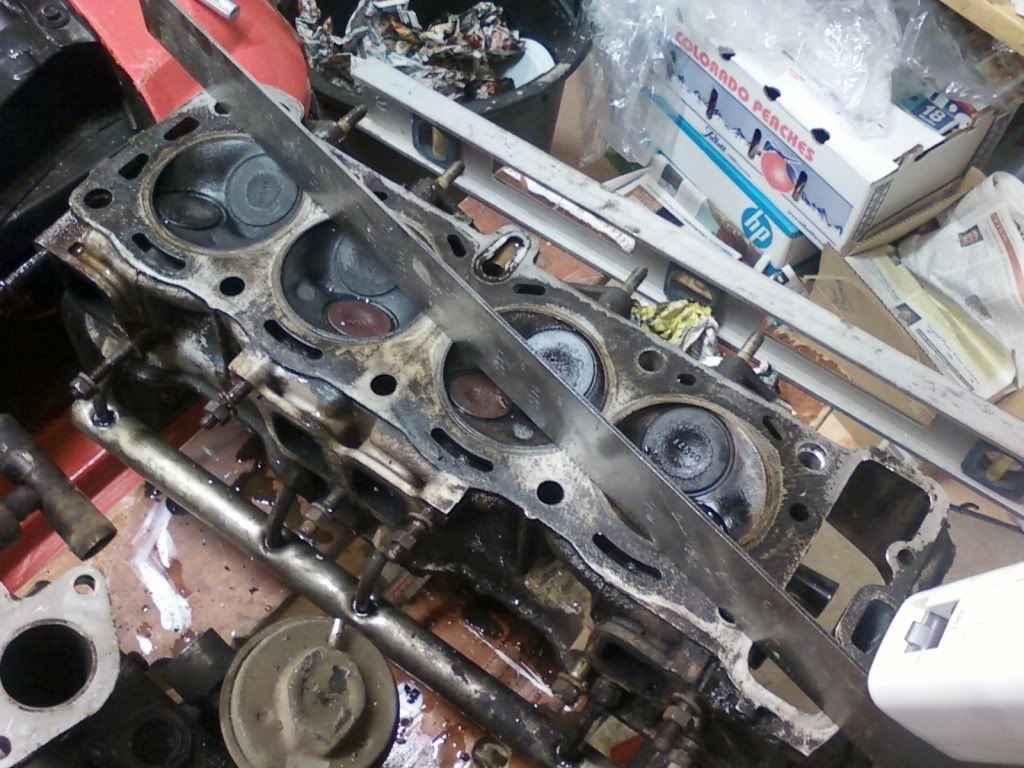
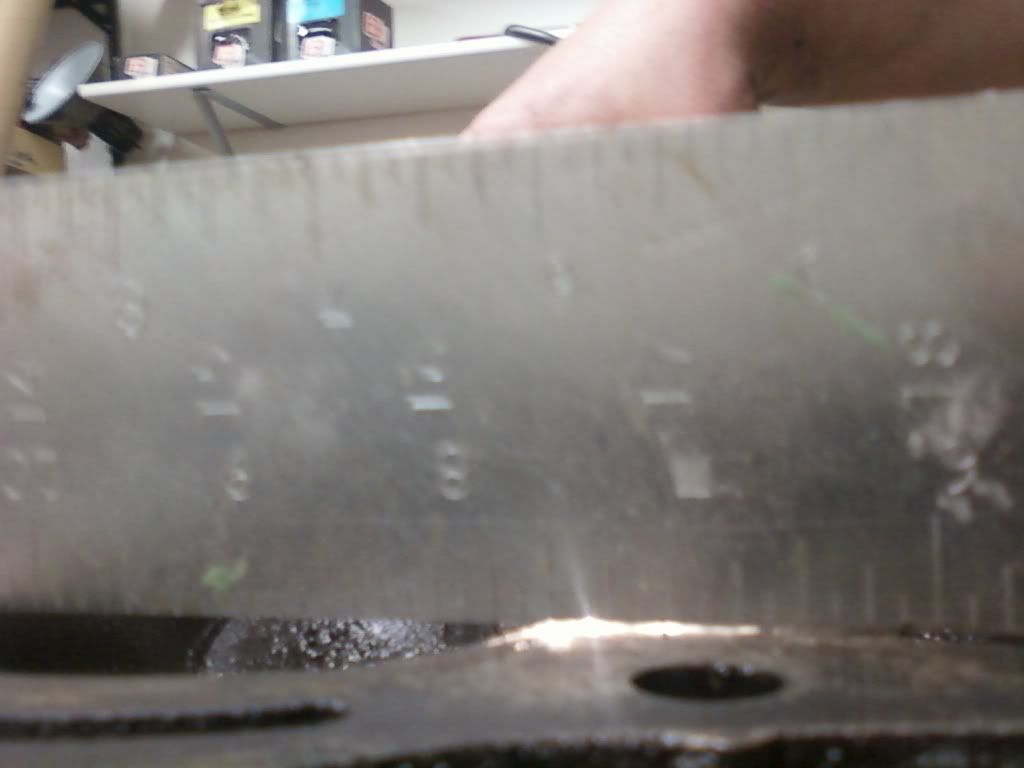
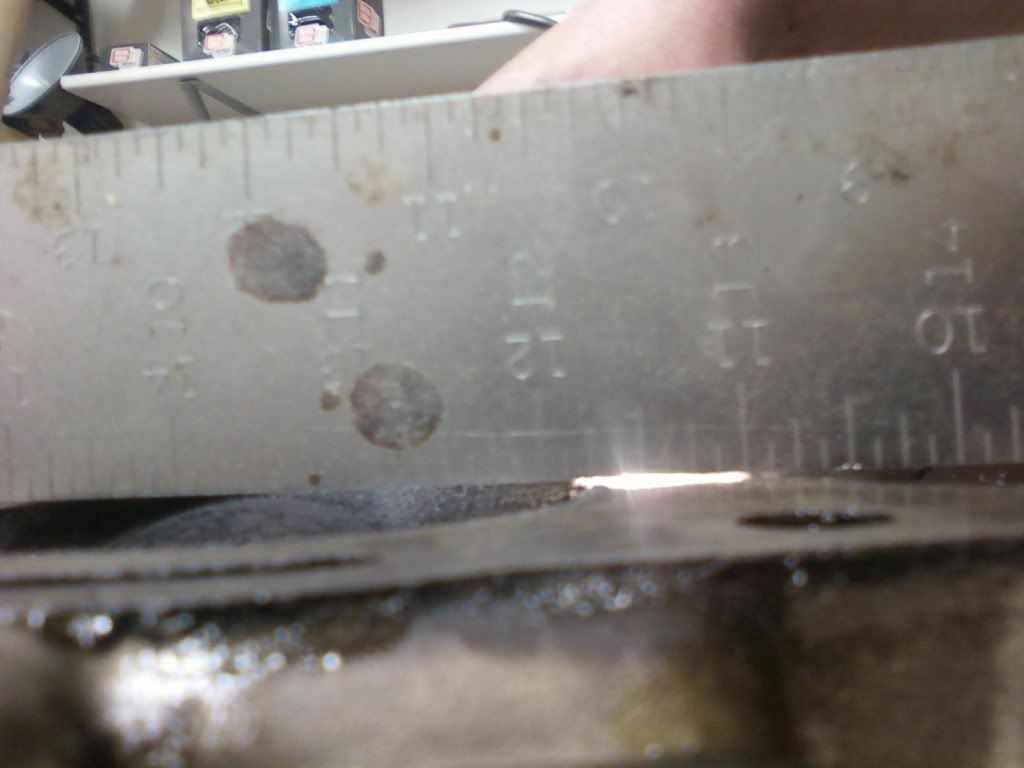
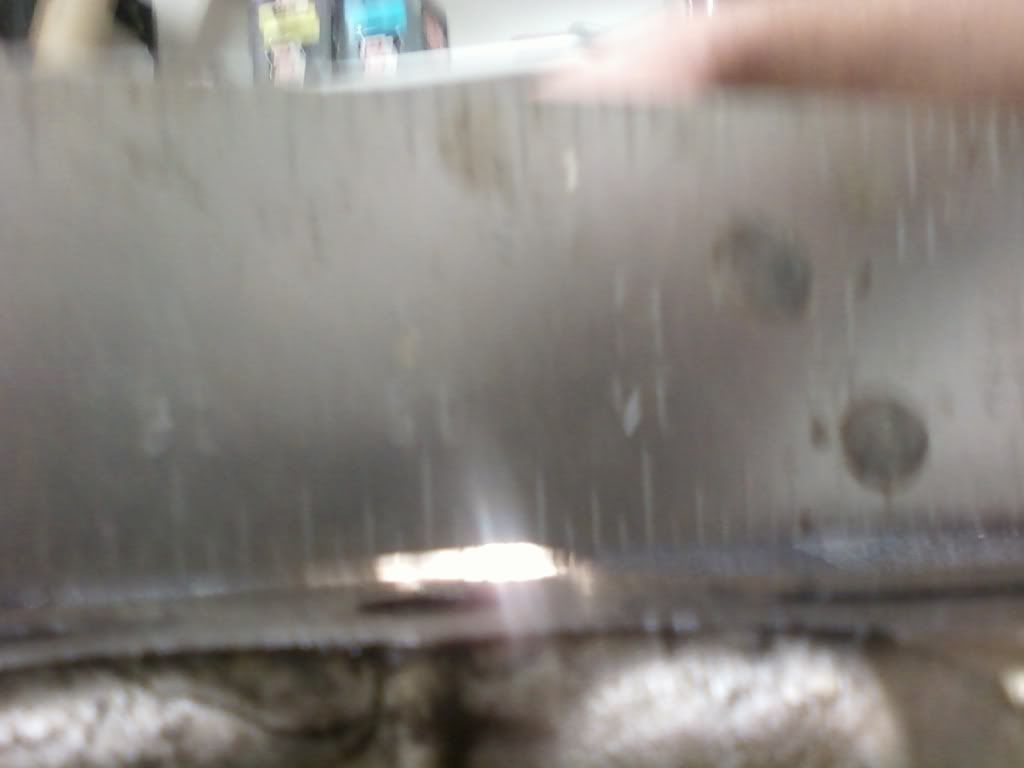
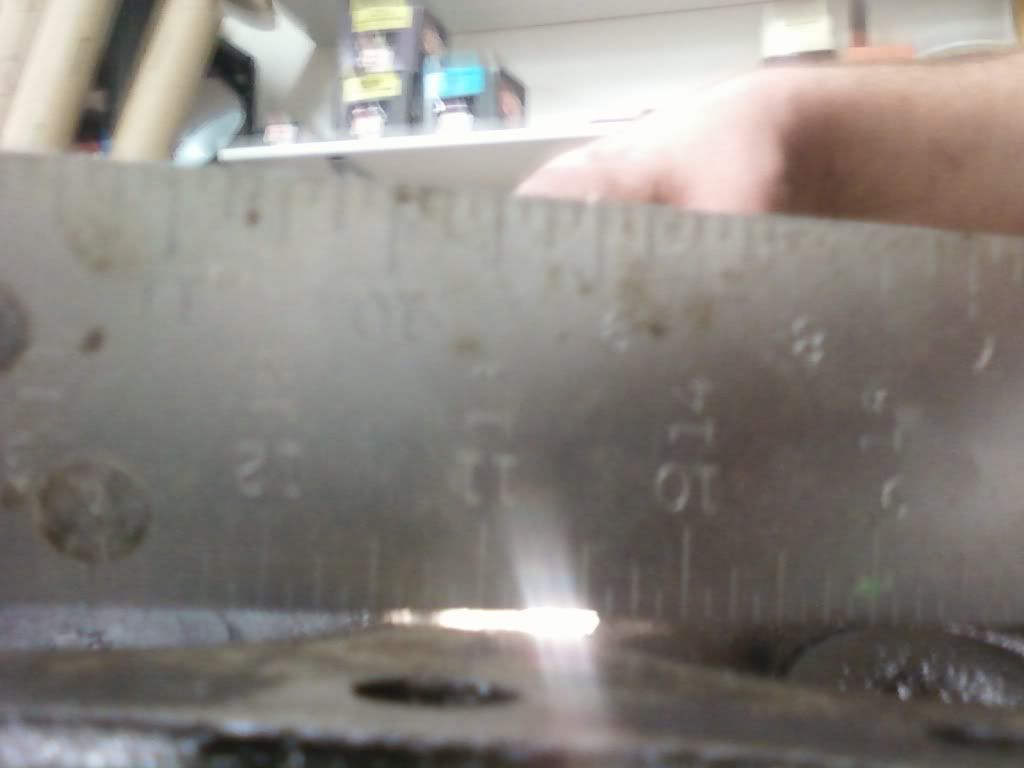
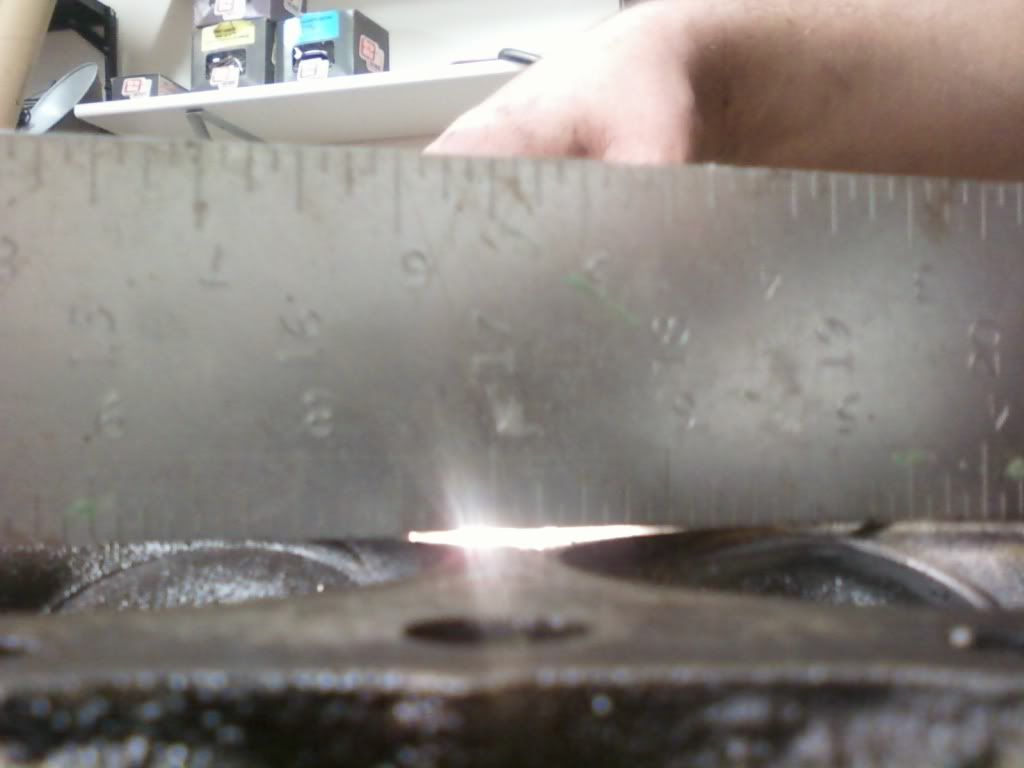
In the meantime, I started measuring the old cylinder head using the technique figuarus showed me. I took a straight edge, ran it diagonally across the bottom of the cylinder head, and shined a flashlight from behind to see if I could see any light. Unfortunately I could. I guess that means the head has been warped... 8O

Image
Gap between cylinder 1 & 2
Image
Gap between cylinder 2 & 3
Image
Gap between cylinder 3 & 4
Image

Switched the angle of the straight edge and tried it again.
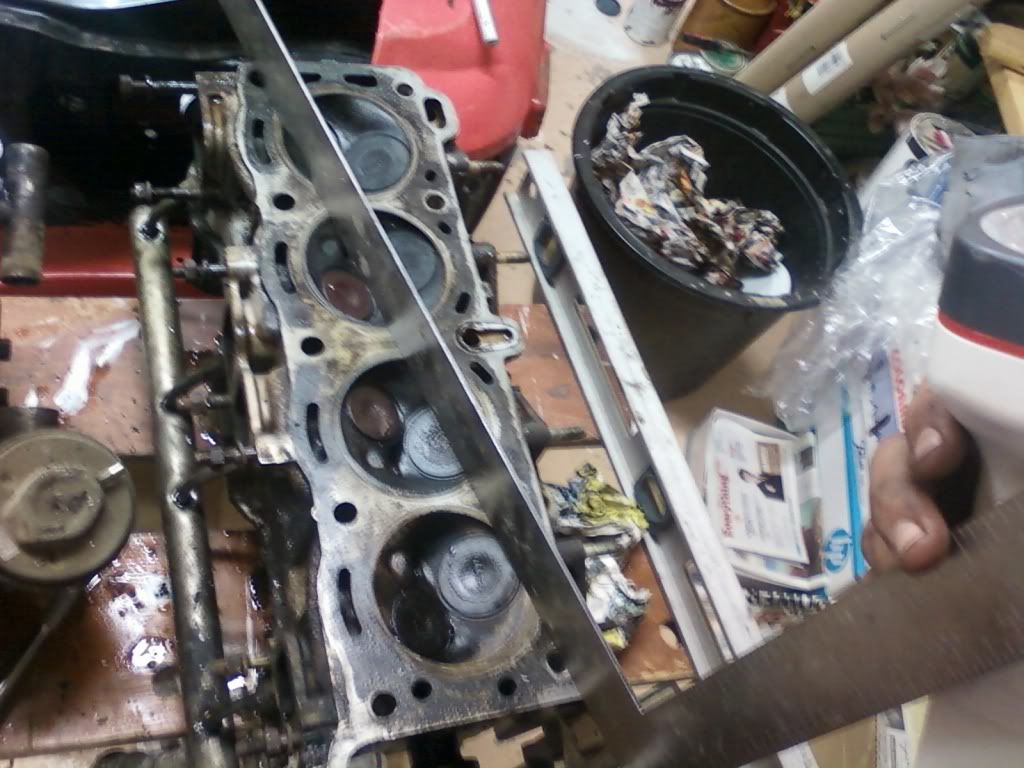
Image
Gap between cylinder 1 & 2
Image
Gap between cylinder 2 & 3
Image
Gap between cylinder 3 & 4
Image

I guess that this means that the head is warped and that it will have to be resurfaced in order to be usable again. This is an overview pic of the method I used to measure the head.
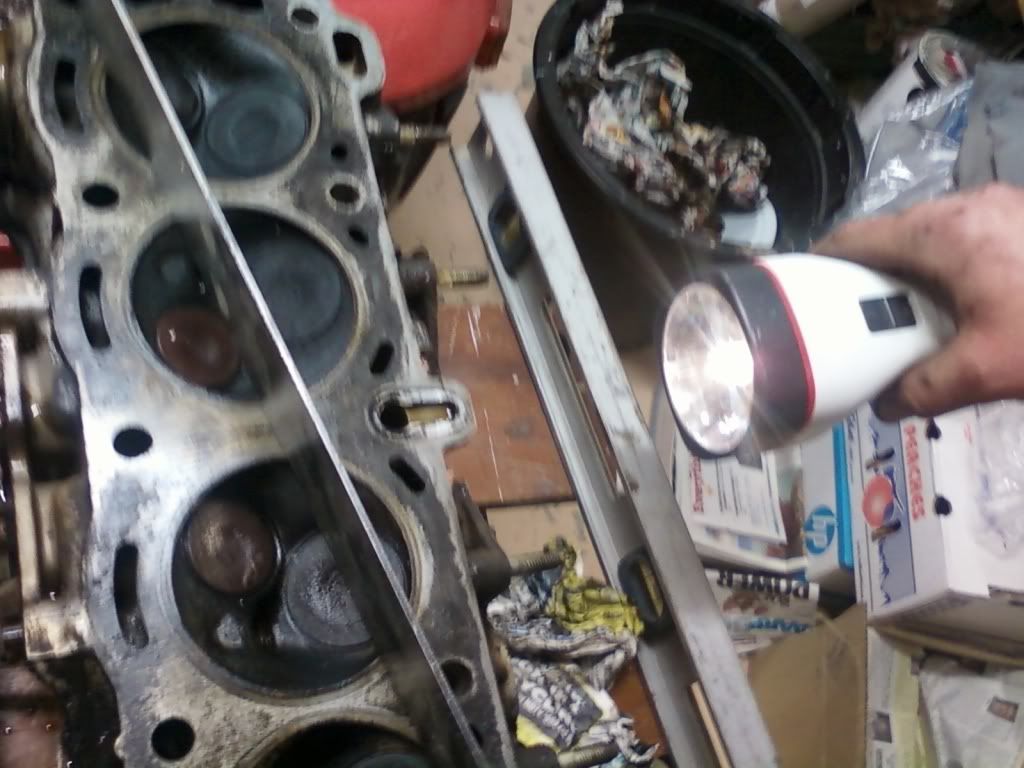
Image

This is the result of drilling that my landlady attempted. Its hard stuff and I didn't want her to damage the intake manifold further, so I had her quit. Thanks to her for trying to help though. :ebiggrin

Image

Since there wasn't much more I could do at the moment, I started scraping the old head gasket off of the block.
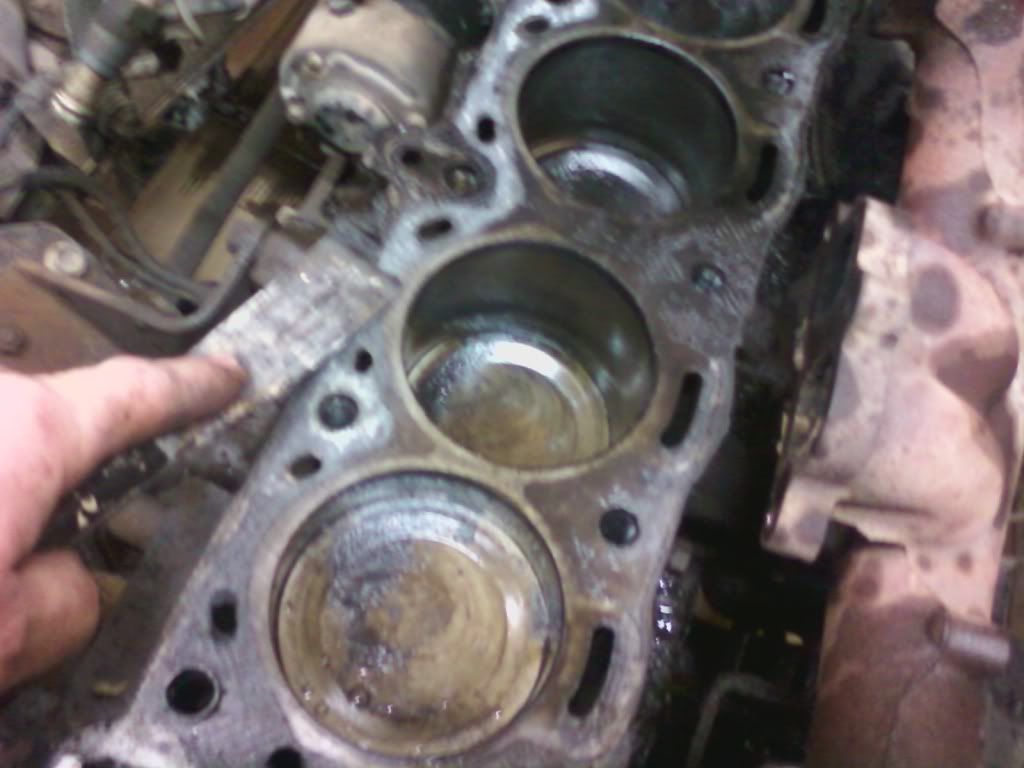
Image

I also started cleaning up the engine a bit. I unattached the alternator and let it hang down a bit for easier access to the area around the lower part of the block.
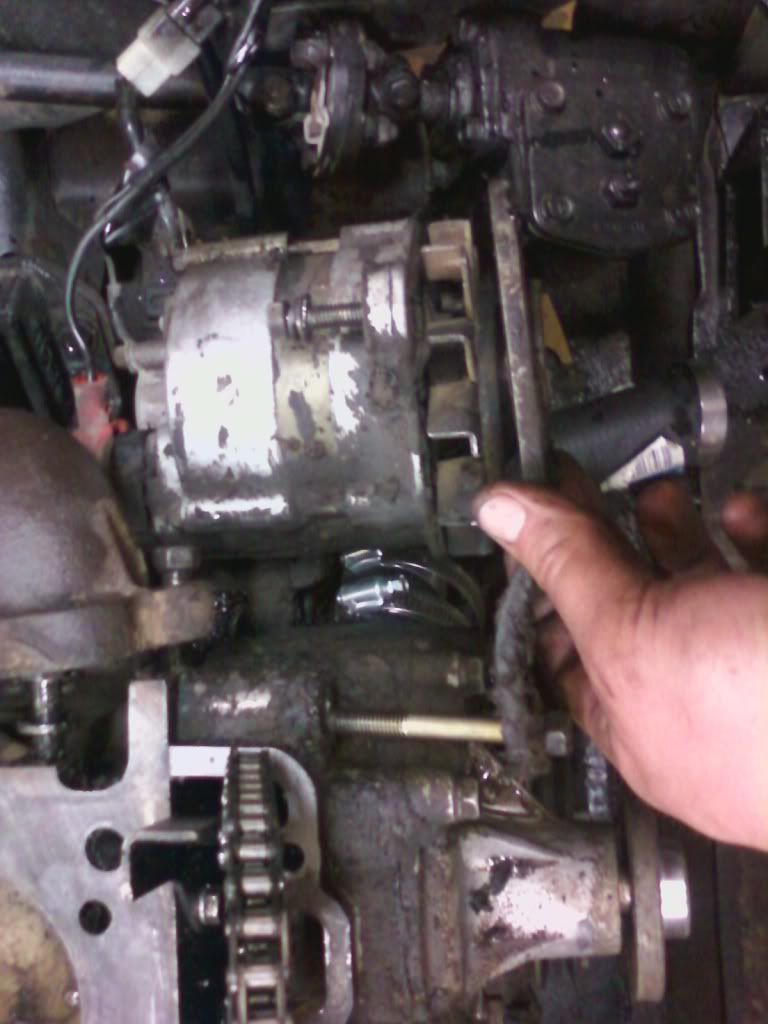
Image

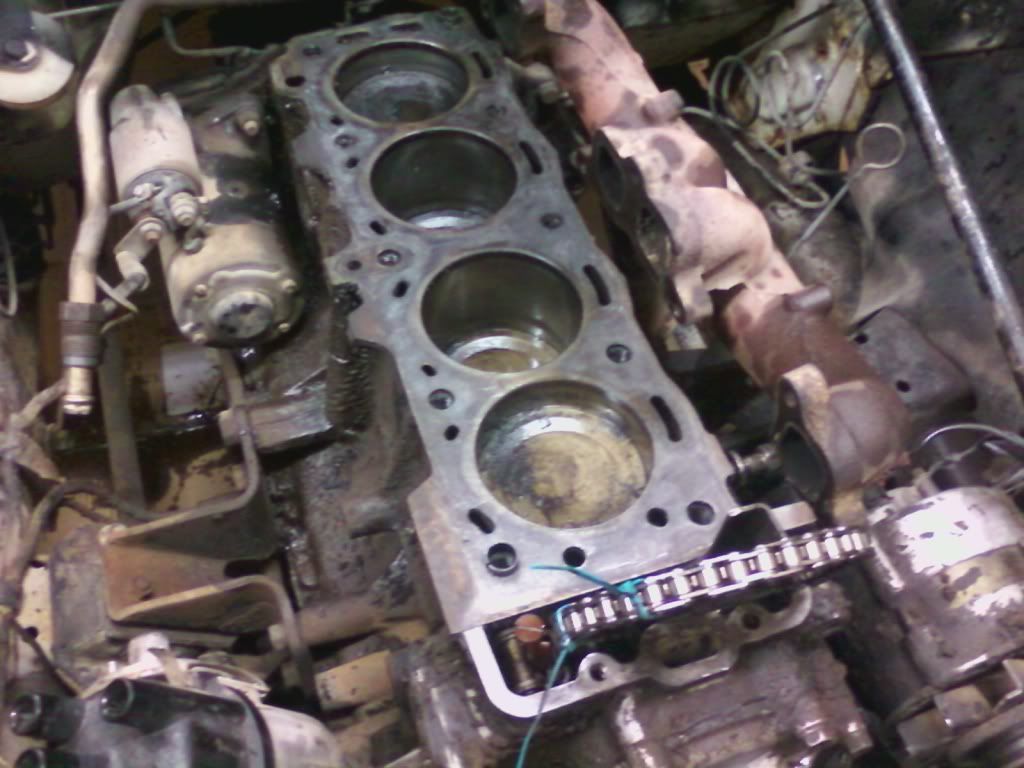
Top of block after scraping it. Some of the old gasket material got down into the cylinders, so I wiped them out with shop towels.
Image

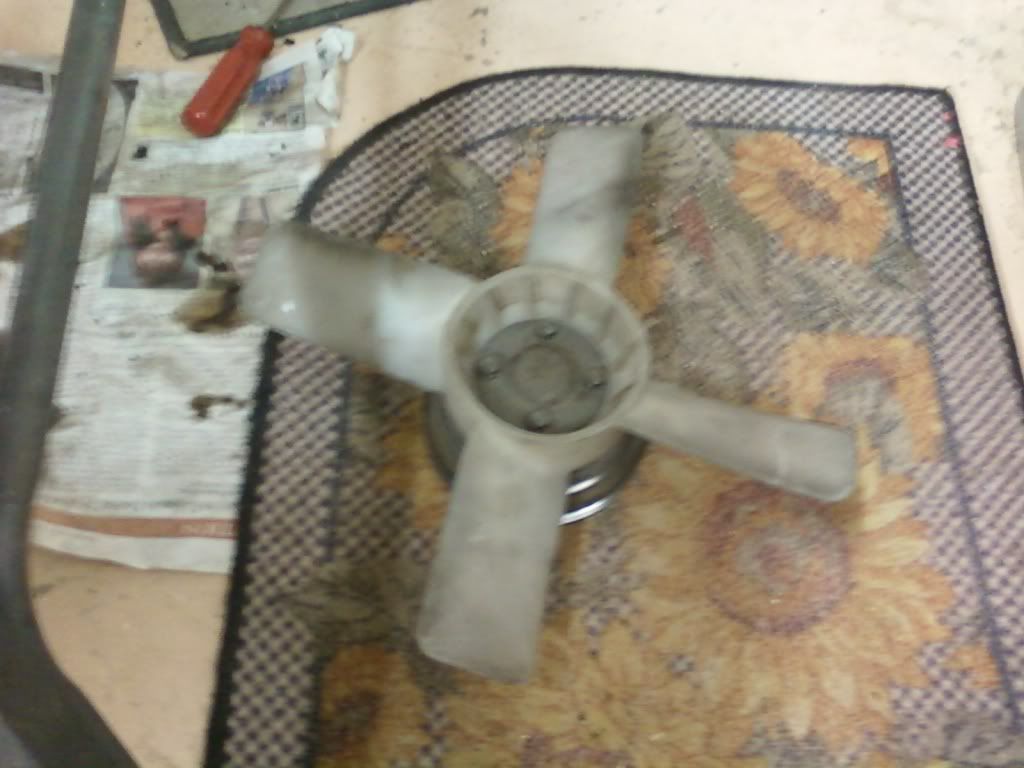
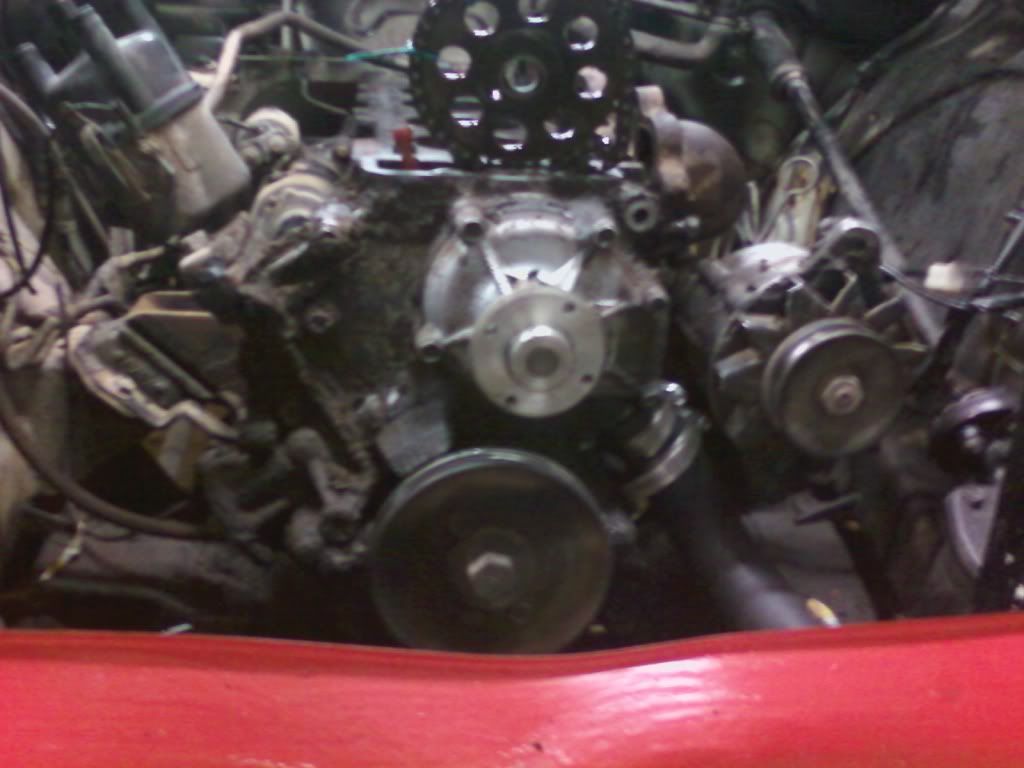
I continued my cleaning attempts by removing the fan and lower serpentine belt.
Image
Image

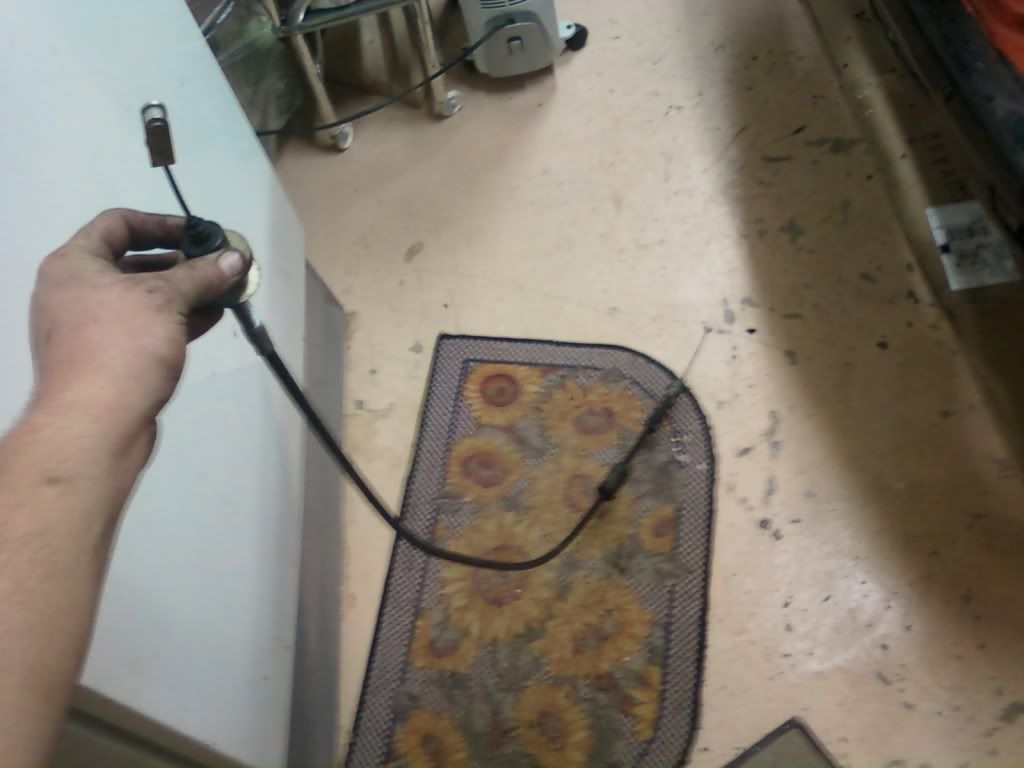
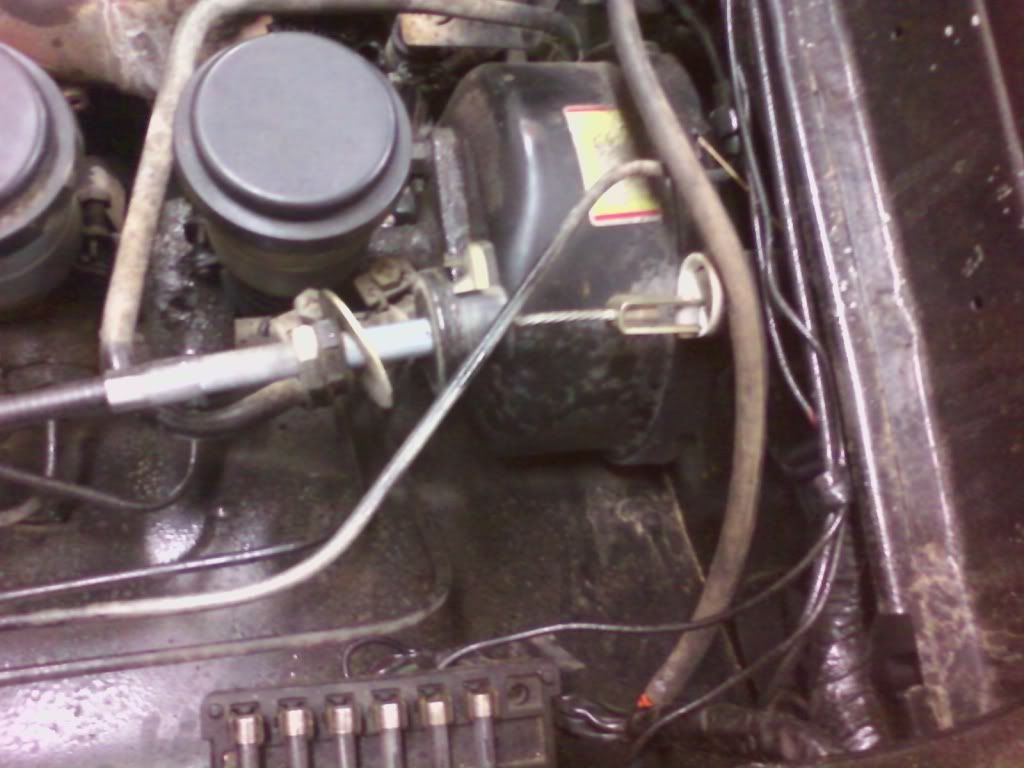
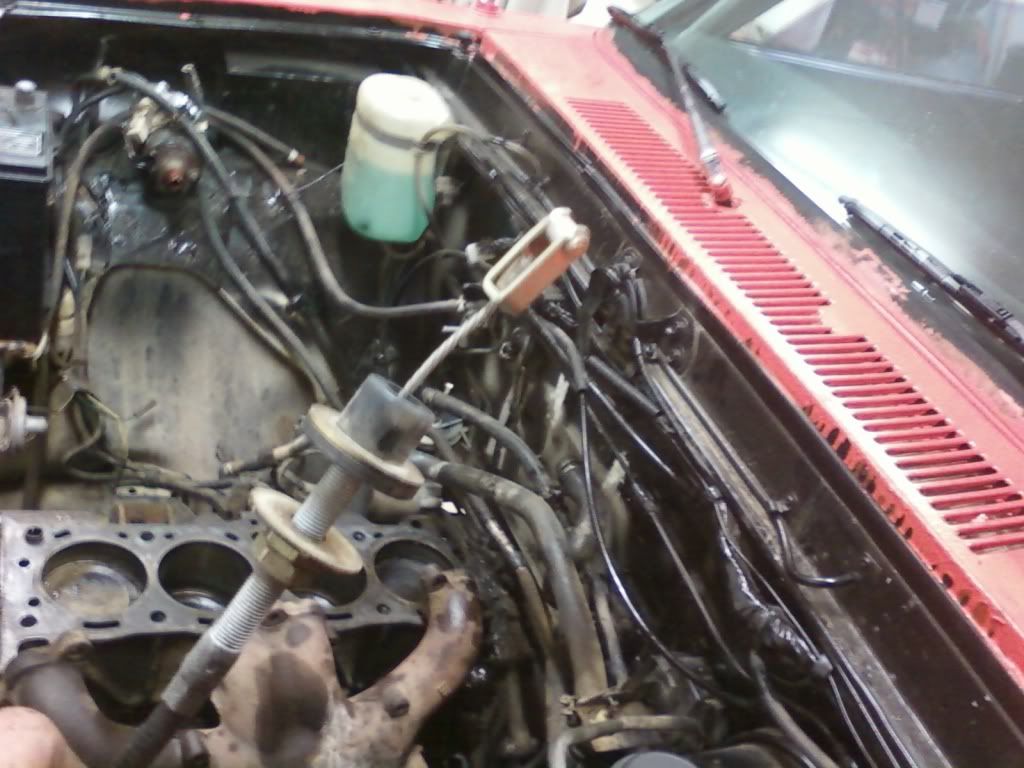
Since the clutch pedal wasn't depressing correctly, I removed the clutch cable. I found out the cable had seized in the casing.
Image
Image
Image

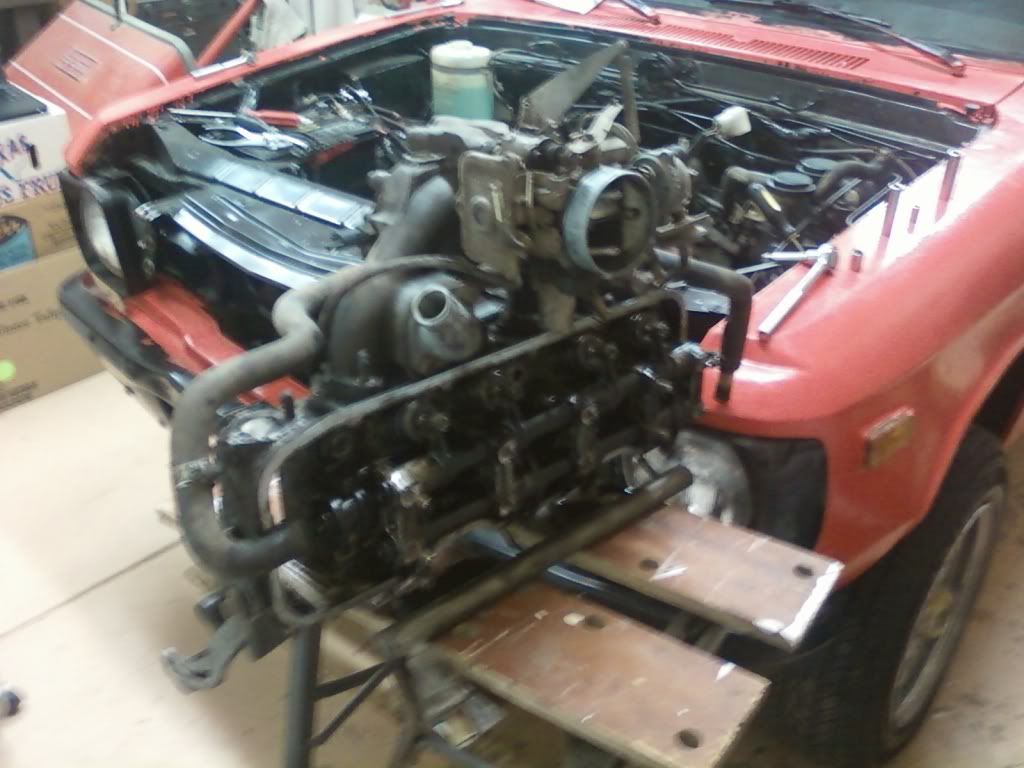
And with that I called it a day. Got a few hours of work in. I cleaned up and left the truck like this.
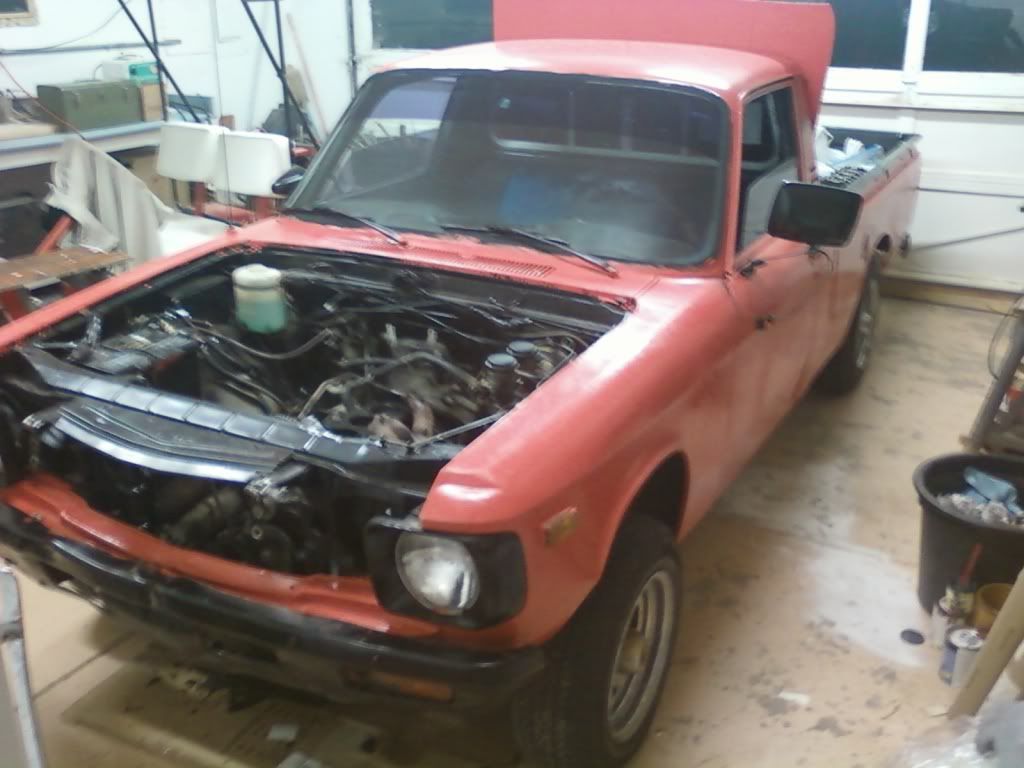
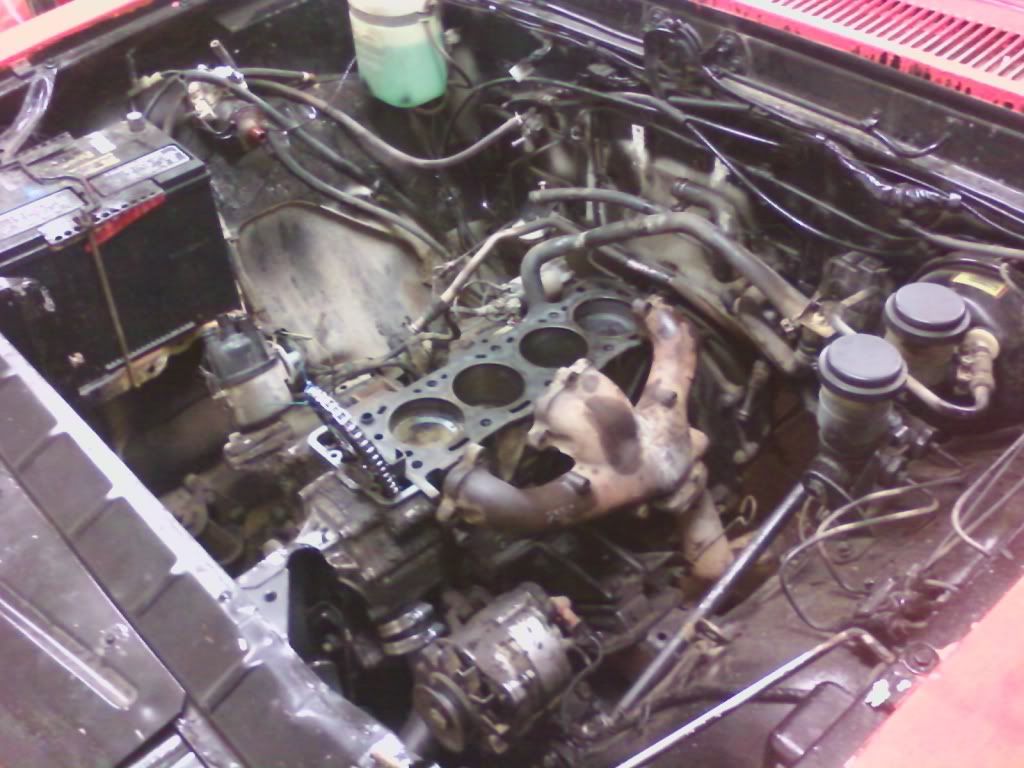
Image
Image

See, I told u the crap in the bed would grow. lol. :lol:

Image


So what do you guys think? My old cylinder head's coolant passages appear to be clear. The head is warped a bit, but I don't think its so much that its unusable. Should I still use the new head, or should I get the original one rebuilt and resurfaced?

Also, the coolant port in the intake manifold is clogged horribly right? I'm positive that the port is supposed to be nearly the size of a dime. There was only one tiny hole barely big enough to get a basketball inflator needle through it. Its supposed to be bigger than that right?

I've been thinking. If I can't unplug that coolant port, I might have to get a new intake manifold. Maybe I should sell or trade the new cylinder head for an intake manifold? How much do you think it will cost to get my old head rebuilt and resurfaced? I bet that new head is worth $200 or so. Do you think that plus a little extra would get me an offey intake with maybe a weber carb? That would be sweet. My bottom end looks alright to me. No chips or anything in the pistons and the cylinder walls look clean and shiny. I think it would handle the extra boost in power alright.

Basically, is my intake manifold trash? :econfused

If it is, do you guys think I should sell the new cylinder head and get either another stock intake or maybe get an offey intake with a weber carb?

_________________
My Rides:

2002 Mazda B4000 4x4
1978 Chevy LUV - Sold :(
1990 Kawasaki EX500
2008 Yamaha TTR230


Top
 Profile  
Reply with quote  
PostPosted: Thu Nov 18, 2010 3:39 am 
Offline
Step-side Guru
User avatar

Joined: Sun Apr 11, 2004 11:09 pm
Posts: 5272
Location: Salem OR.
bshelley234 wrote:
Also, the coolant port in the intake manifold is clogged horribly right? I'm positive that the port is supposed to be nearly the size of a dime. There was only one tiny hole barely big enough to get a basketball inflator needle through it. Its supposed to be bigger than that right?

thats the size it is meant to be, dont drill it out. has to do with the right amount of flow to the heater...

_________________
My old but now gone Luv...
Image


Top
 Profile  
Reply with quote  
PostPosted: Thu Nov 18, 2010 7:46 am 
Offline
Addicted to LUV
User avatar

Joined: Tue Aug 18, 2009 9:09 pm
Posts: 1204
Location: Salt Lake City
your cyl head isnt that much worse than mine was, you can take that to the machine shop and get it surfaced for a nominal fee. i think i paid a total of 35 bucks JUST for a resurface.

just don't go with the lowest bidder. if you can, take it to the best REPUTABLE machine shop you can find. sometimes, local community colleges with auto shops can take a look at it and if they have a head resurfacer, you can get it done there.

yeah, i agree, the coolant passage you saw there is normal. it's only meant to be a certain size, don't mess around with it too much.

disassemble the head and get that taken care of.

_________________
Image
To the Oquirr hills for awesome thrills! Go-go 4wd, Activate!


Top
 Profile  
Reply with quote  
PostPosted: Thu Nov 18, 2010 11:50 am 
Offline
LUVTruck.com Guru
User avatar

Joined: Tue Aug 10, 2010 11:18 pm
Posts: 151
Location: Estes Park, CO
Hmmm, so thats the size its meant to be? I wonder why it was overheating then..... Before I pulled it apart, I bought and installed a new radiator, radiator hoses, radiator cap, added an overflow tank, and flushed it out 3 or 4 times in both directions. Even after all that it kept overheating. I've since bought a new thermostat and I'm going to replace ALL of the hoses, but do you think its possible that it will still overheat when I put it back together? How can I know for sure if the head or the intake manifold or even the block's passages are clogged or not? Also, when it was overheating, the heater would blow hot only for the first 5 mins or so after heating up. After that, it blew cold air as the radiator started to blow steam. Do you think that maybe my heater core is clogged also? Or could it be the water pump? The stupid overheating is what created this whole mess in the first place! (although I'm sure it woulda gone soon regardless) but still! :evil: *Grumble* Grumble*...

Ugh, just when I thought I'd gotten to the bottom of it.... :cry:

Oh well. I'll call local machine shops and visit the FRCC westminster campus down south (the campus I'm going to now doesn't have an auto shop). But I'm still not gonna rule out using the new head. I want to be sure that the old head flows coolant well before I get it fixed. Any ideas on how to test it? I can't see any blockages, but who knows? :?

Btw, thanks guys for all your help so far, I really, really appreciate it. :ebiggrin

_________________
My Rides:

2002 Mazda B4000 4x4
1978 Chevy LUV - Sold :(
1990 Kawasaki EX500
2008 Yamaha TTR230


Top
 Profile  
Reply with quote  
PostPosted: Thu Nov 18, 2010 12:45 pm 
Offline
da LUV masta

Joined: Mon Apr 27, 2009 6:32 am
Posts: 548
Go ahead and remove the pan. It isn't that big of a job and it is the only way to get a bunch more of the crud out of the engine. I would guess there is about a quart of stuff in front of the steering link that never drains.

There should be little difference in the compression between your head rebuilt, and a similar one rebuilt. Using a different head could cause problems.

I have always looked at a head and felt it was worth the money to have it professionally rebuilt including grinding the valves. Burned valves cause bad compression too. They have all the tools, the parts, a nice shop to work in, and most of all the experience to inspect the parts and know which ones need replaced.


Top
 Profile  
Reply with quote  
PostPosted: Thu Nov 18, 2010 12:53 pm 
Offline
Senior Member

Joined: Tue May 19, 2009 5:59 pm
Posts: 77
nice write up! very helpfull


Top
 Profile  
Reply with quote  
PostPosted: Fri Nov 19, 2010 4:51 pm 
Offline
Senior Member

Joined: Tue Sep 21, 2010 10:14 am
Posts: 56
Location: Vancouver, Washington
my 80' doesn't have any of the smog stuff on it at all. the hole int he back of the exhaust manifold i had a local muffler shop weld shut for me for $15. truck "seems" to run just fine without the stuff.

_________________
1980 Chevy Luv 4x4 mikado factory Black.
Image
1.8L 4spd


Top
 Profile  
Reply with quote  
Display posts from previous:  Sort by  
Post new topic Reply to topic  [ 79 posts ]  Go to page Previous  1, 2, 3, 4  Next

All times are UTC - 6 hours


Who is online

Users browsing this forum: No registered users and 7 guests


You cannot post new topics in this forum
You cannot reply to topics in this forum
You cannot edit your posts in this forum
You cannot delete your posts in this forum
You cannot post attachments in this forum

Search for:
Jump to:  
cron
Powered by phpBB® Forum Software © phpBB Group