Hey Guys,
Sry to keep you all waiting in suspense (ha, as if

). Luckily I did get the luv back together AND running; although it still needs to be tuned and etc. I spent all wednesday working on it from 10am to 11pm, but I did get it out of my landlady's garage before thanksgiving. I know it definitely shouldn't have taken that long, but I wanted to get it right the first time.

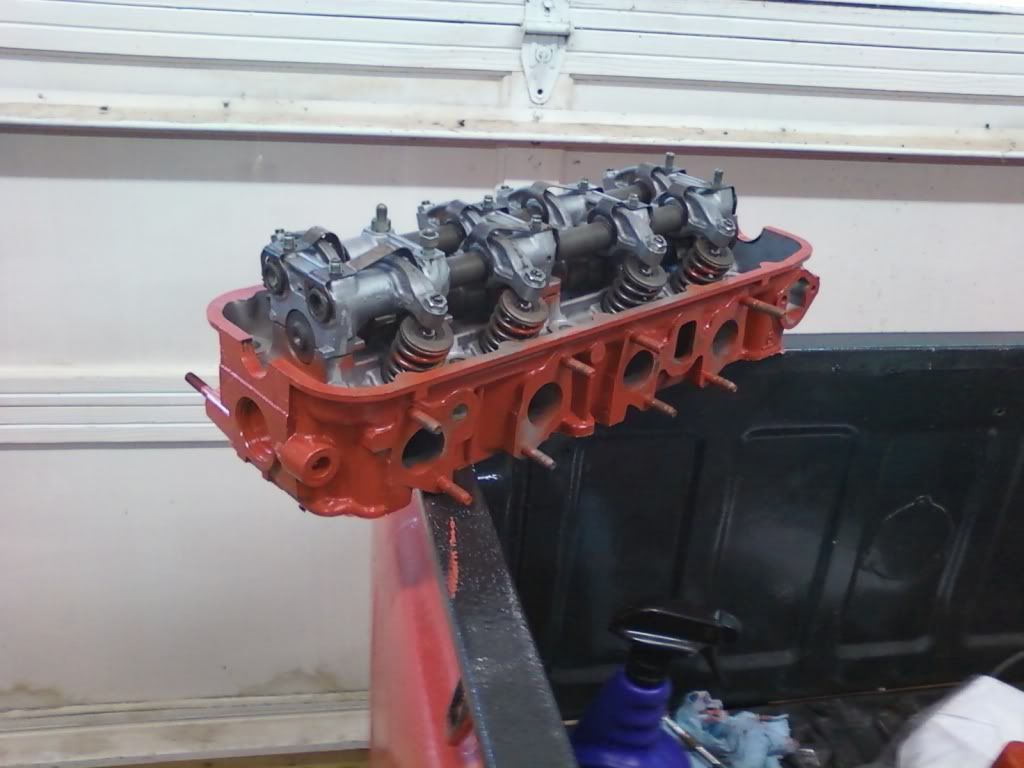
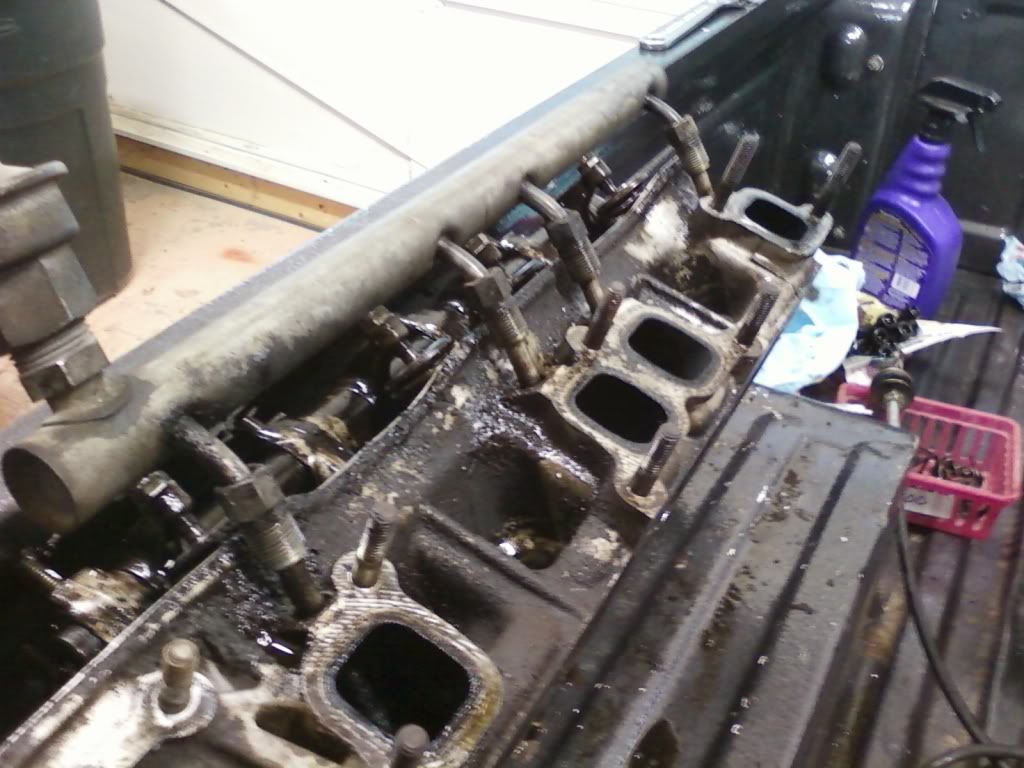
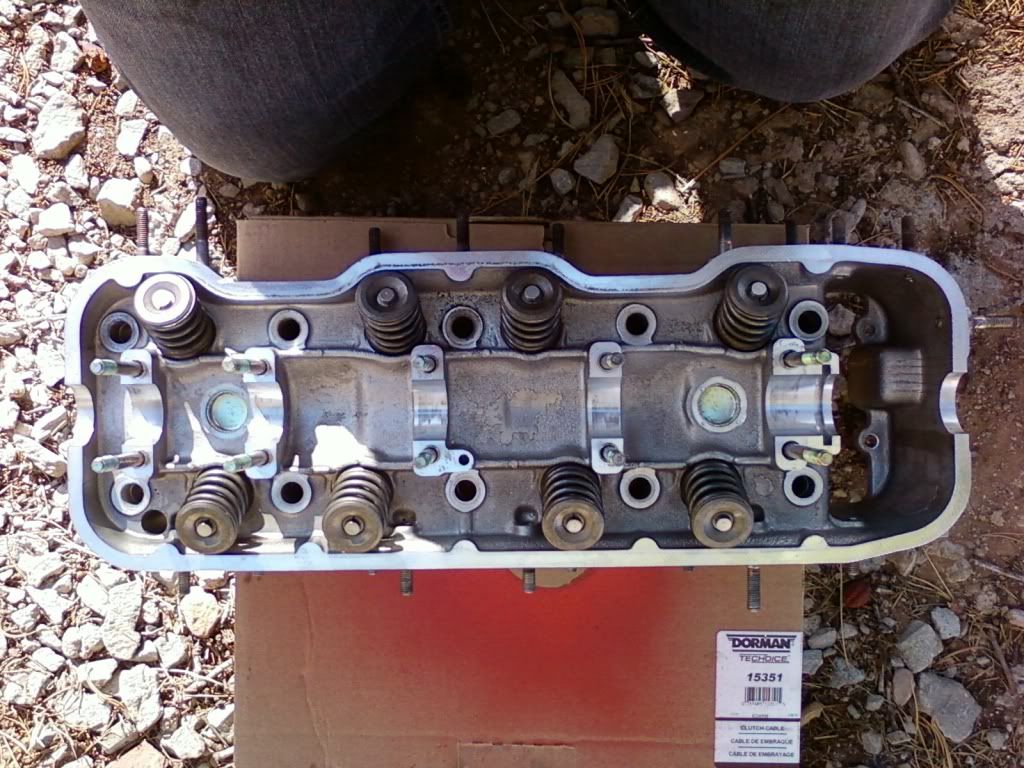
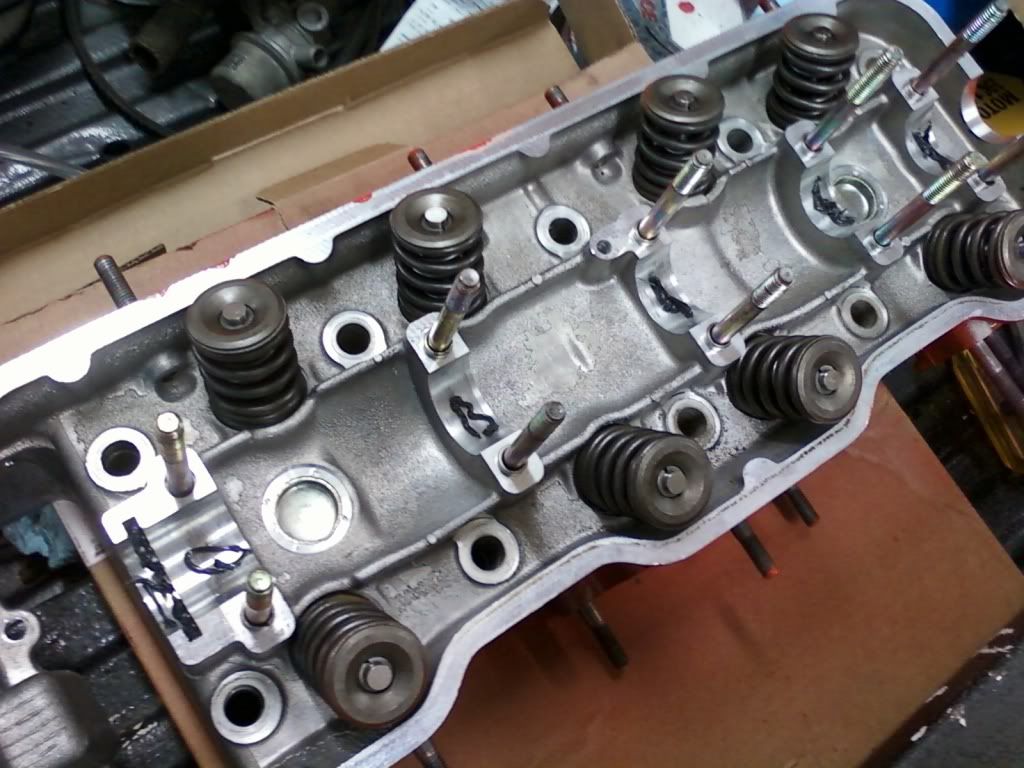
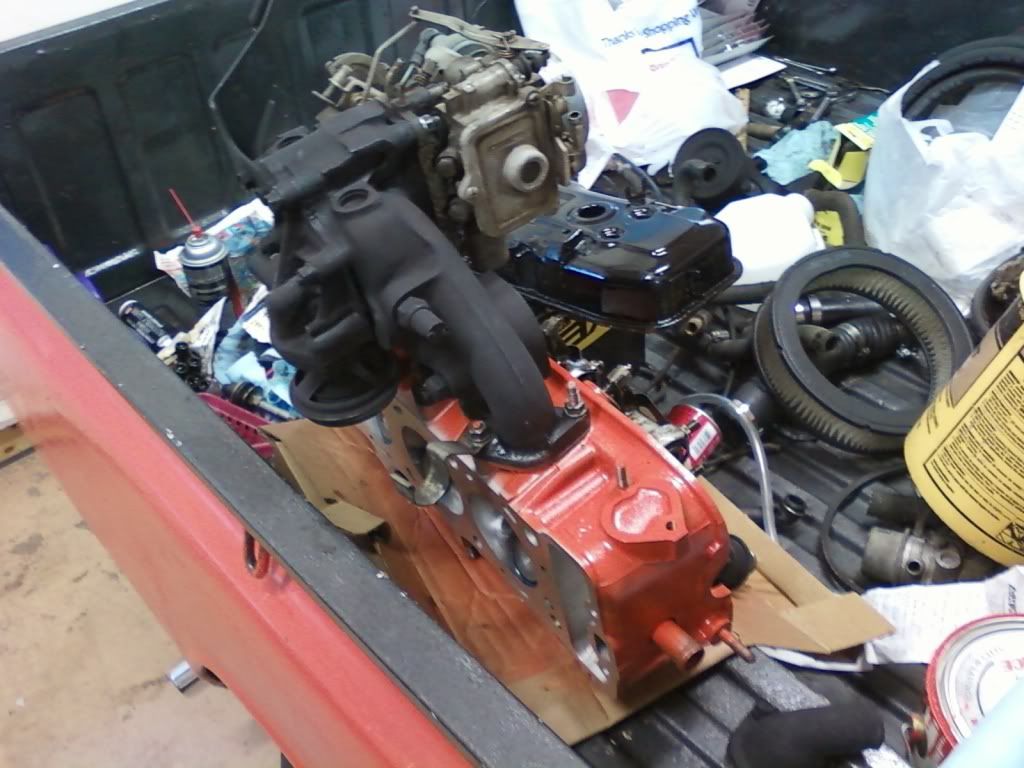
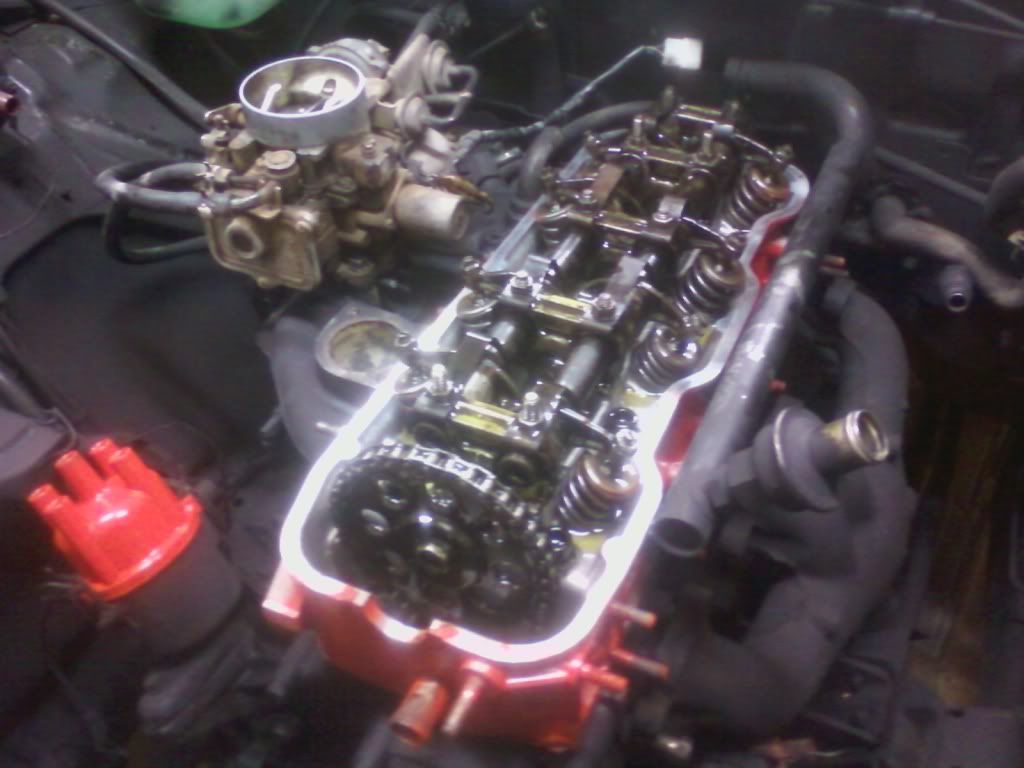
I got the finished head back from the machine shop about 9am or so. It looked AMAZING. I see what u mean now, figuarus, in ur post about "after you've finished gawking at the head..."
The guy cleaned it up, ground off all the carbon deposits on the valves, replaced the valve stem seals using the ones I gave him from the Felpro kit, and resurfaced the mating face.
The guy said he had to shave off .014" which he said is ALOT. If it was warped much worse he said I couldn't have used it.
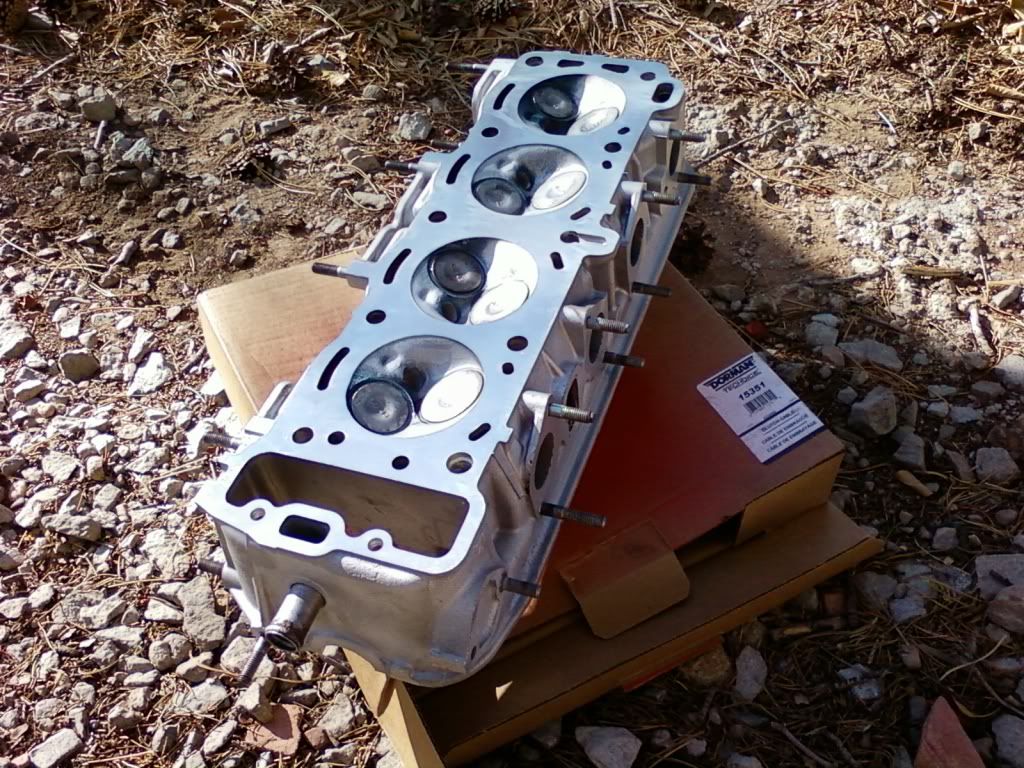
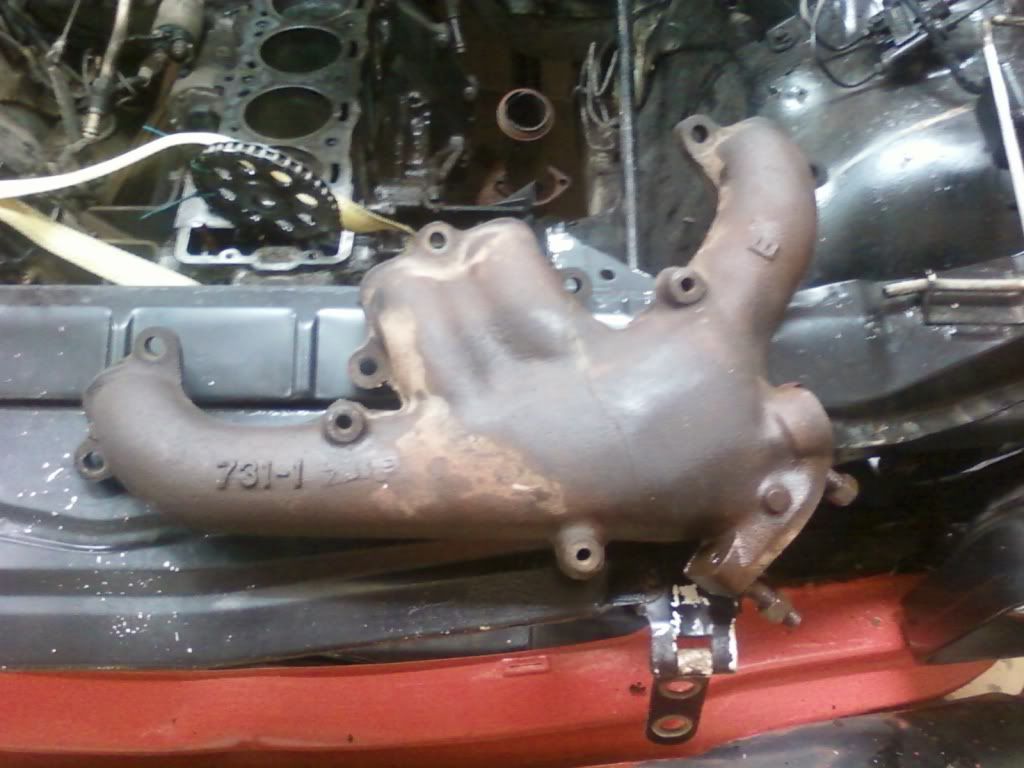
He had to grind it down into the exhaust manifold stubs... That'll supposedly raise the compression alot, so hopefully the bottom end will hold out...

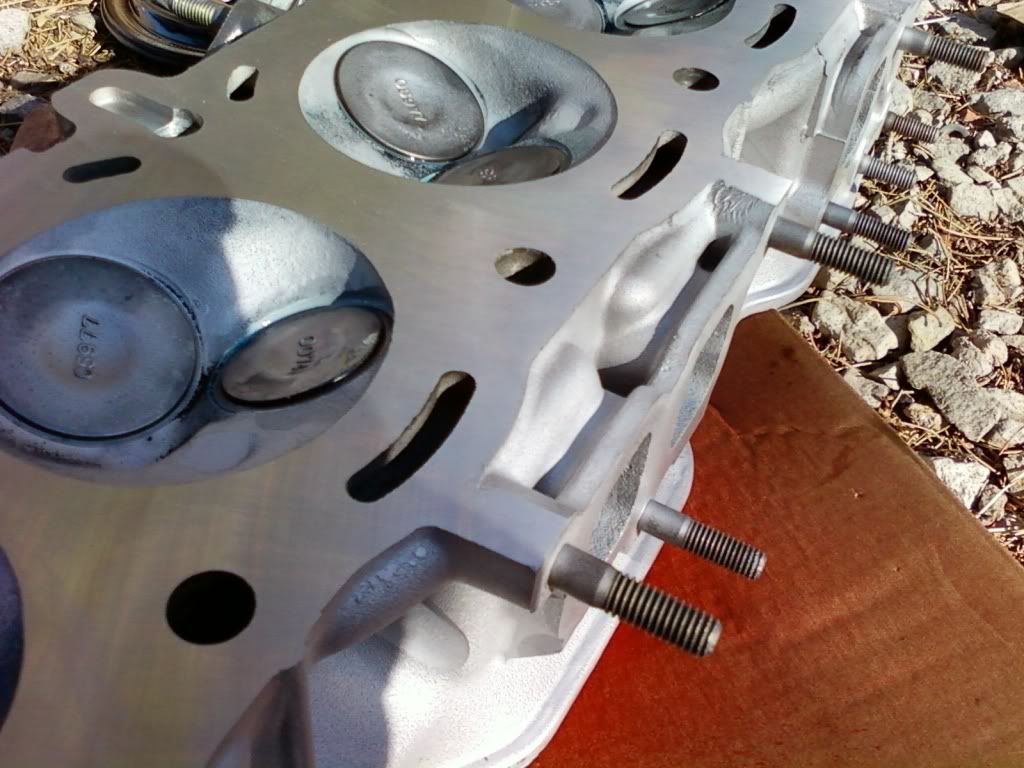
Sure was pretty tho.

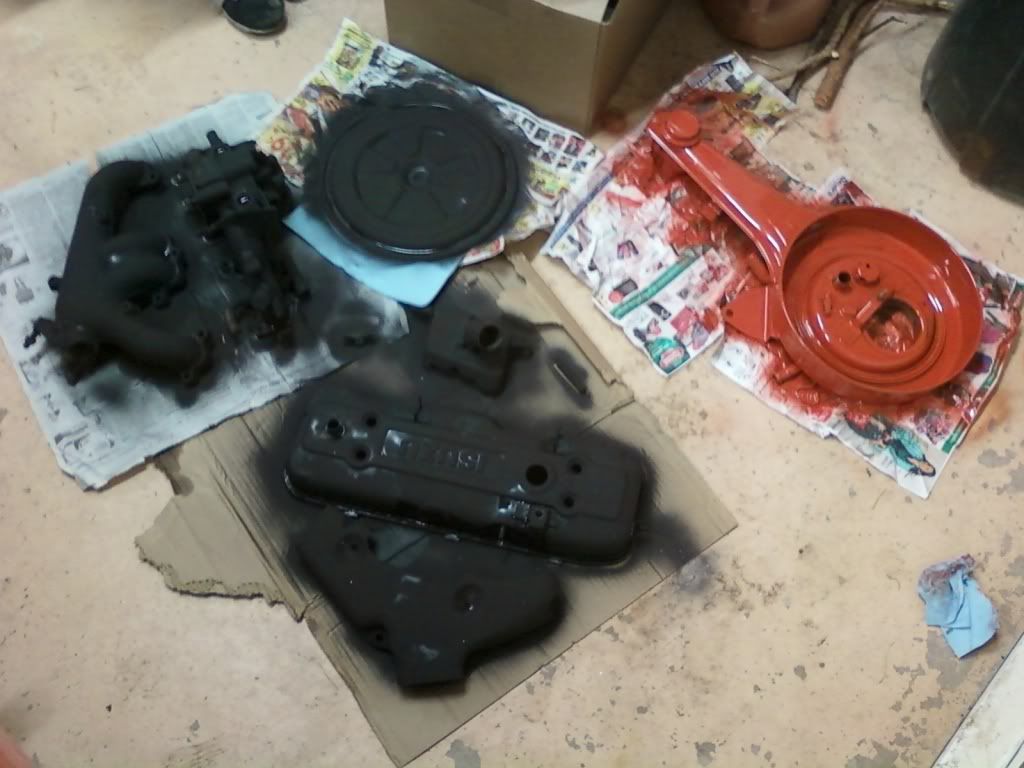
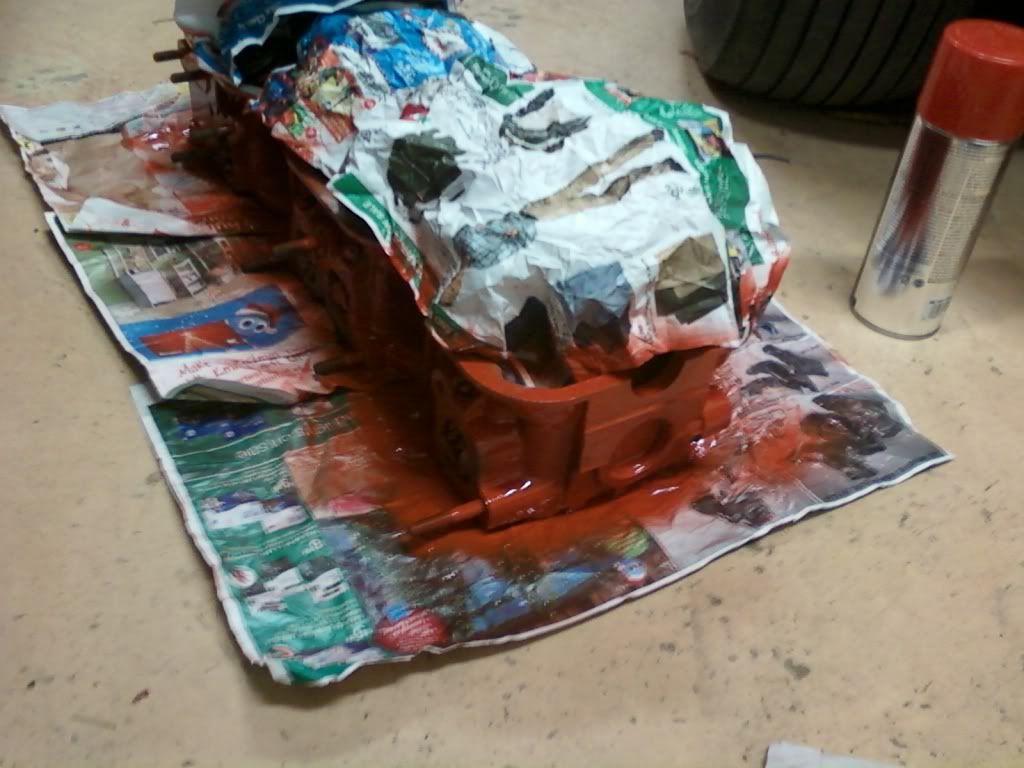
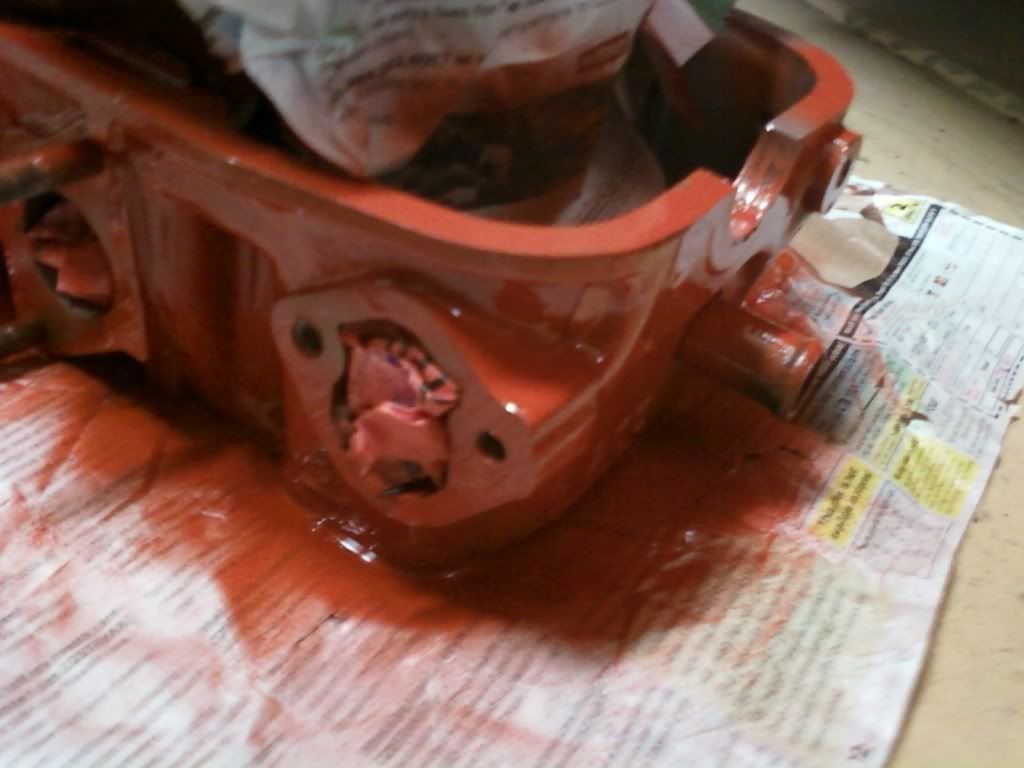
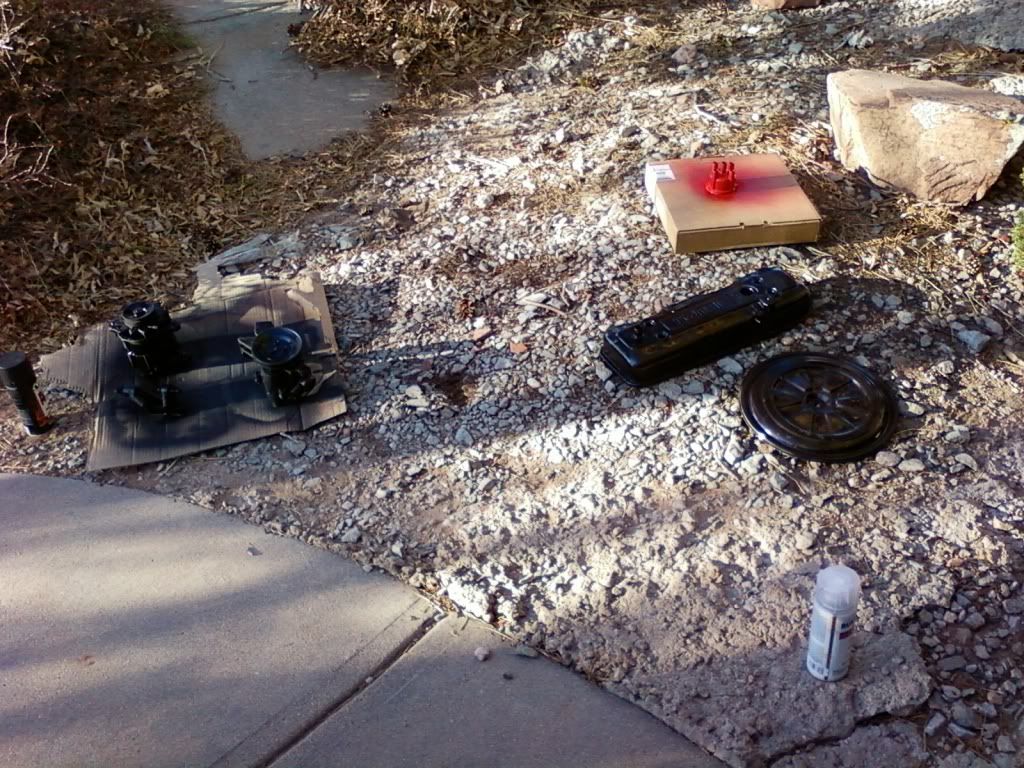
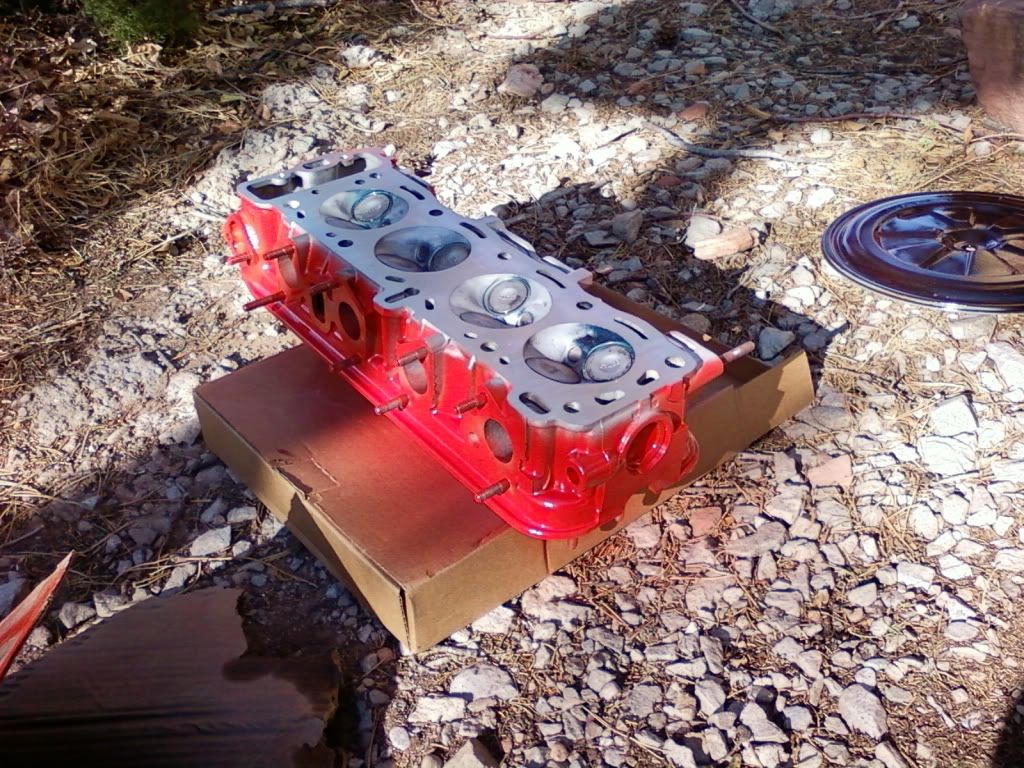
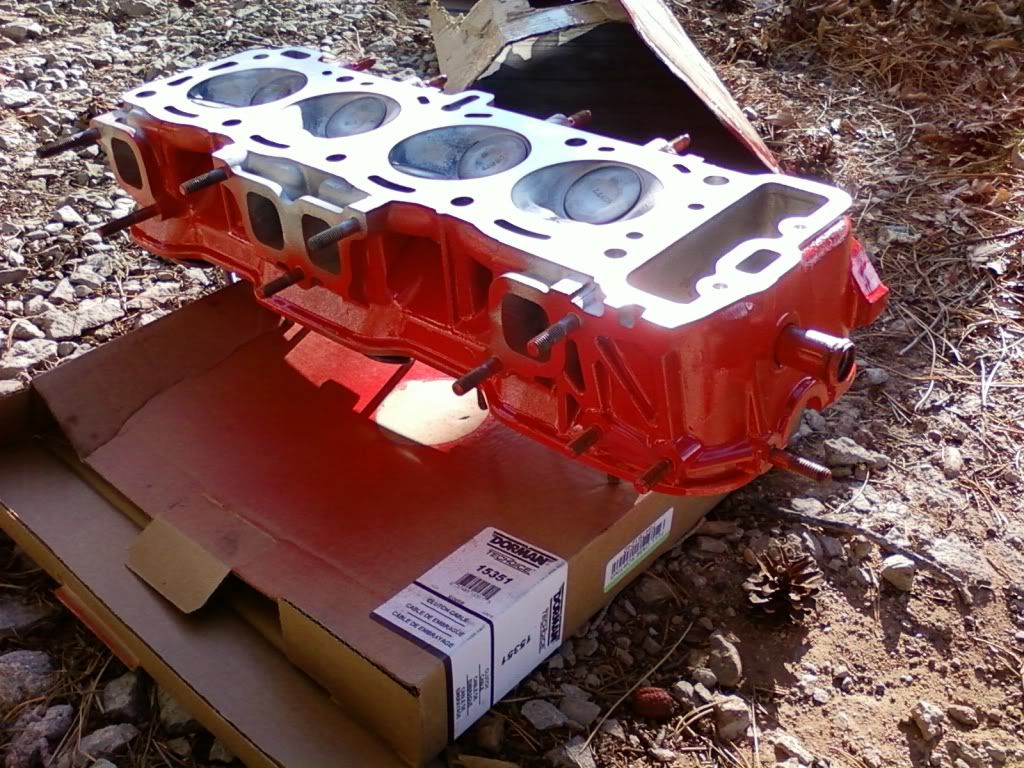
After admiring his work, I spray painted it with high-heat, orange vht paint.
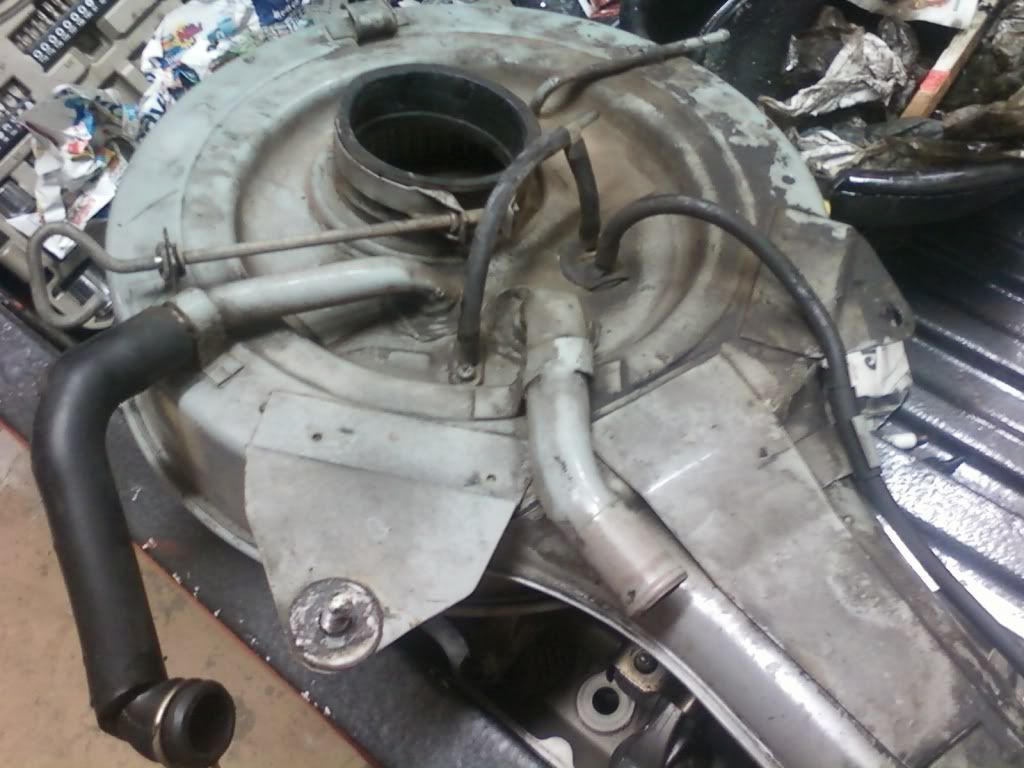
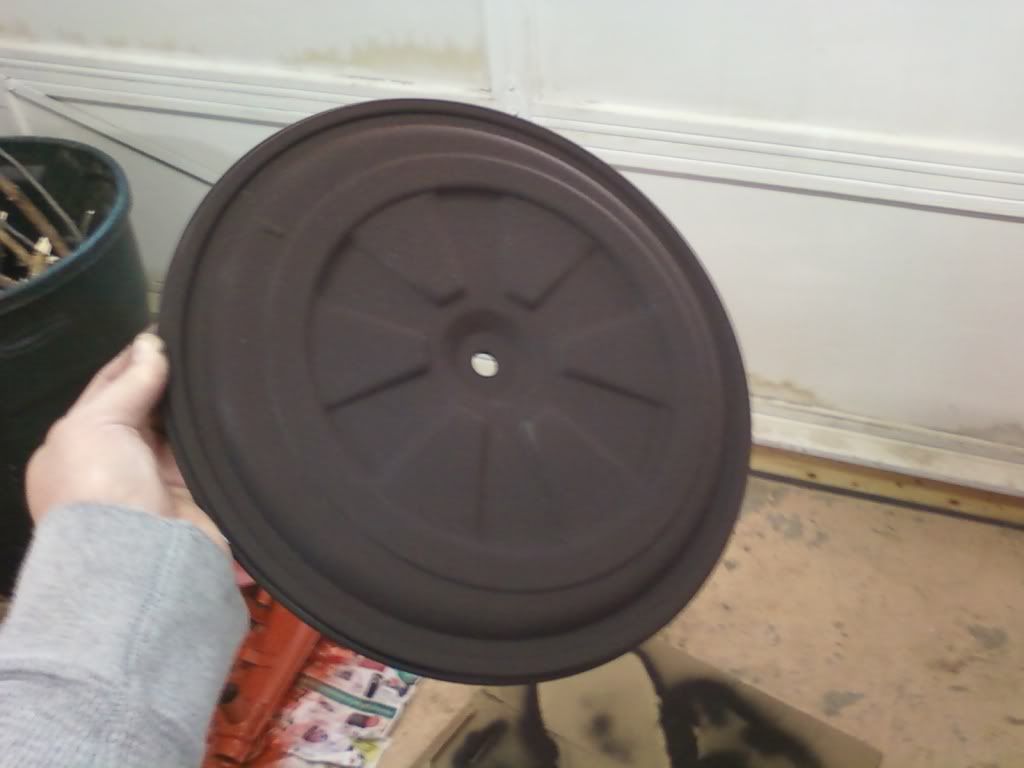
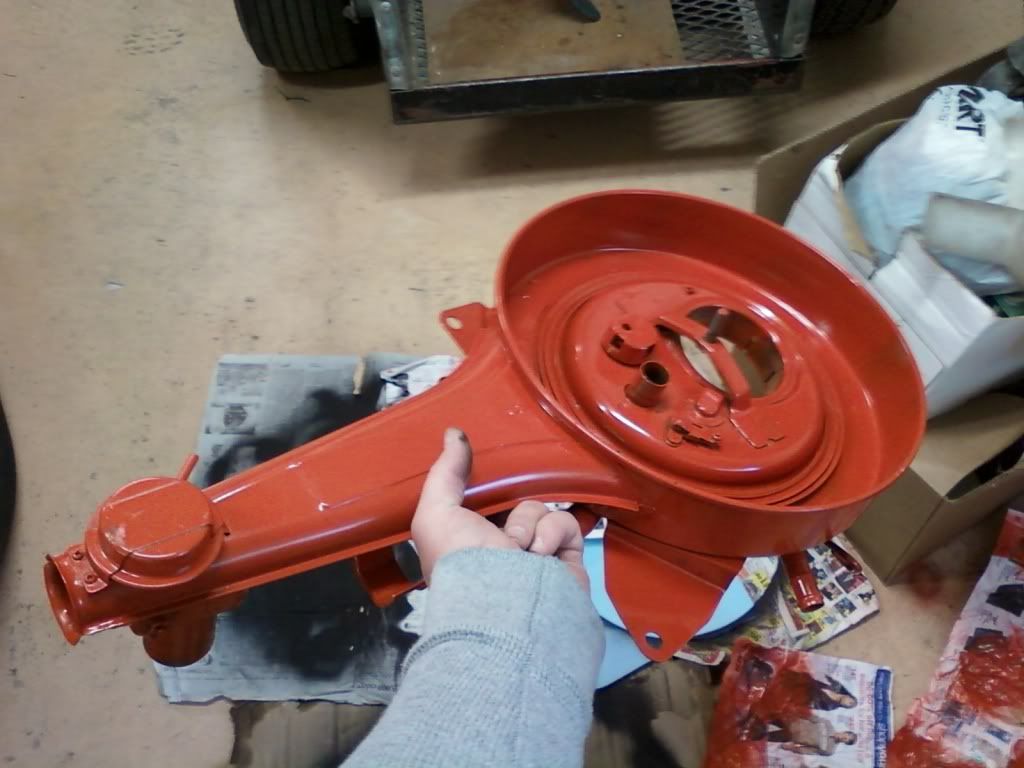
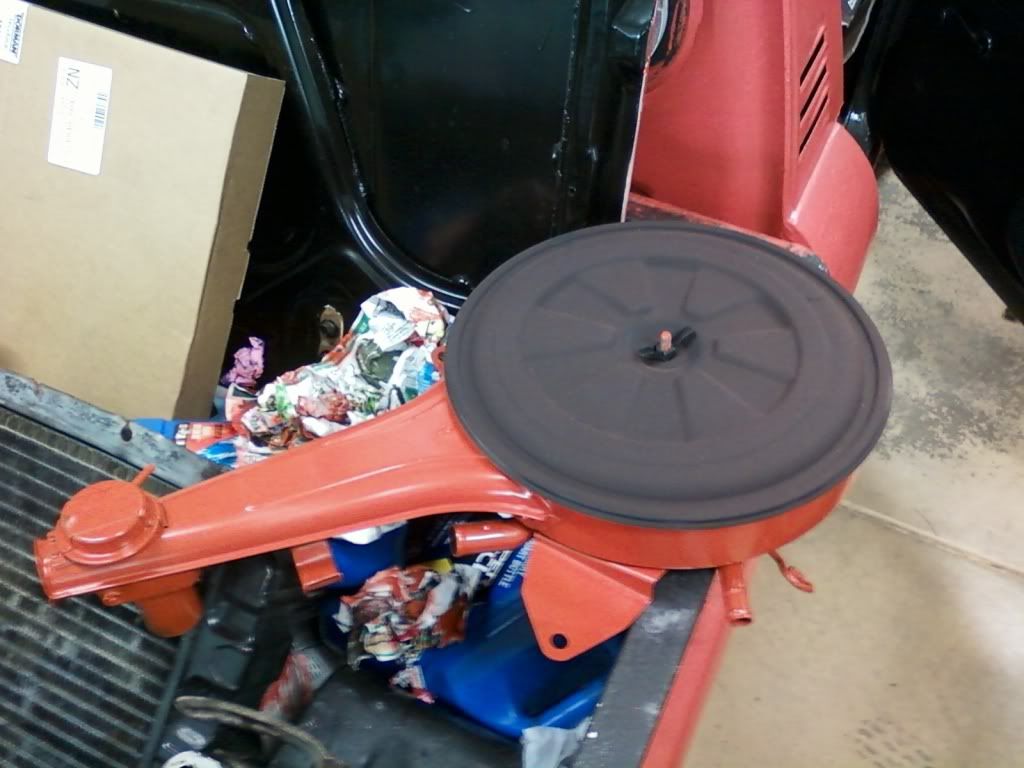
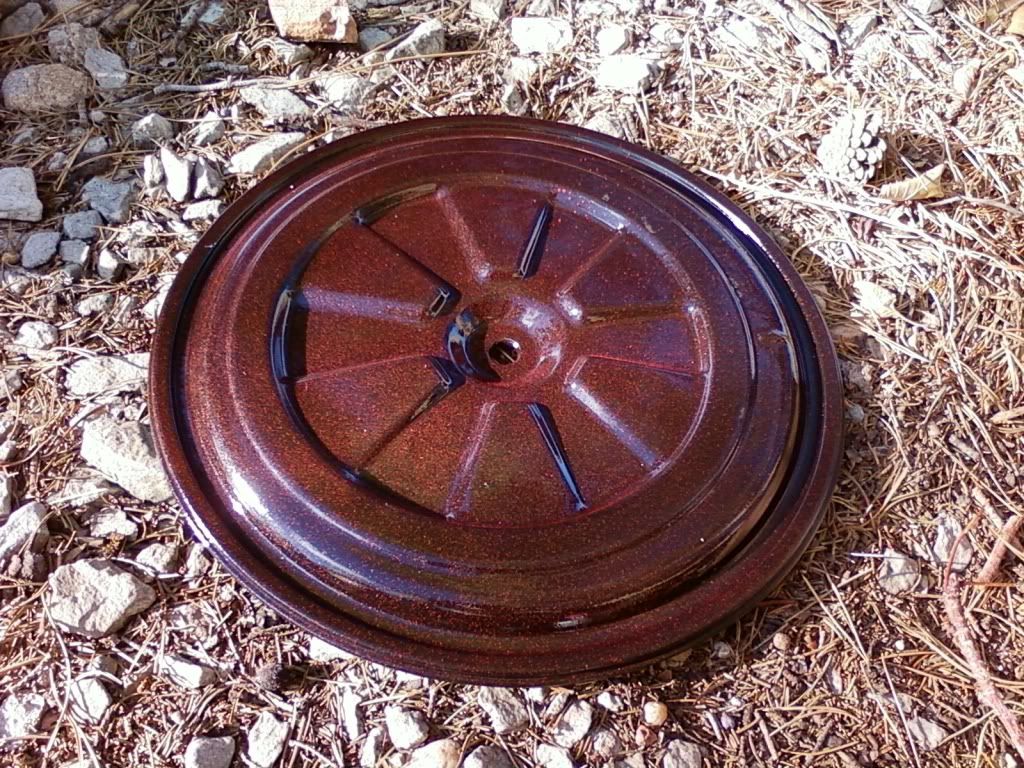
I did a little fancy work with the air filter housing lid. After spraying it flat black, I sprayed orange speckles all over it then put a few coats of clear coat on it.
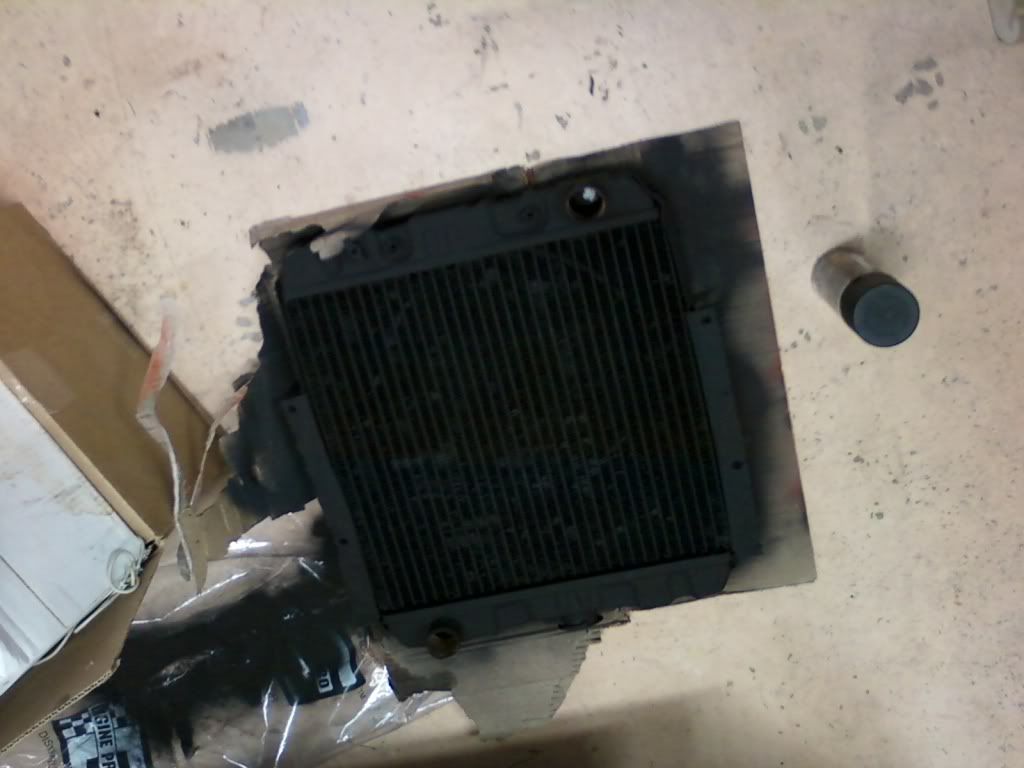
Spray painted the radiator with high-heat paint also.
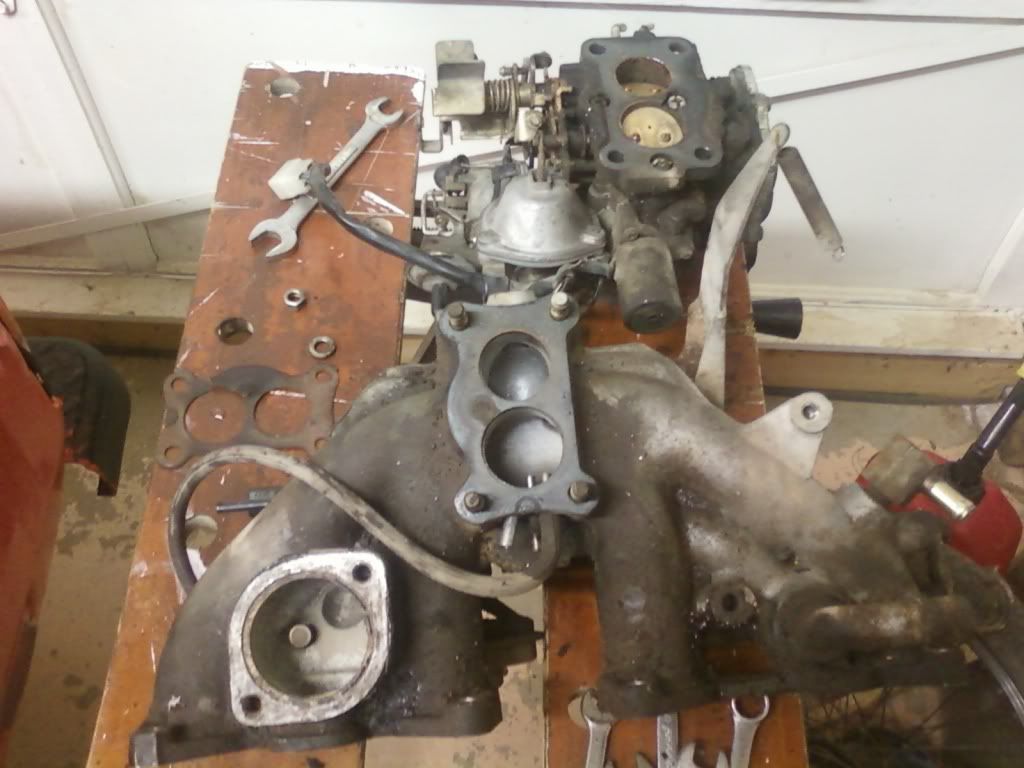
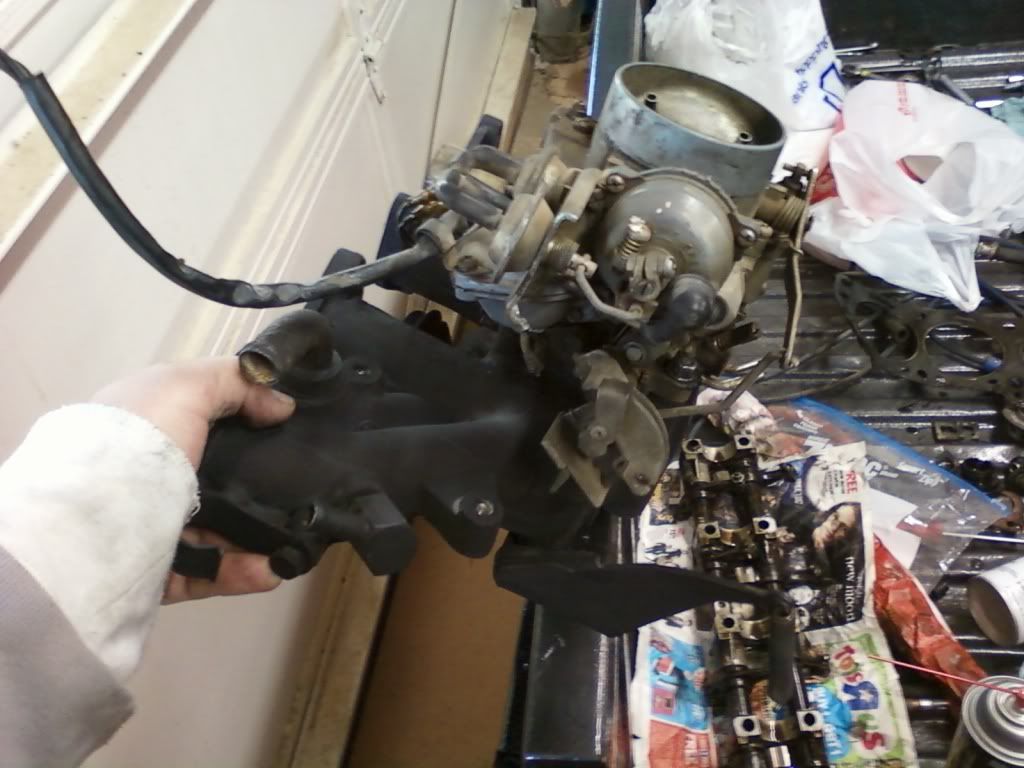
Attached the carb to the intake manifold.
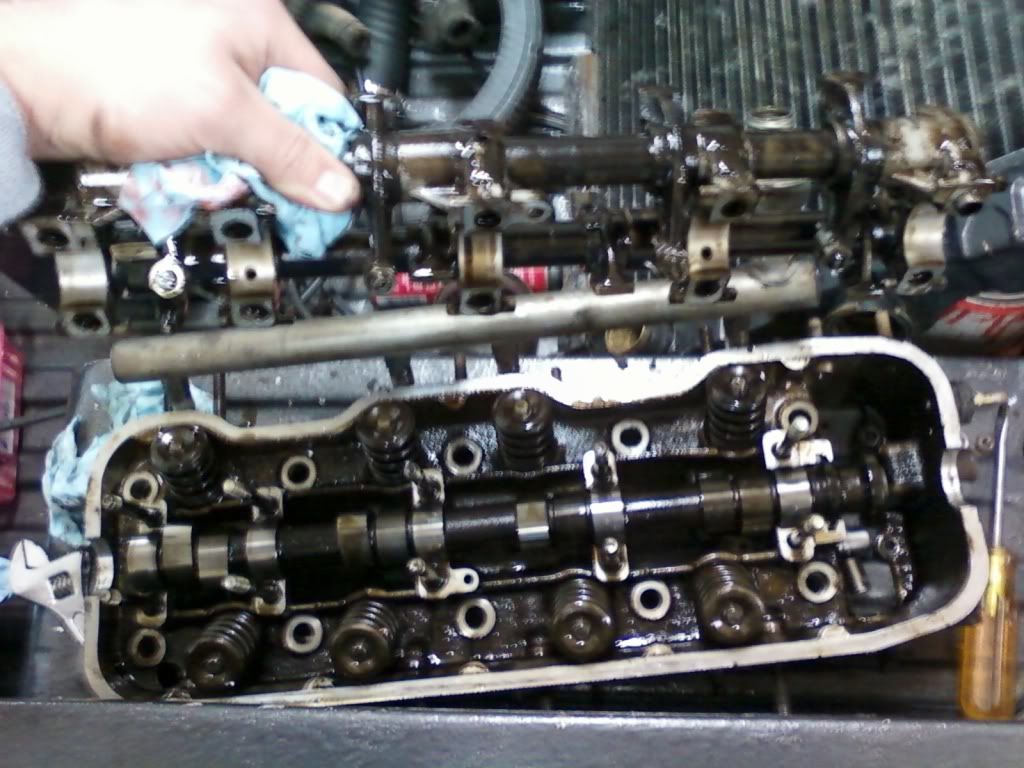
Applied some assembly lube to the camshaft bearings.
Reinstalled the camshaft.
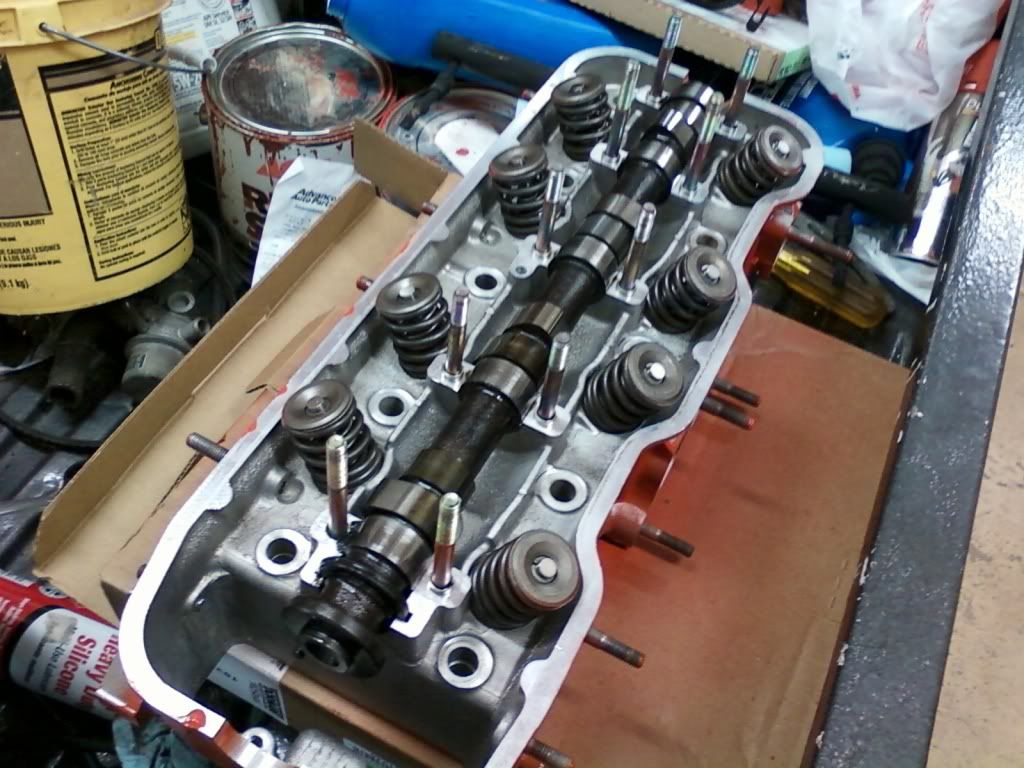
Then loosely attached the valve train (to allow for adjustments later).
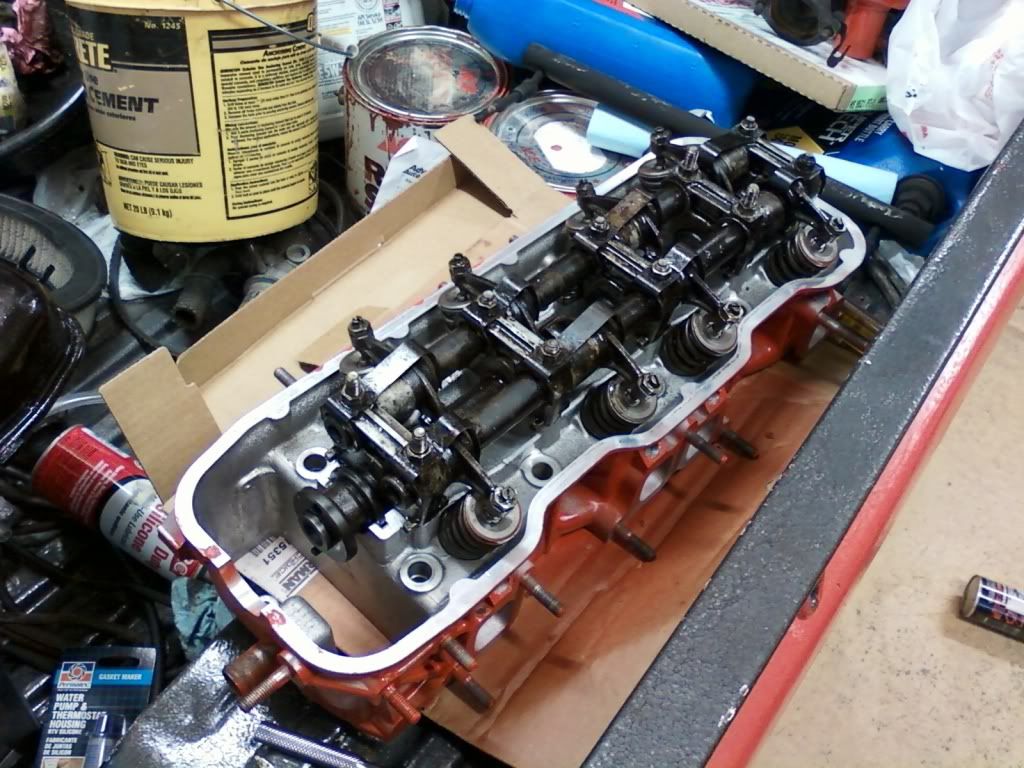
Reattached the air injector rail. The guy at the shop said he got it off no problem.

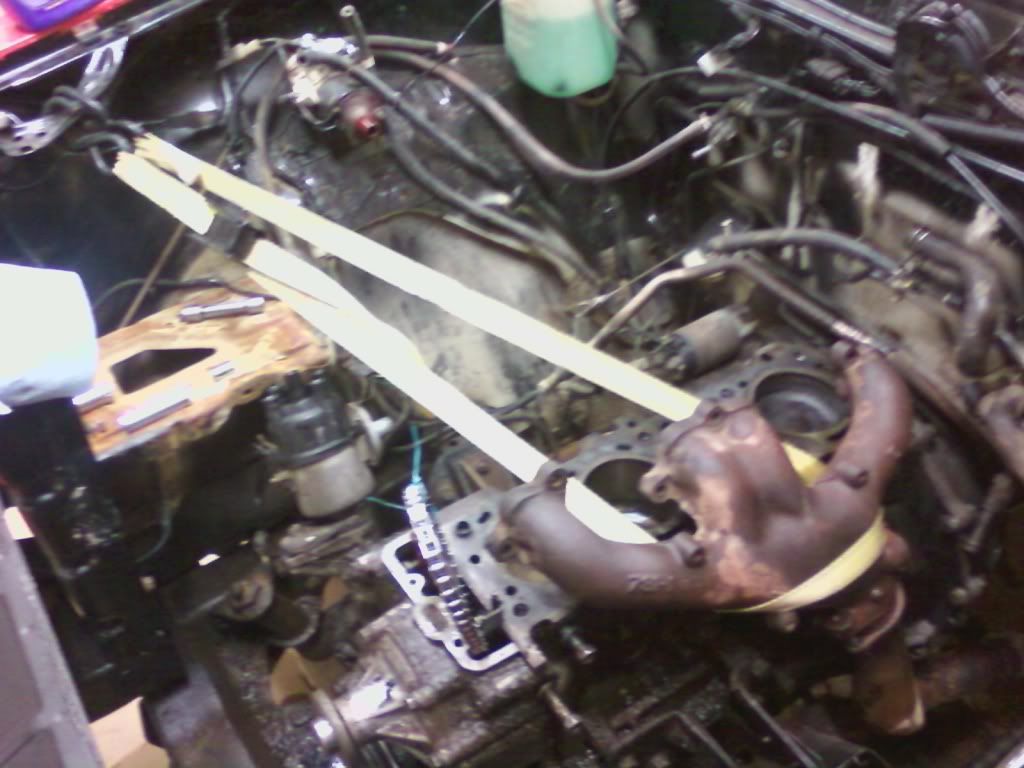
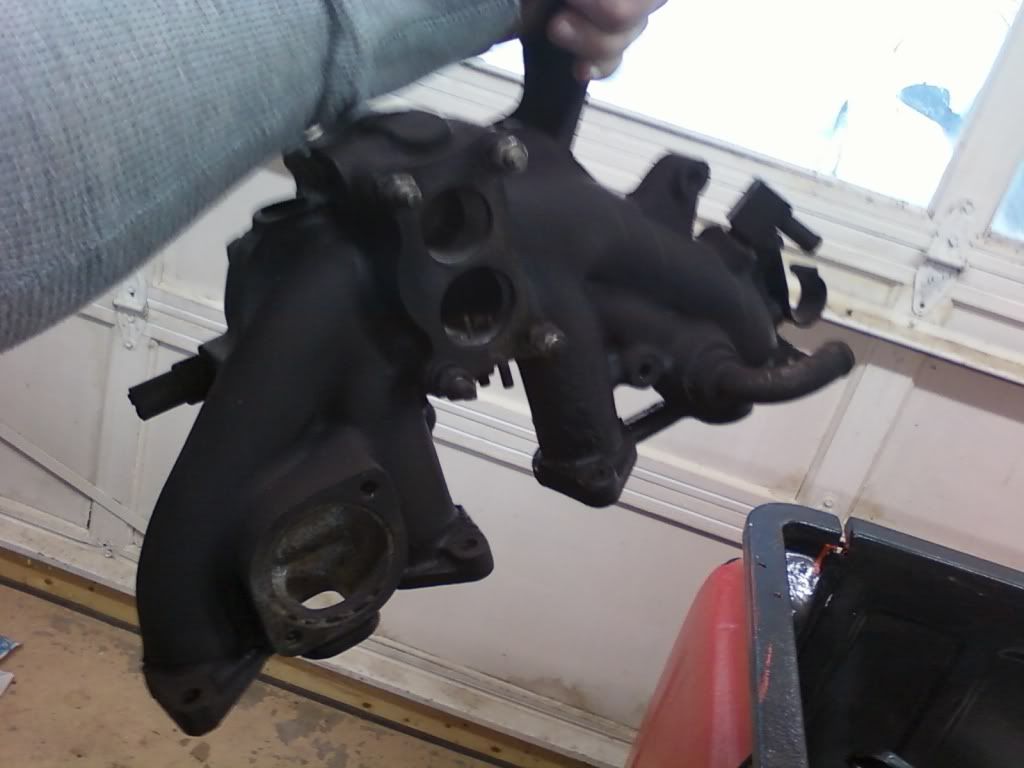
Got the intake manifold gaskets in place.
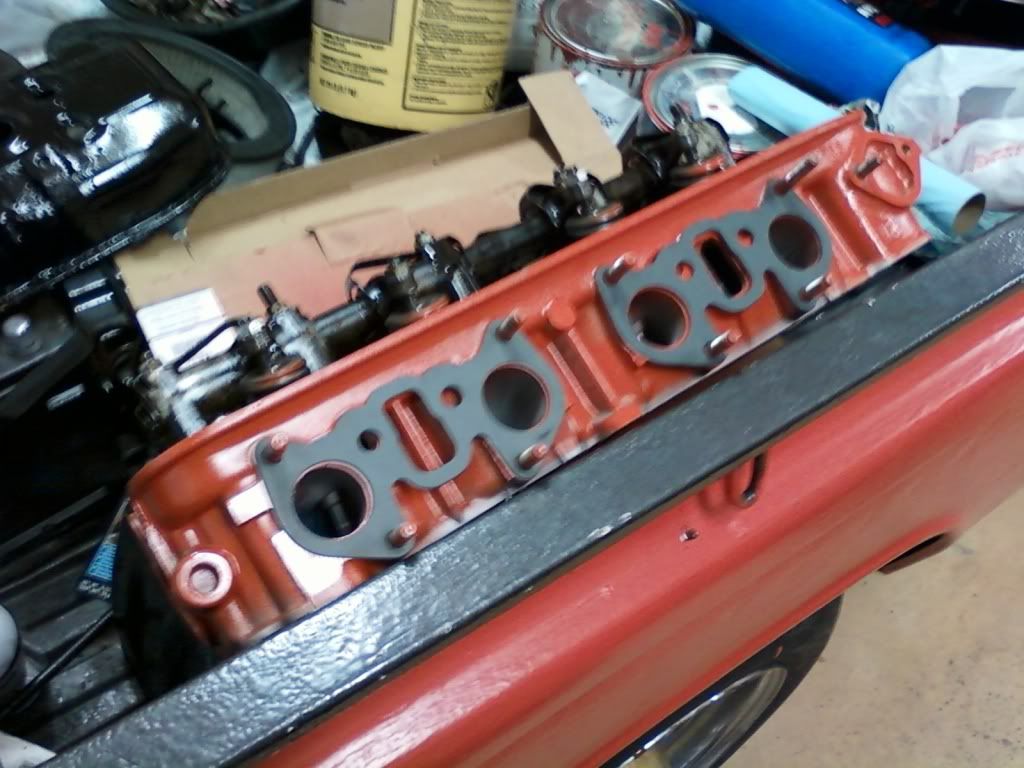
And attached the intake manifold.

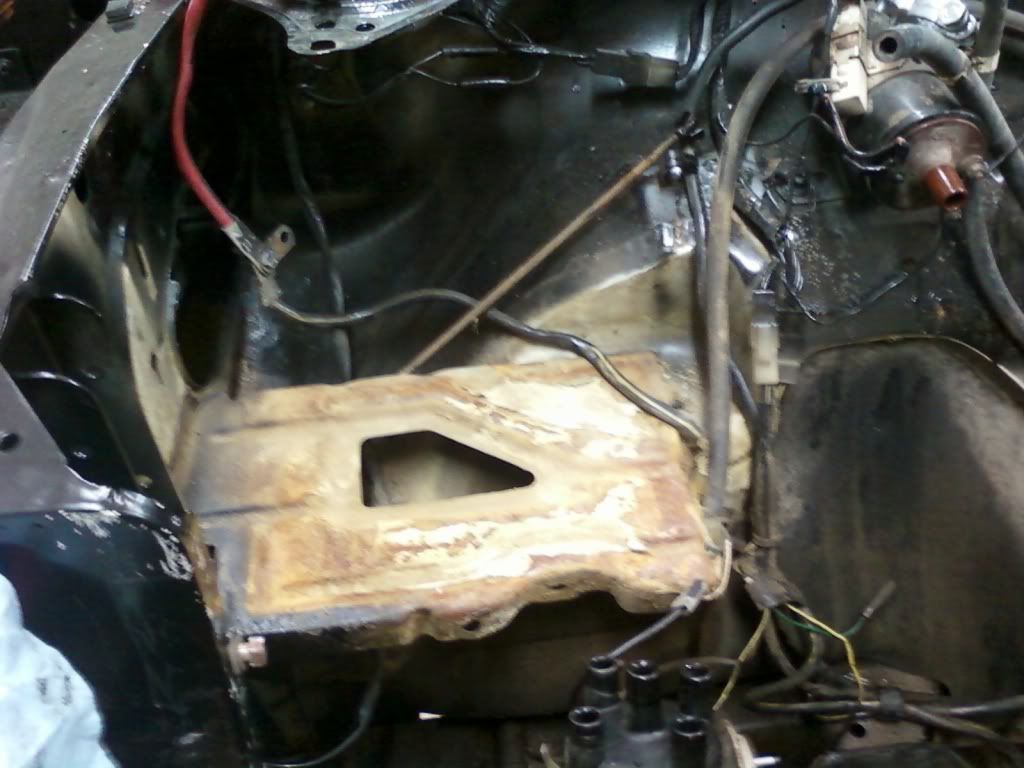
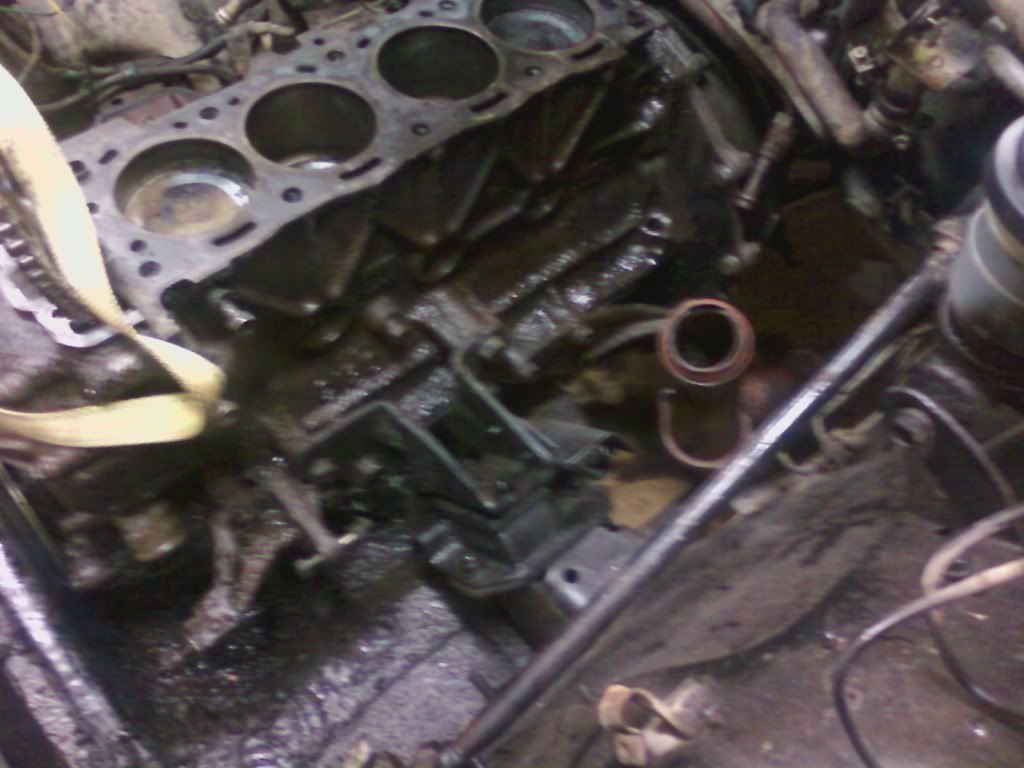
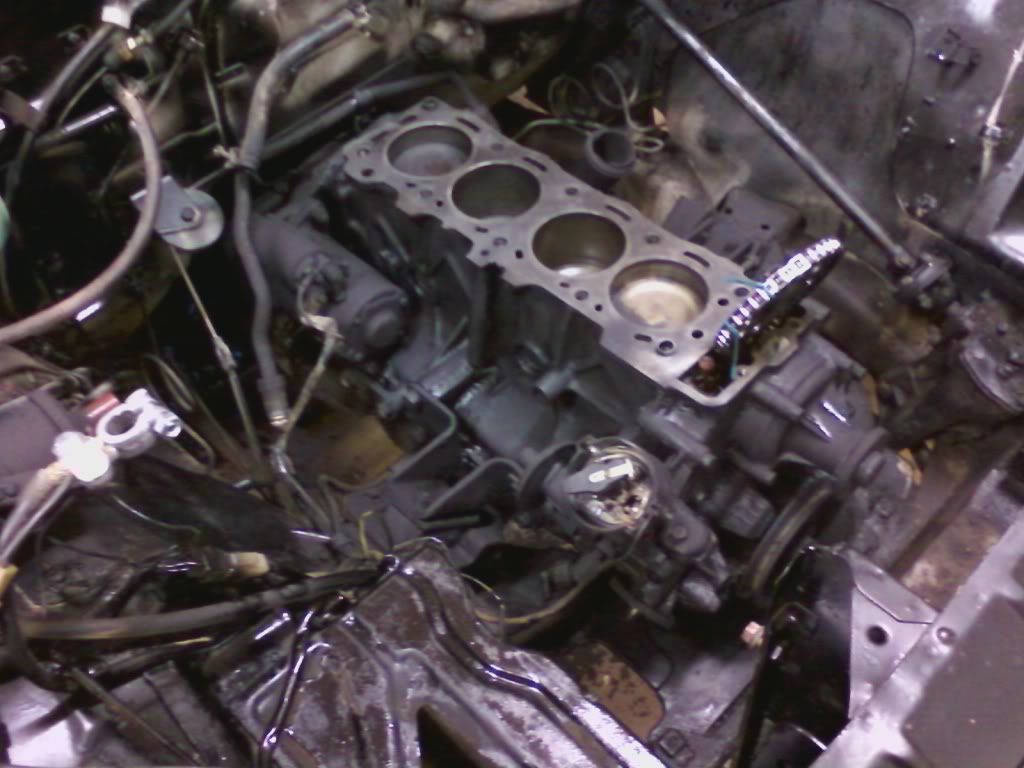
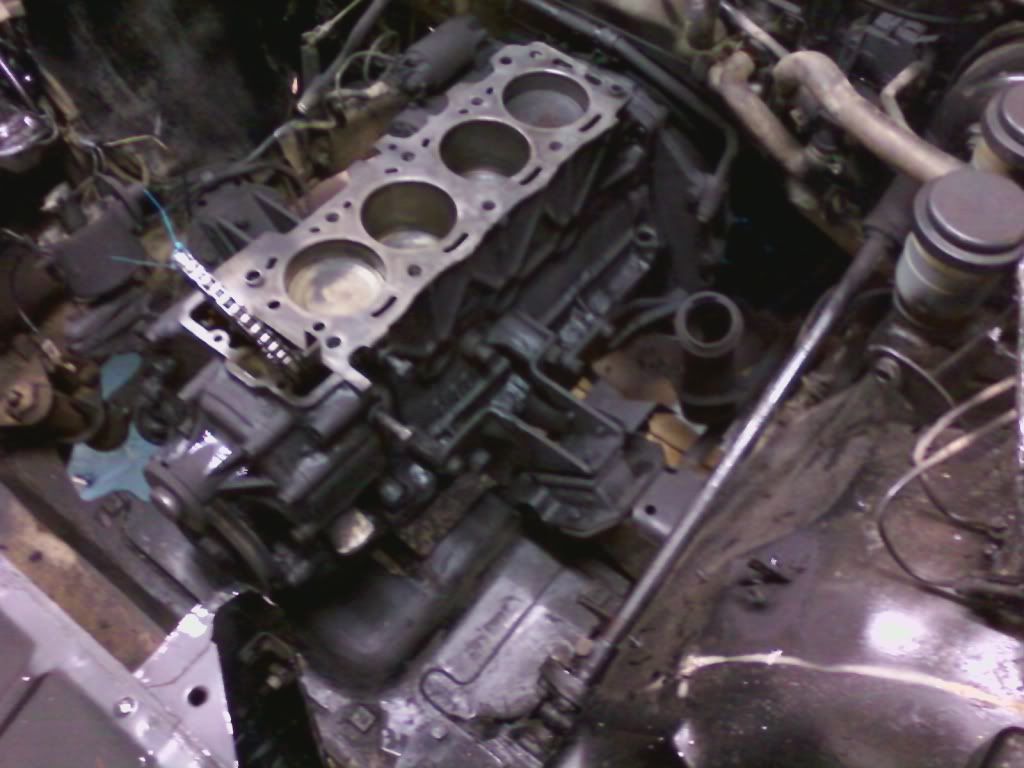
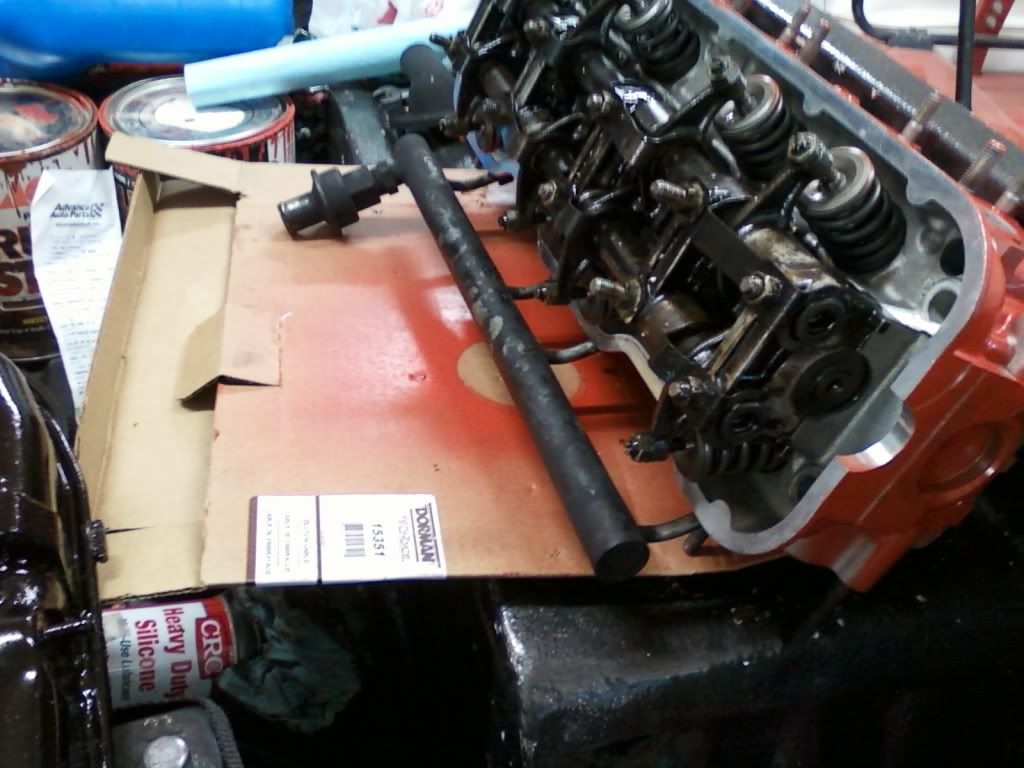
I ended up removing the hot air transfer tube from the engine bay and reattached it before setting the head back on the block.
Sprayed the head gasket with copper sealant spray (directions said to and so did the guy at Advanced Auto Parts).
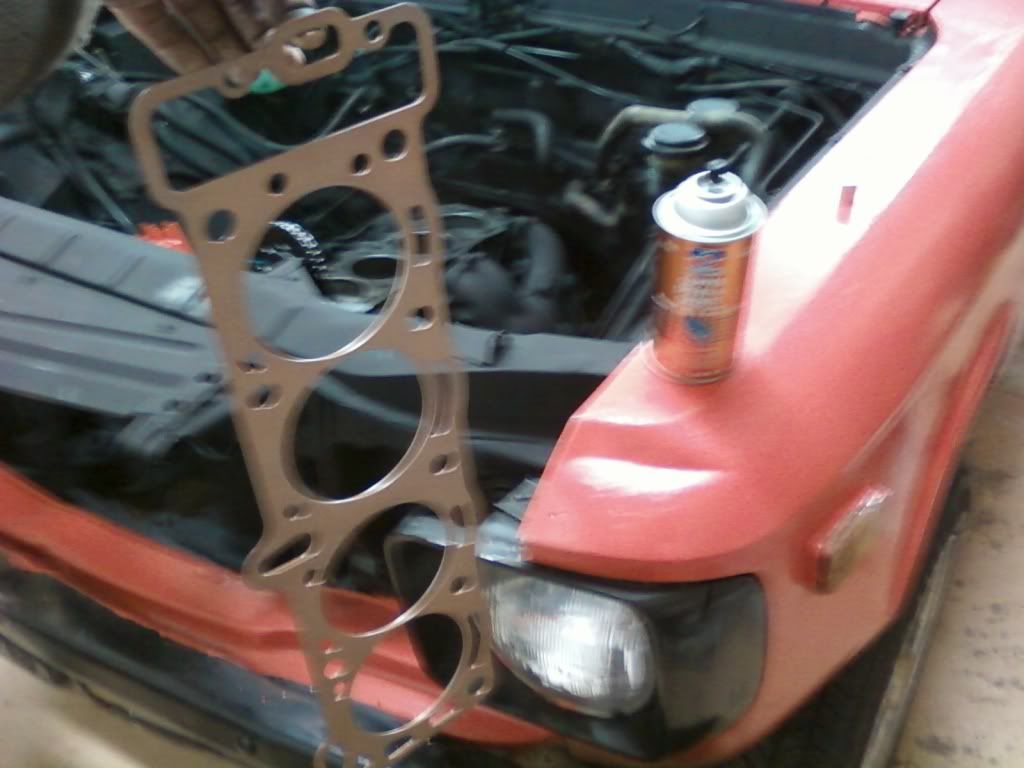
Placed head gasket on block and sat head down on top of it.
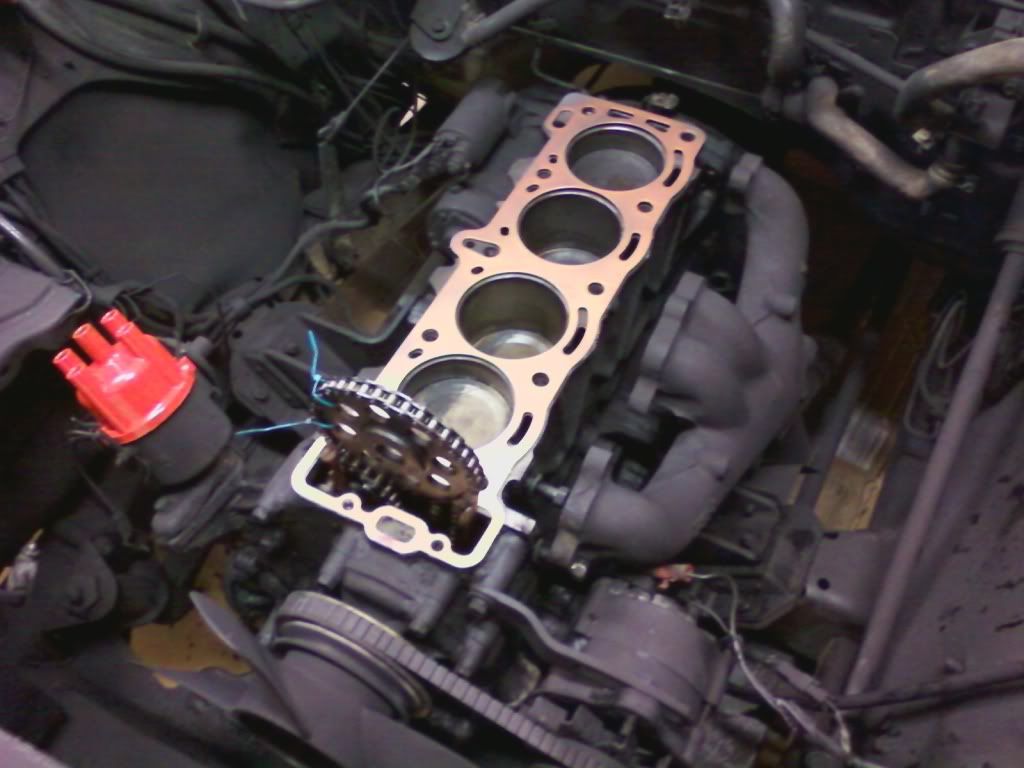
Didn't have enough hands to take pics of it, but got the bolts before hand and put them within reach, then carefully set the head down on the block being sure that all the stubs lined up and it sat well. I put a light coating of Locktite on each head bolt (to keep them tight later on) then hand tightened the bolts to keep the head in place.
Used the old fashioned, beam-type torque wrench I bought for $25 at Sears and tightened the head bolts first to 30, then 60, then 72 lbs in the order the Chilton service manual specified.

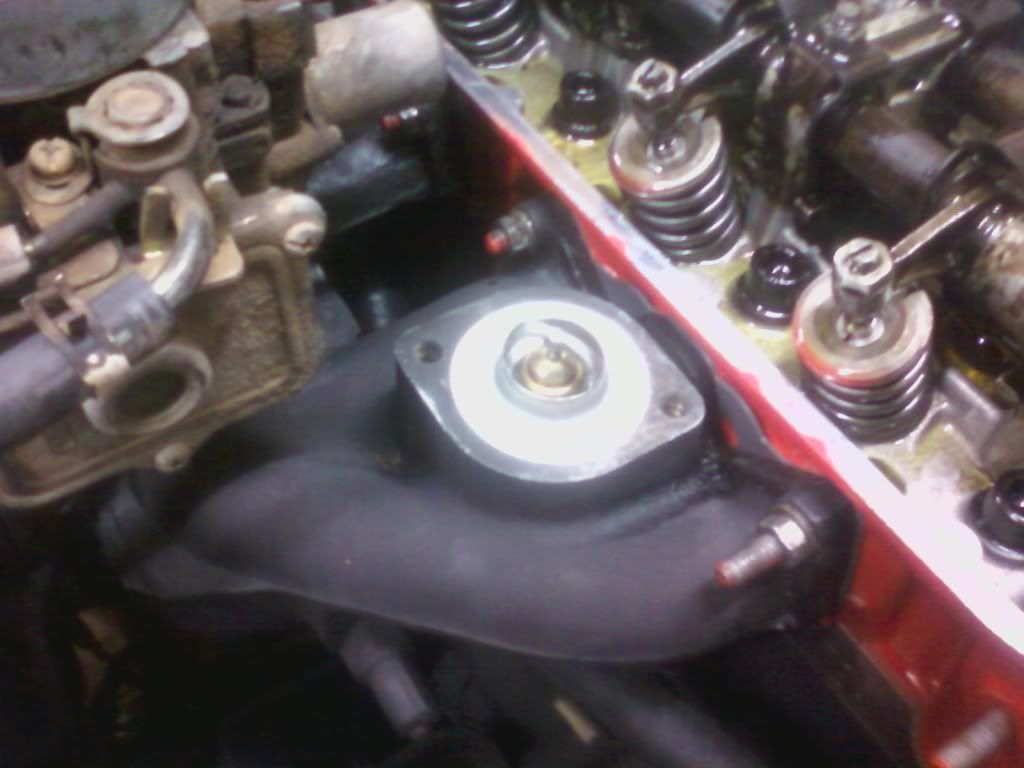
Installed the new thermostat.
Then cut and installed the new coolant/radiator hoses; and reattached the fuel lines.
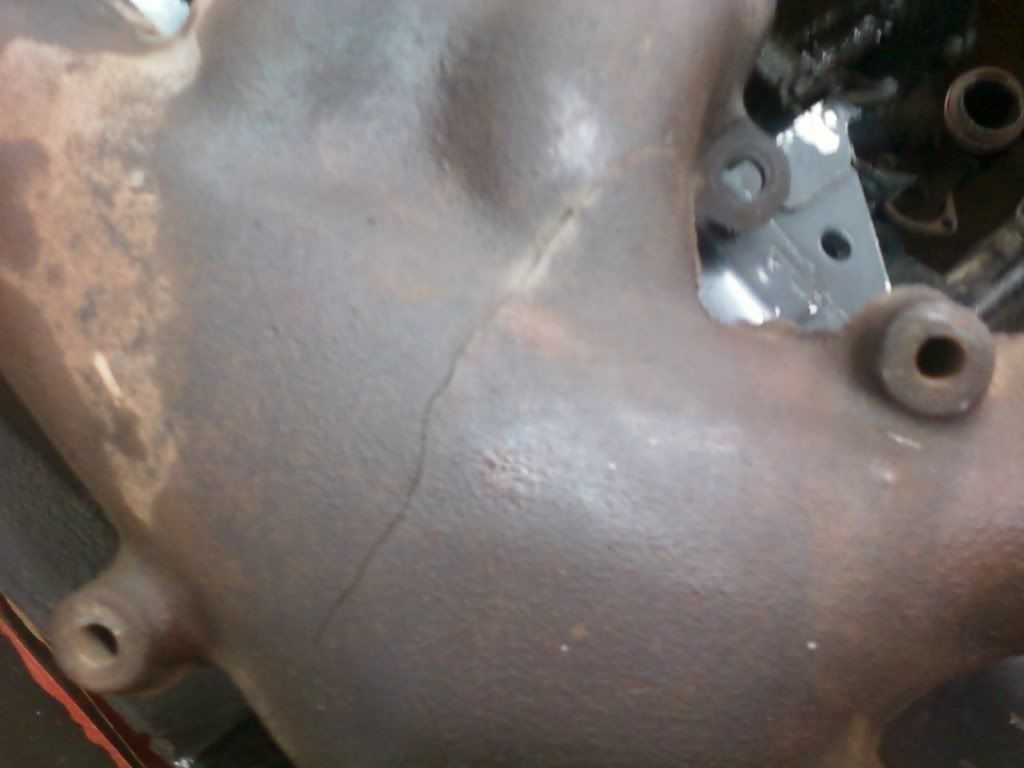
I reattached the header and attempted to screw in the hot air transfer tube. That hot air tube was a pain in the butt!! Actually I still don't have it tightened right (slight exhaust leak there).
At this point I attached the new spark plug wires and, after adding new oil to it with some break-in additive, fired it up to make sure everything was installed and working smoothly. Unfortunately I didn't have time to check the valve clearances (it was already pretty late) so I have to do that still,

. I'm going to attempt to embed a short video clip link here. Let me know if it works.

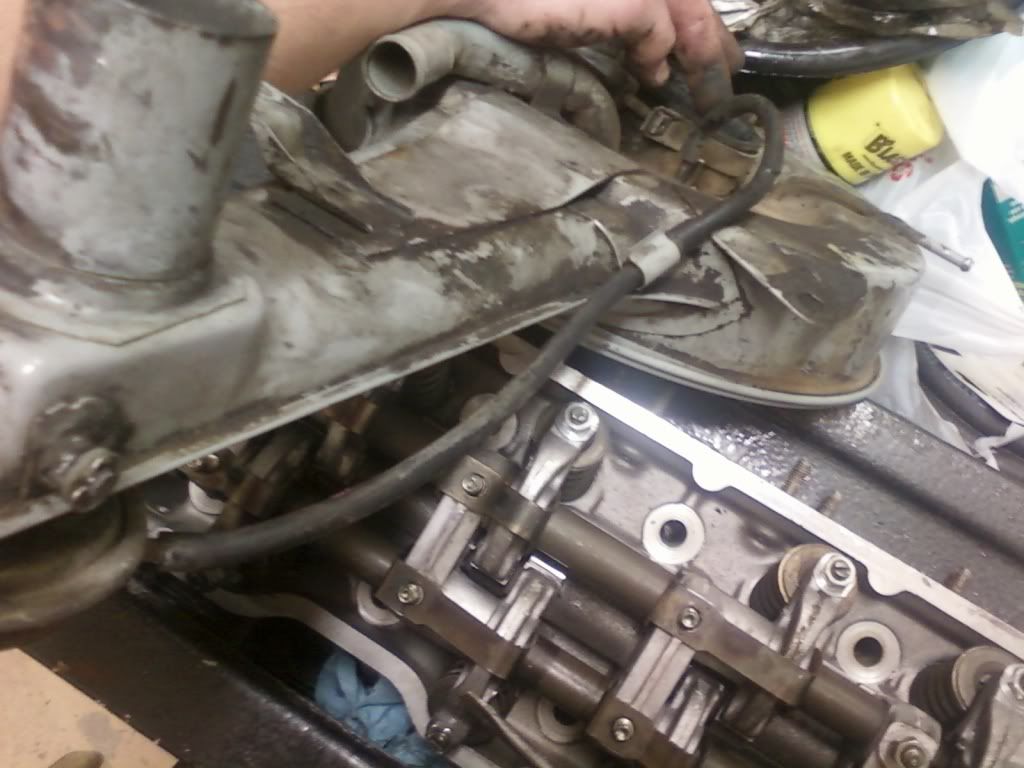
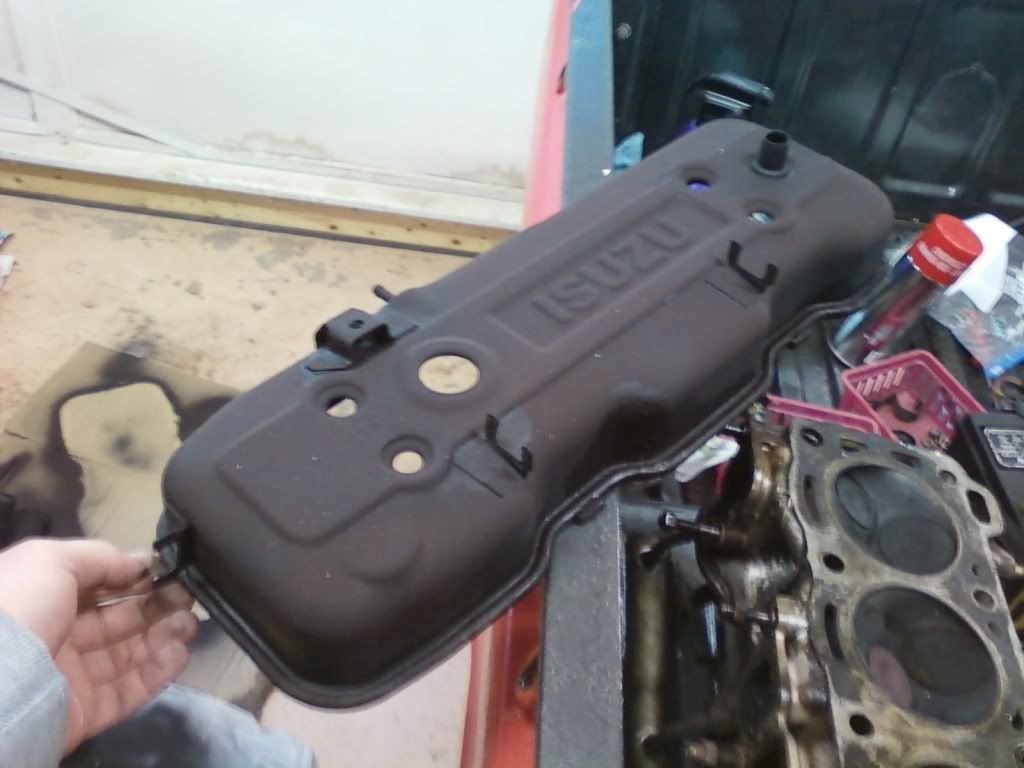
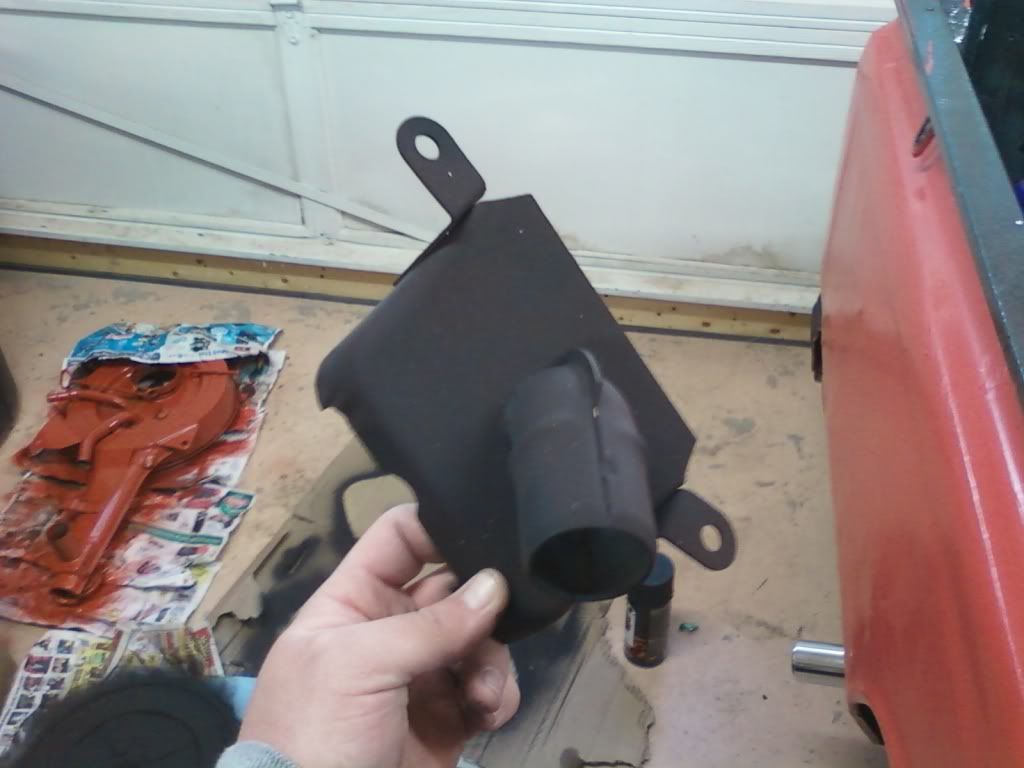
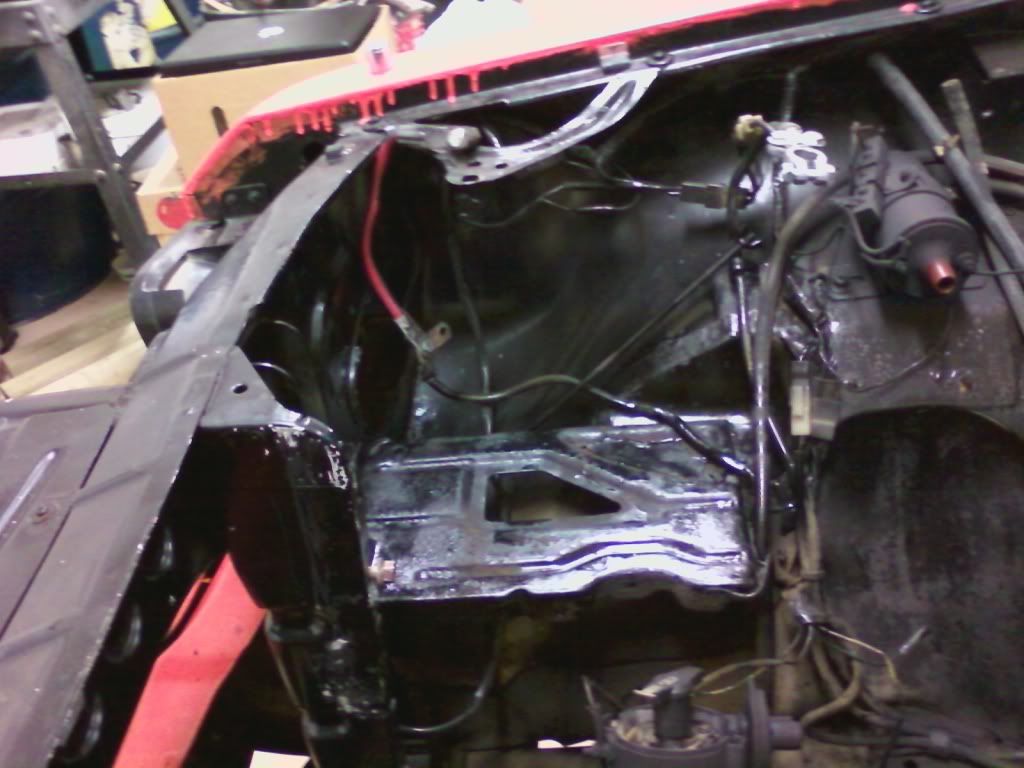
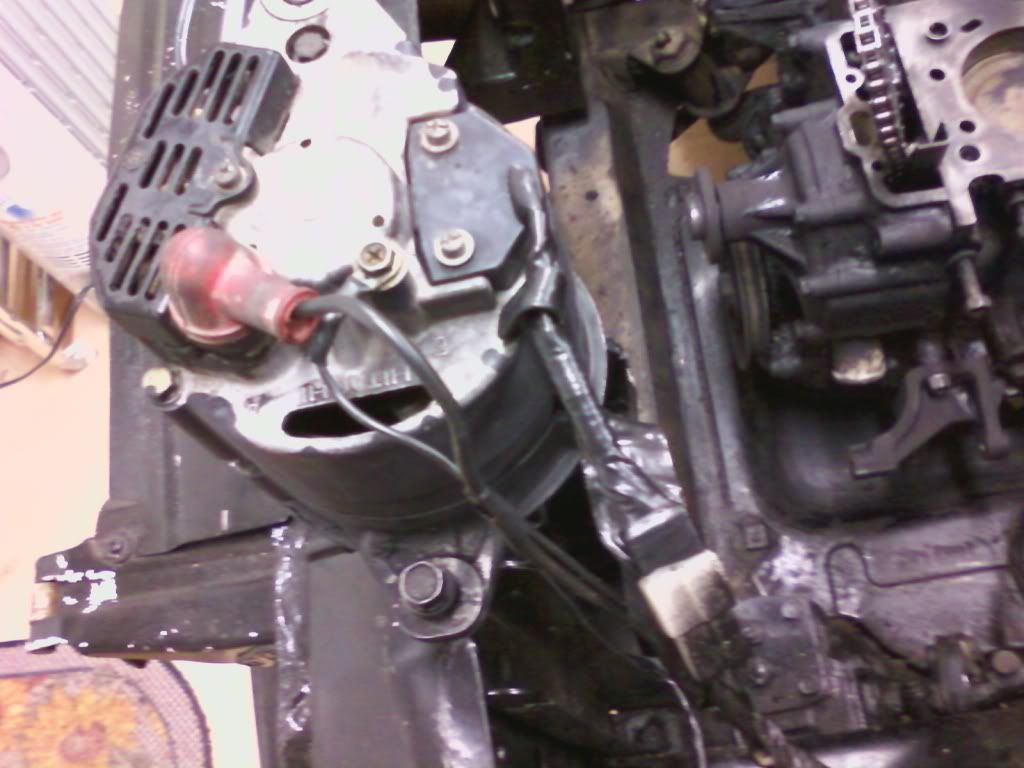
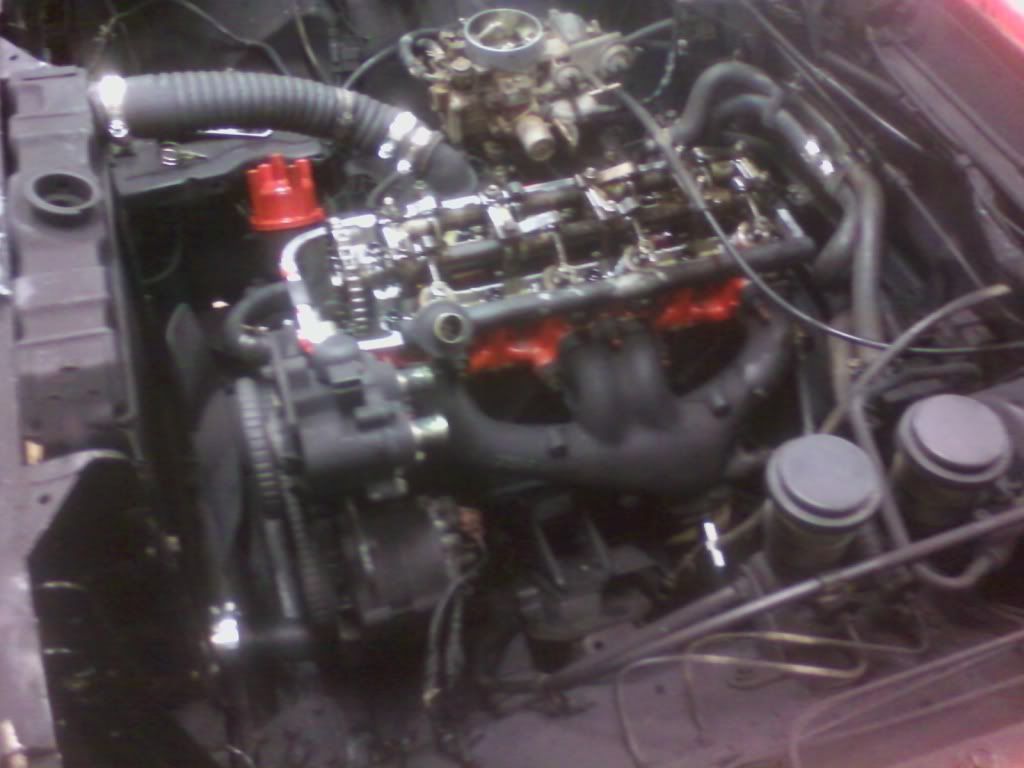
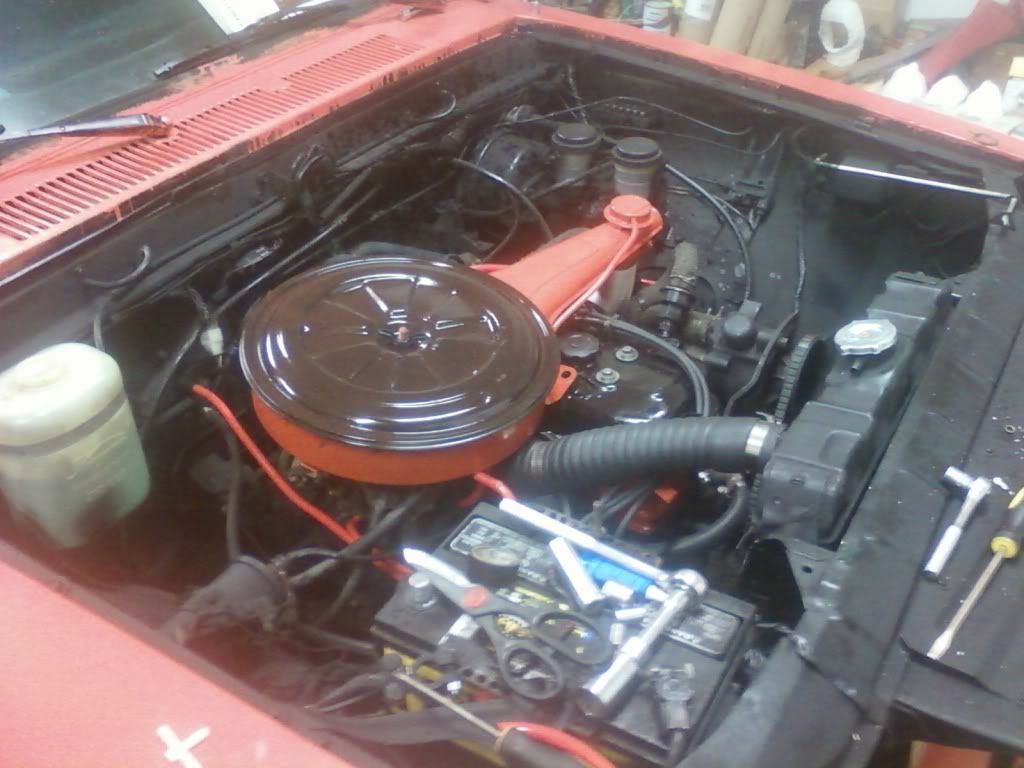
Heat shields in place. Haha, notice the fresh oil splatters all over the engine compartment from running it without the valve cover on. I'll have to clean that up later, lol.
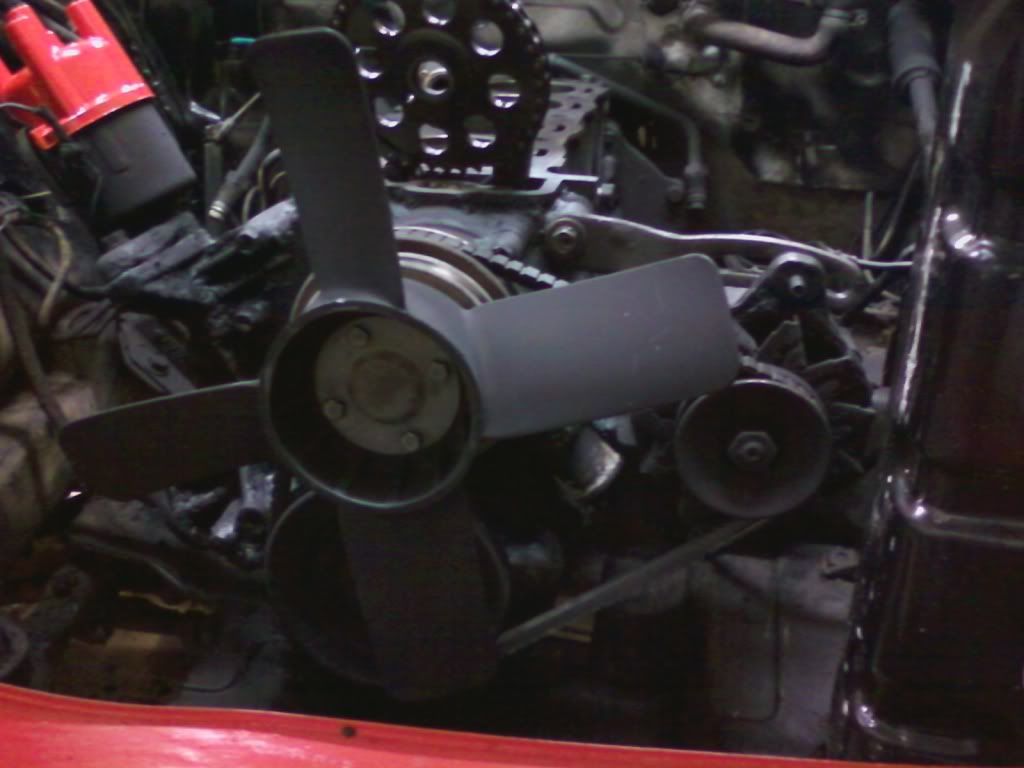
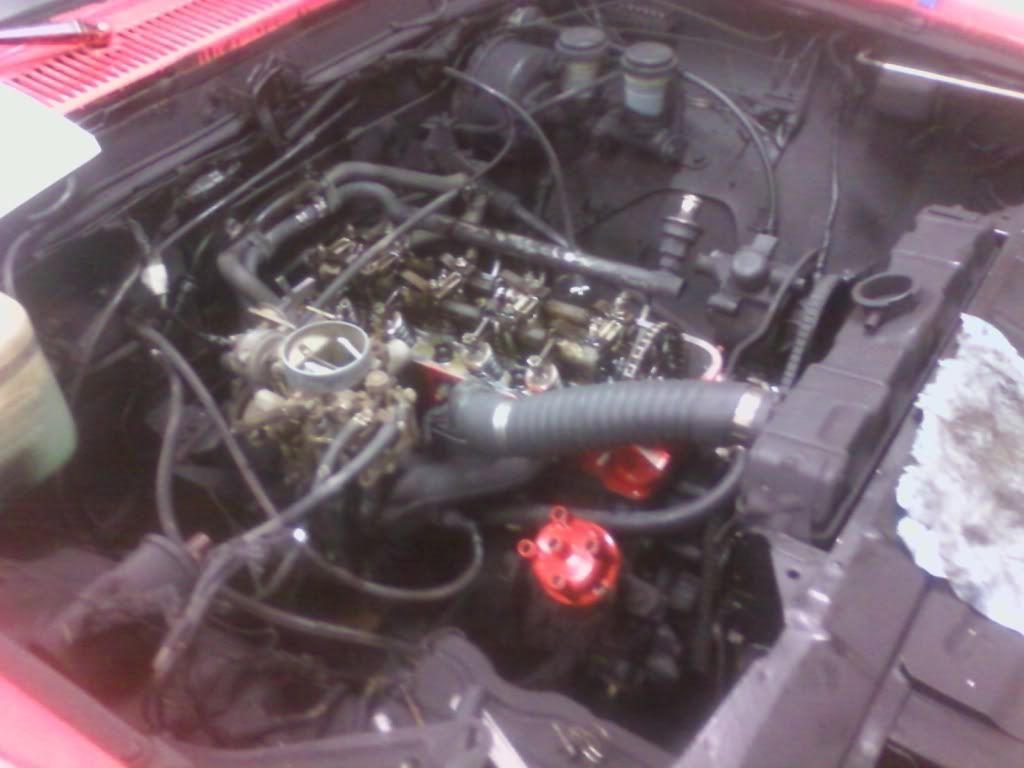
Overview so far.
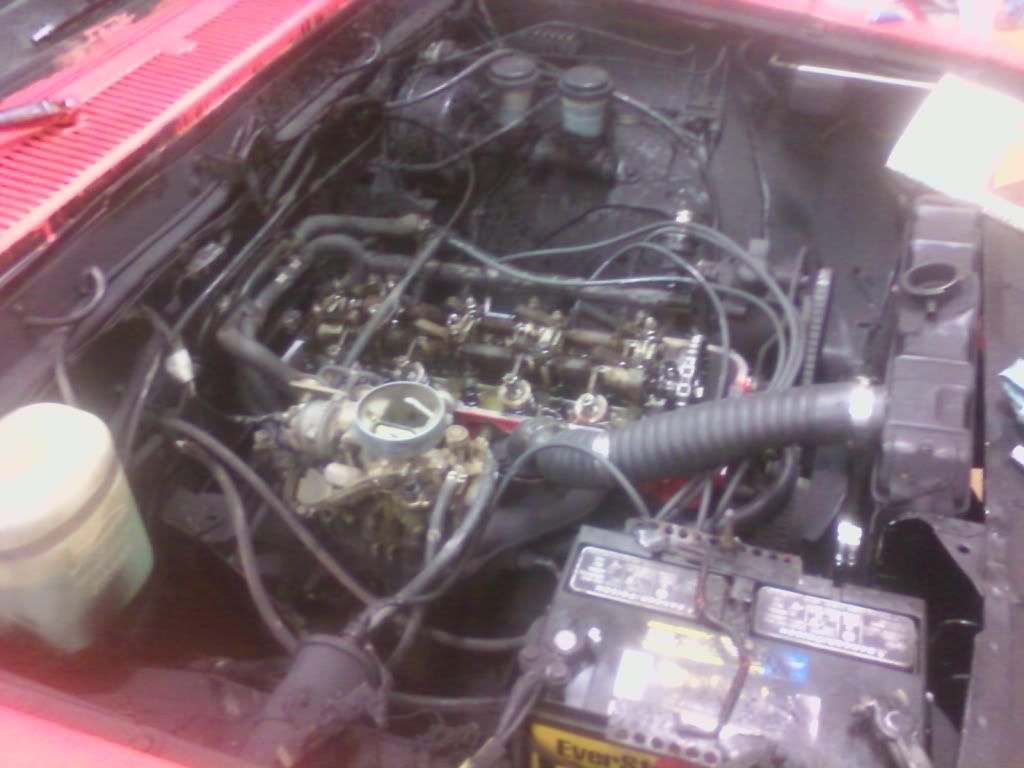
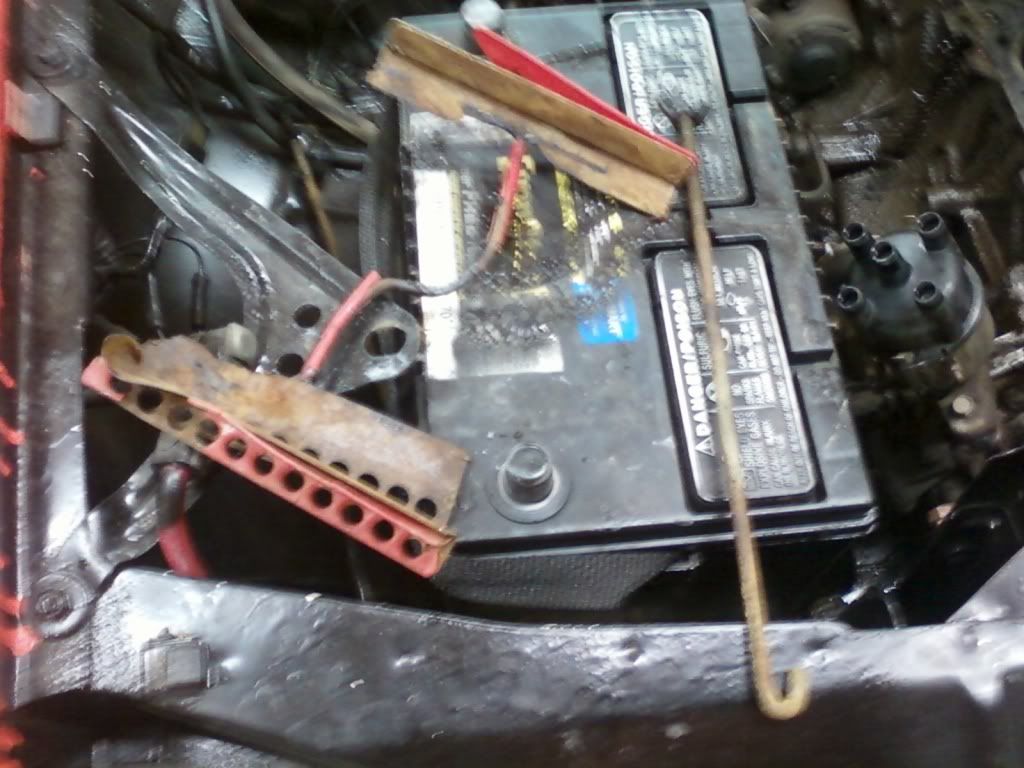
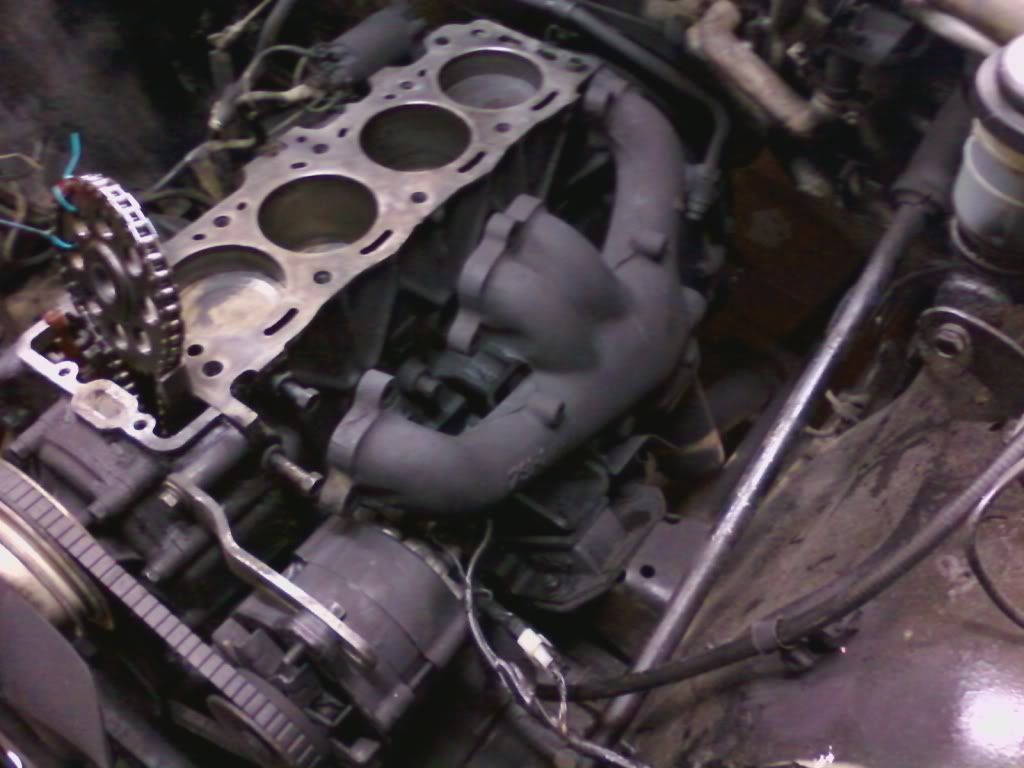
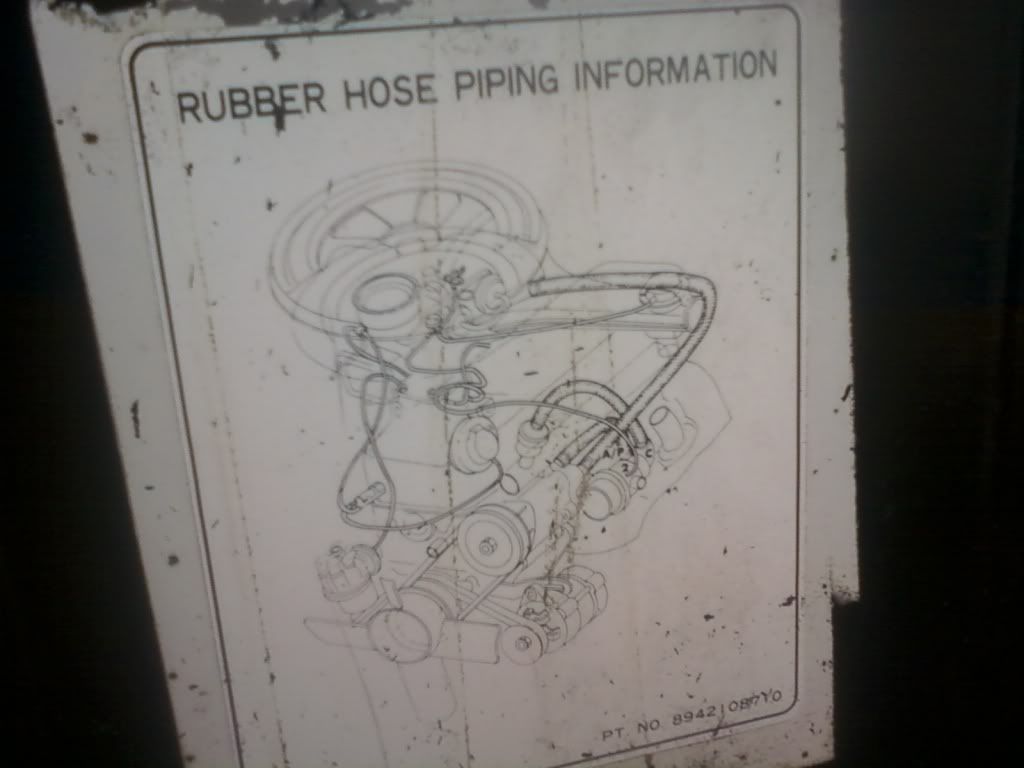
The vacuum line diagram on the underside of the hood helped ALOT with reattaching all of the vacuum lines. I also came back here to double check against all my pictures.
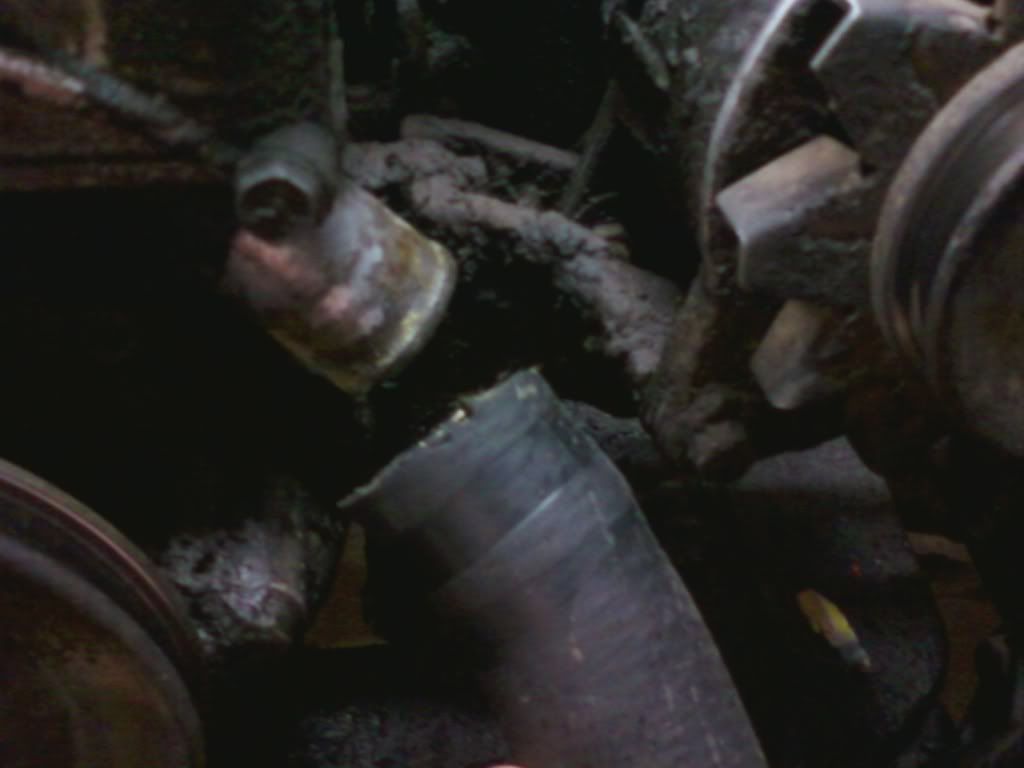
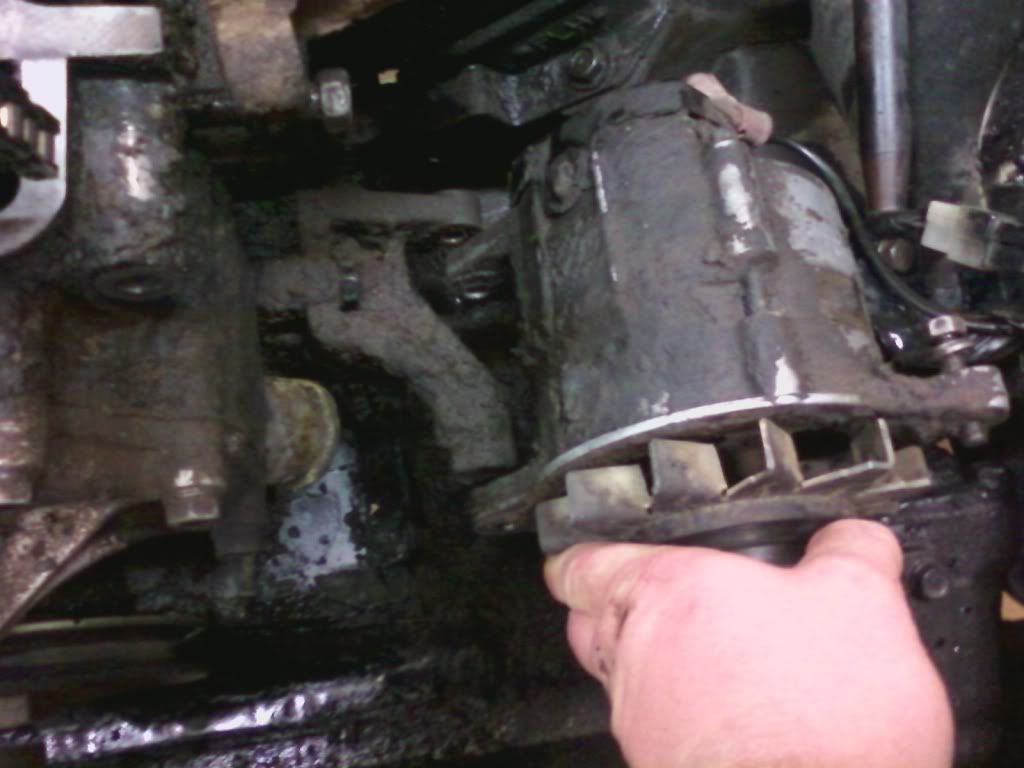
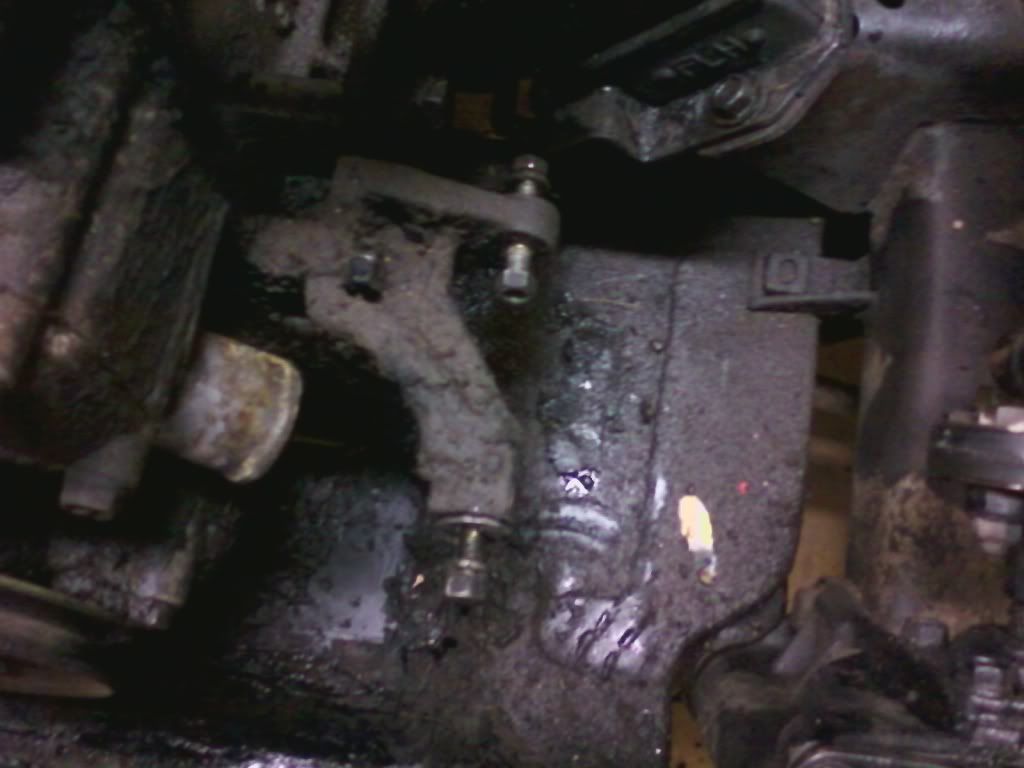
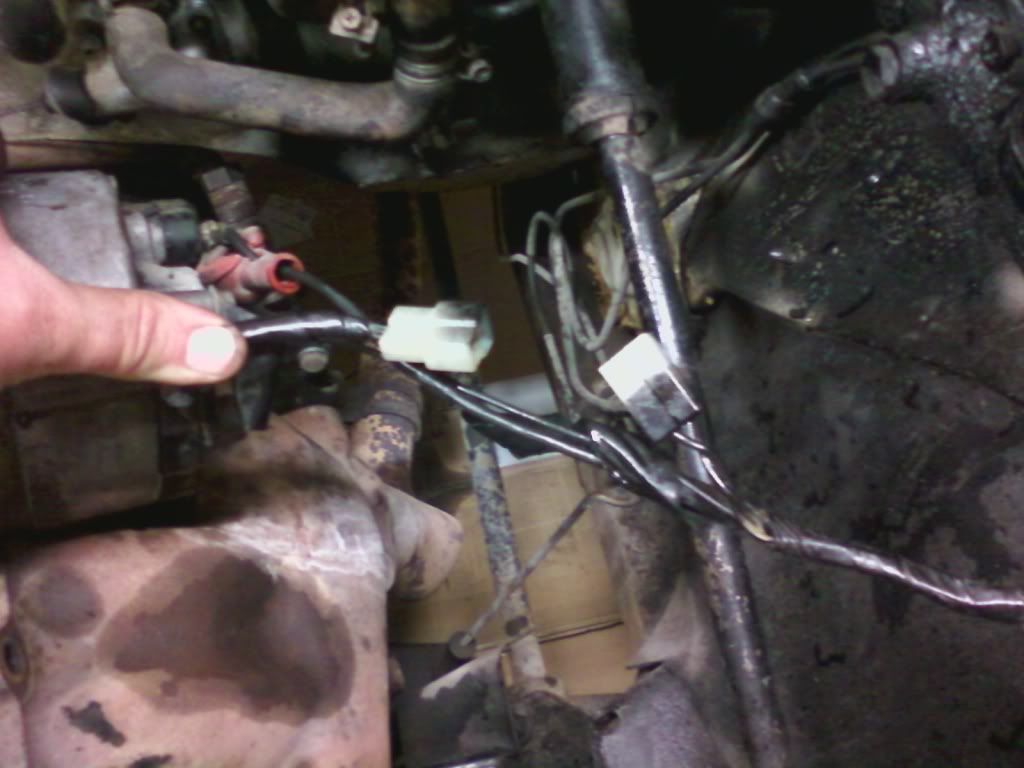
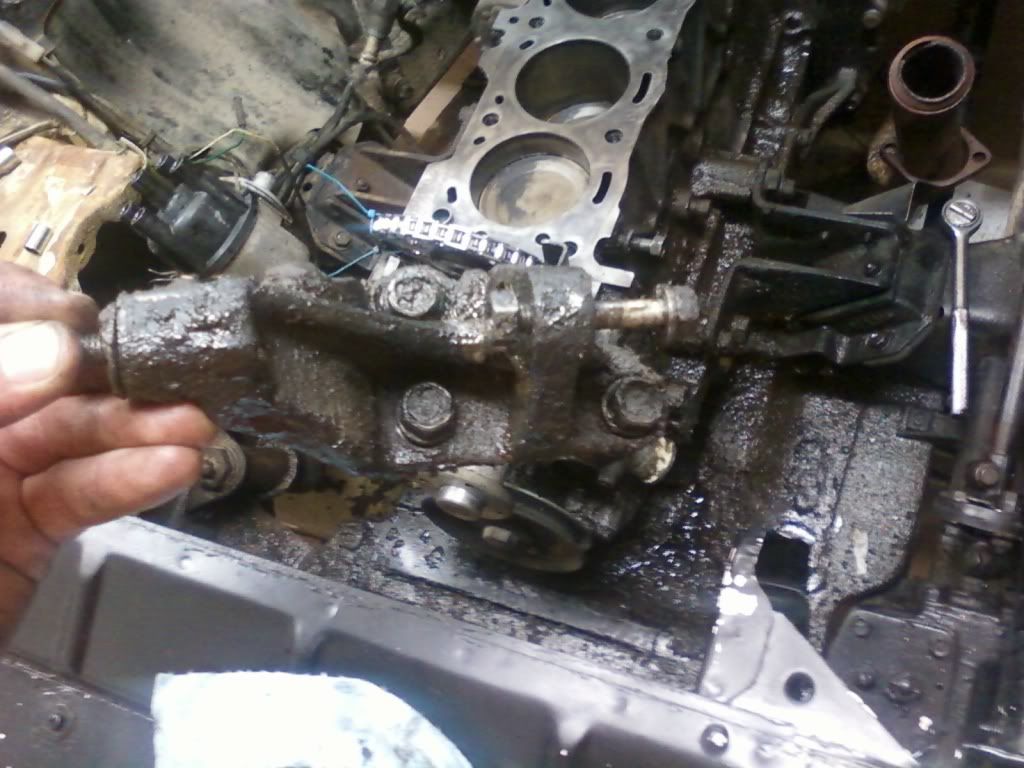
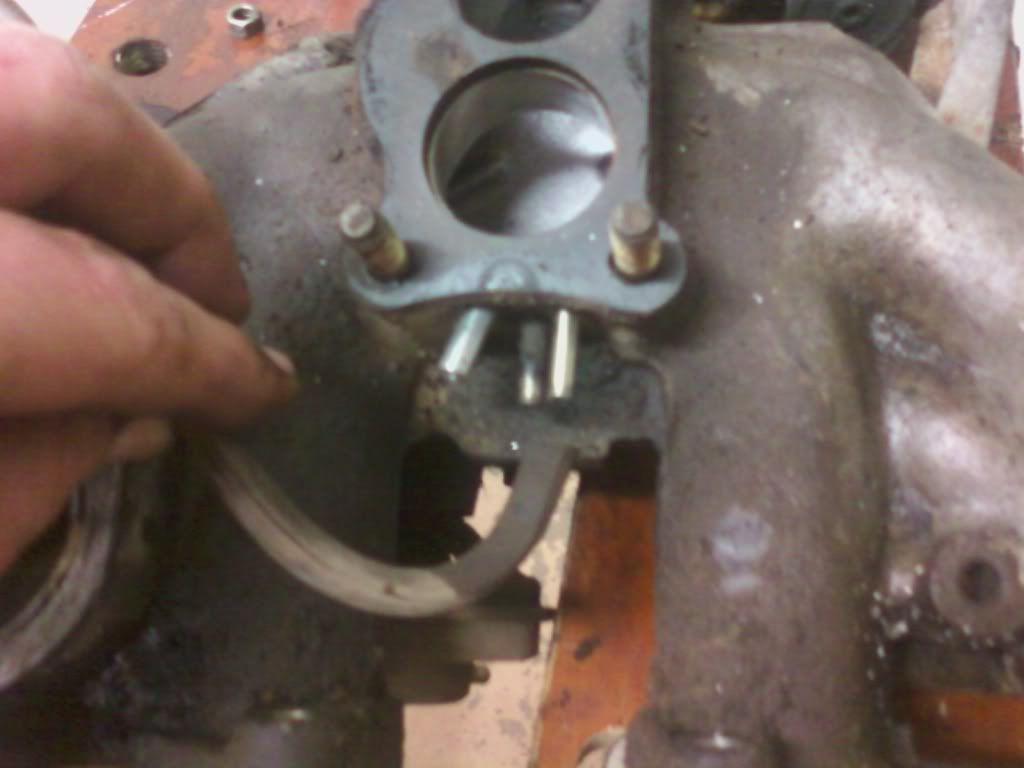
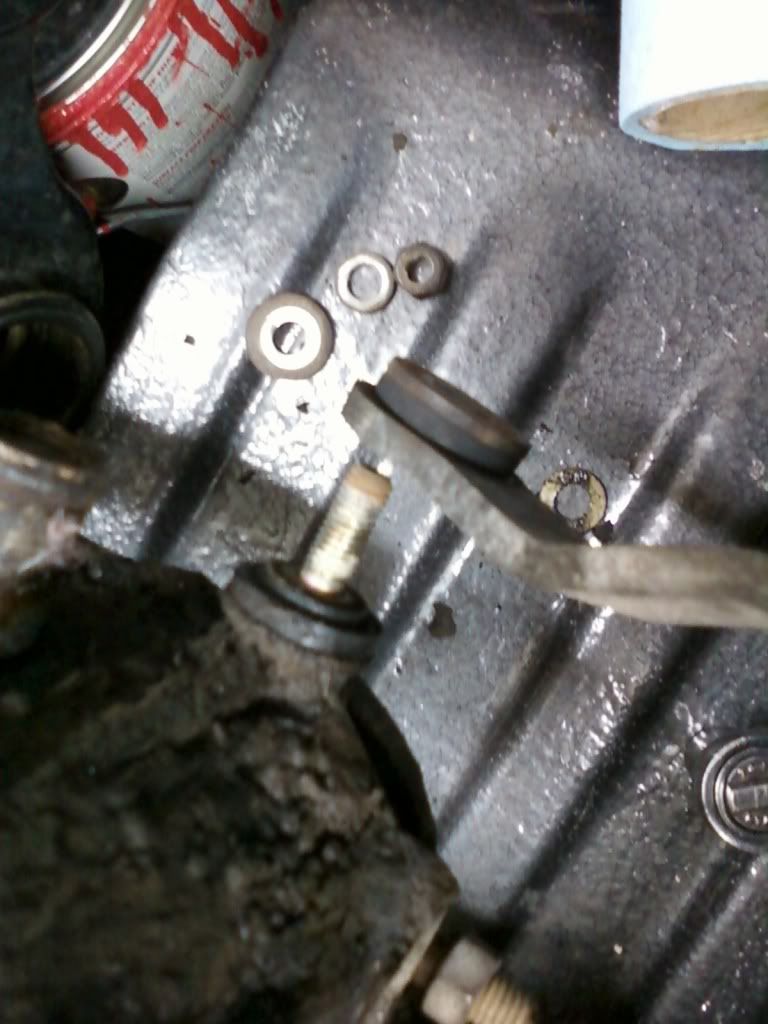
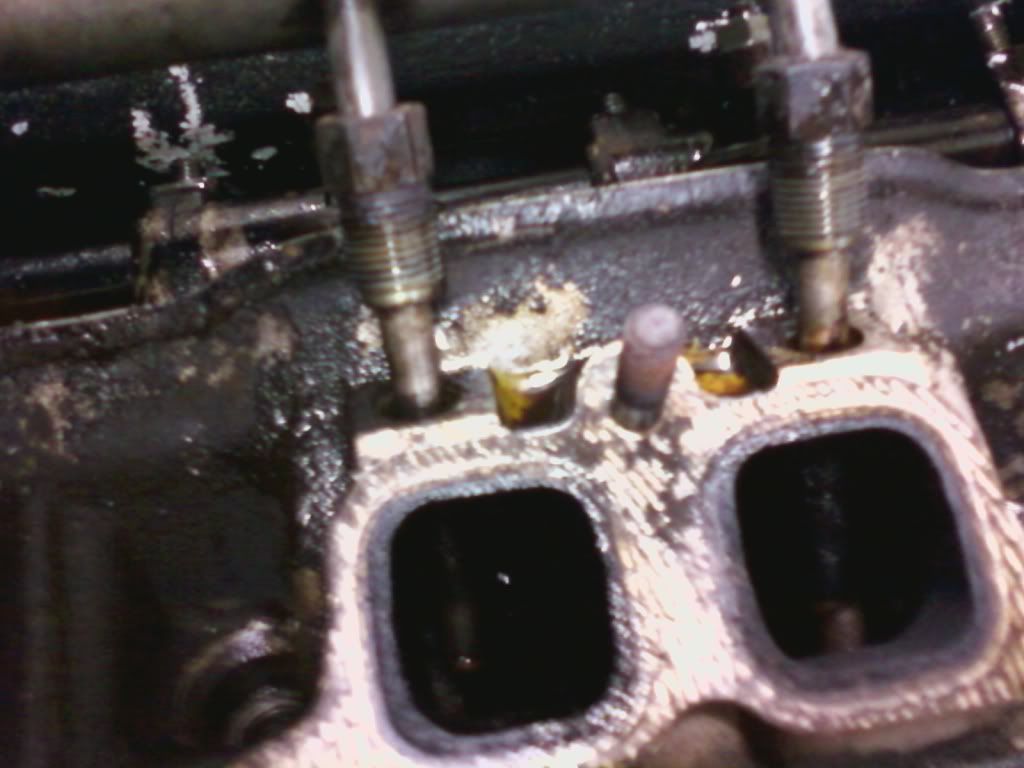
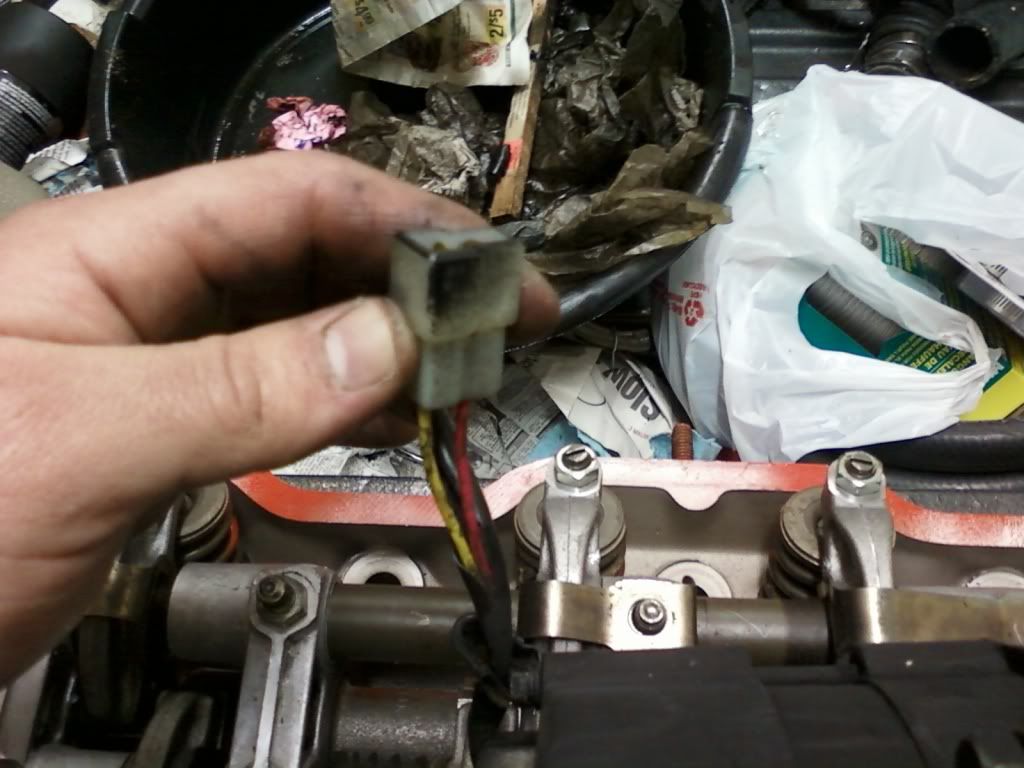
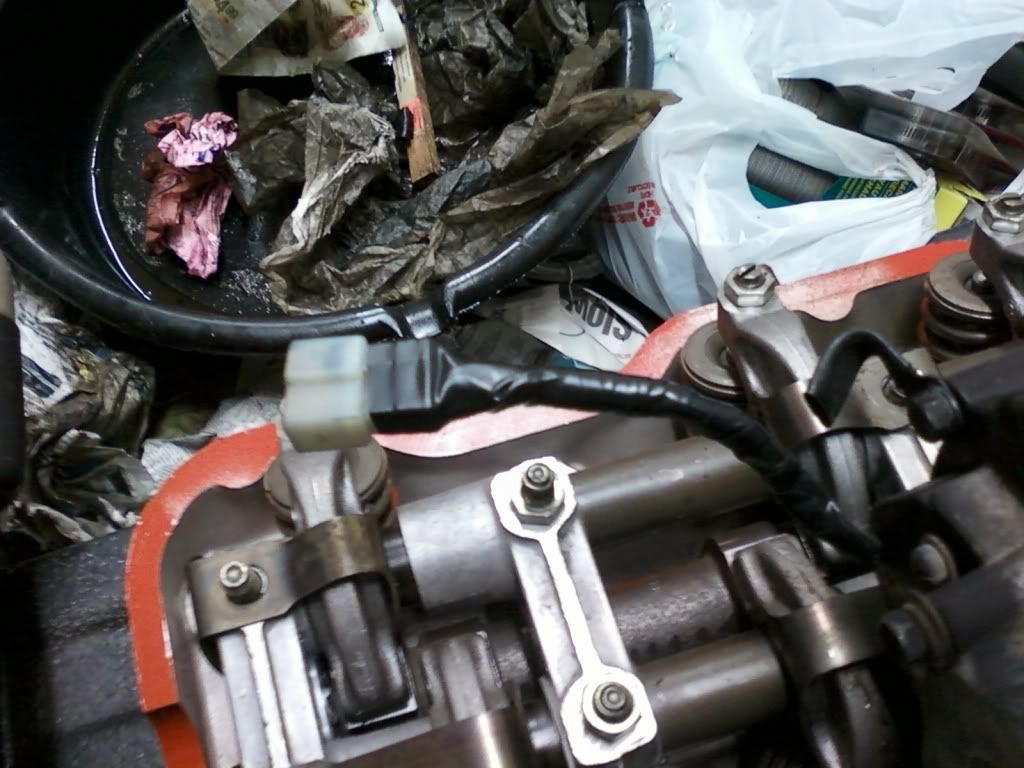
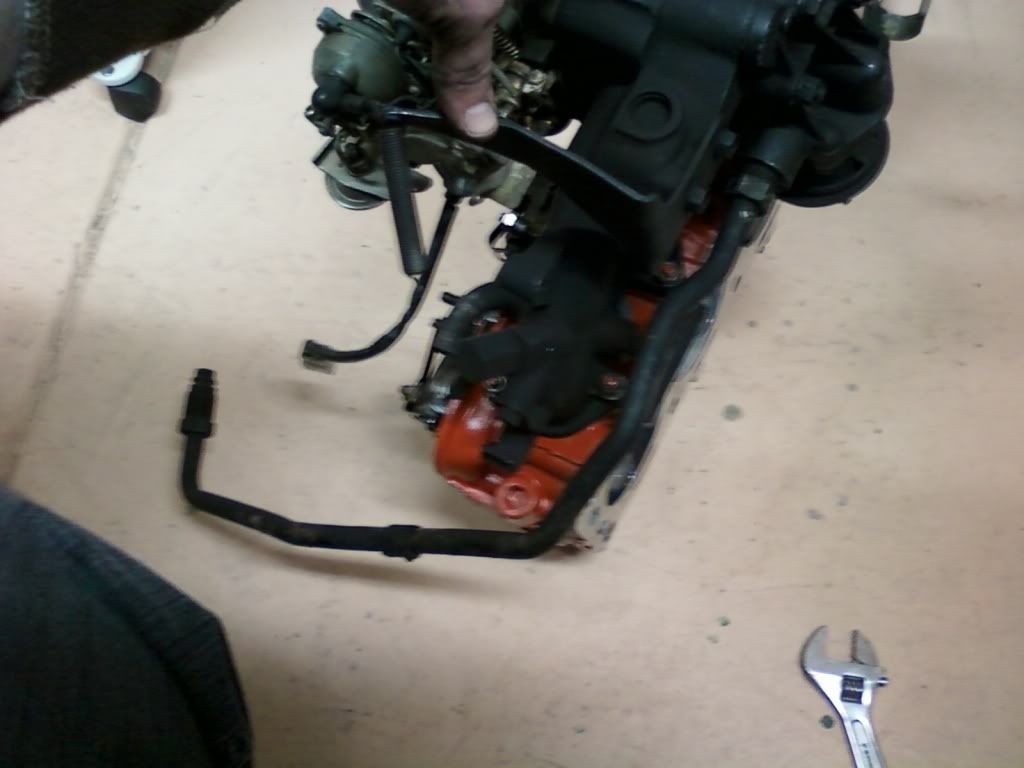
Unfortunately I broke the hard plastic nipples off of a thingy attached to the intake manifold while cleaning it. I don't know what it is or what its called, so I cant' reorder it yet. Any ideas? I'll try to post pics of it later.
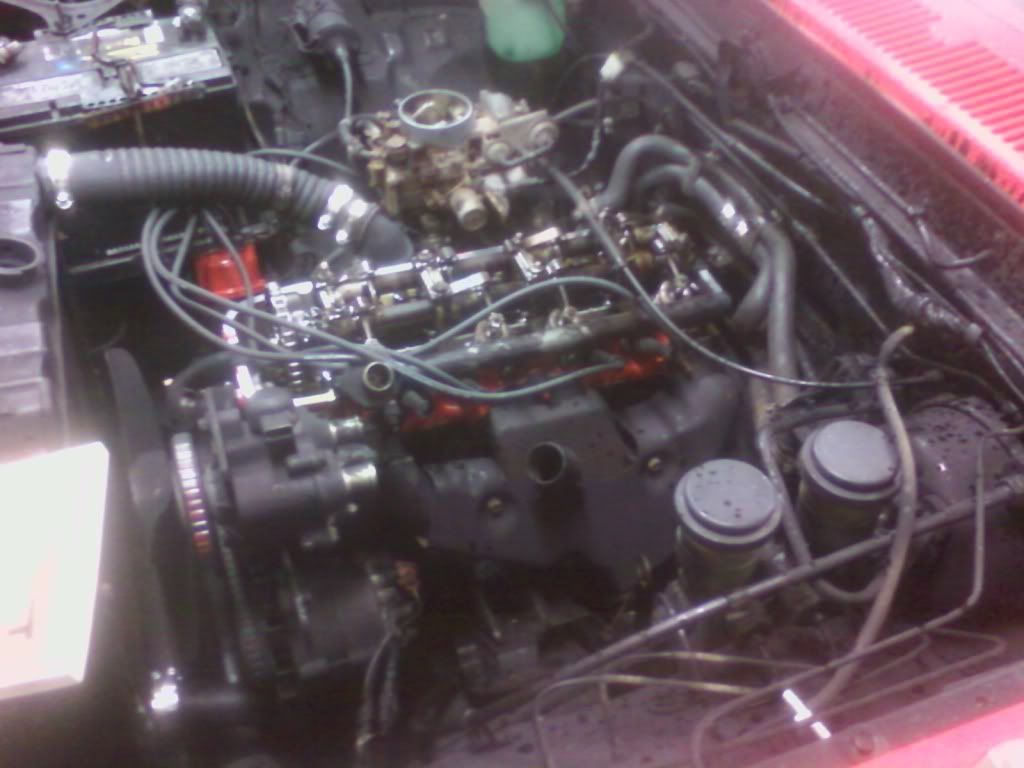
Pics of engine all back together and running!! WOOT!!!!
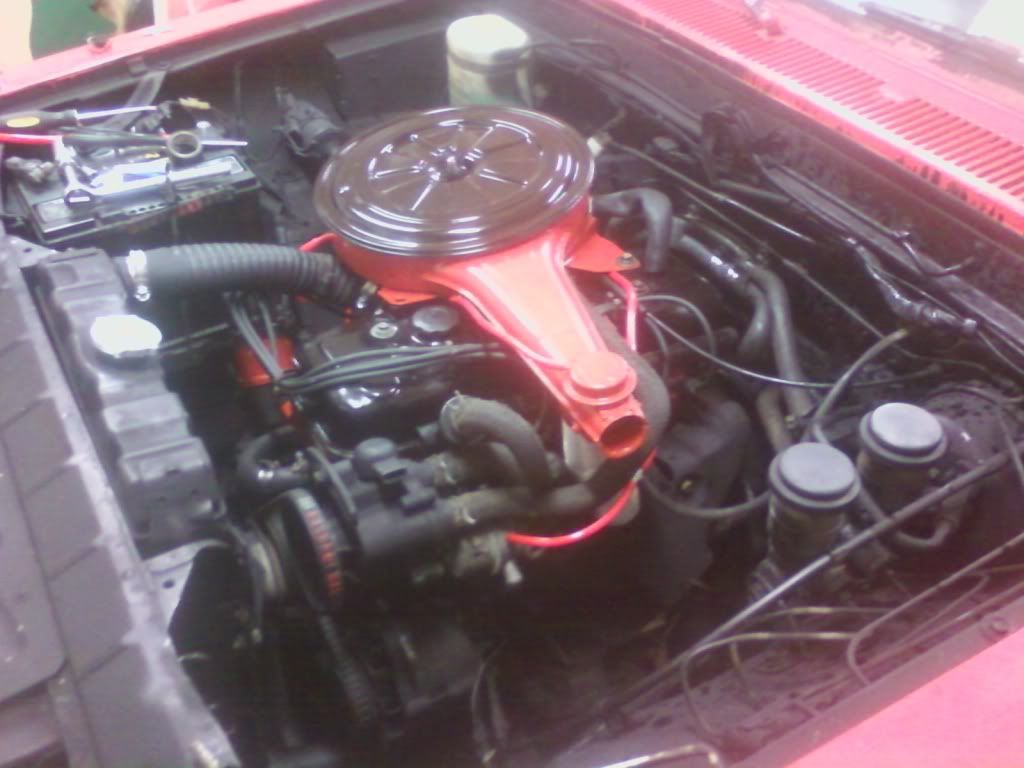
First time attempting major auto repairs and it appears to be a success!! Although I still have some fine tuning to finish. It's really sad, but I've never timed an auto engine before. I know I will have to buy a timing light and I luckily already have a feeler gauge.
I need to check/adjust the valve clearances. Do I measure the gap in between the rocker arms and the top of the valves? Or the gaps between the rocker arms and the cam? Or both?
I also (hopefully not) will need to adjust the ignition timing after testing with a timing light. Any advice before I delve into that?
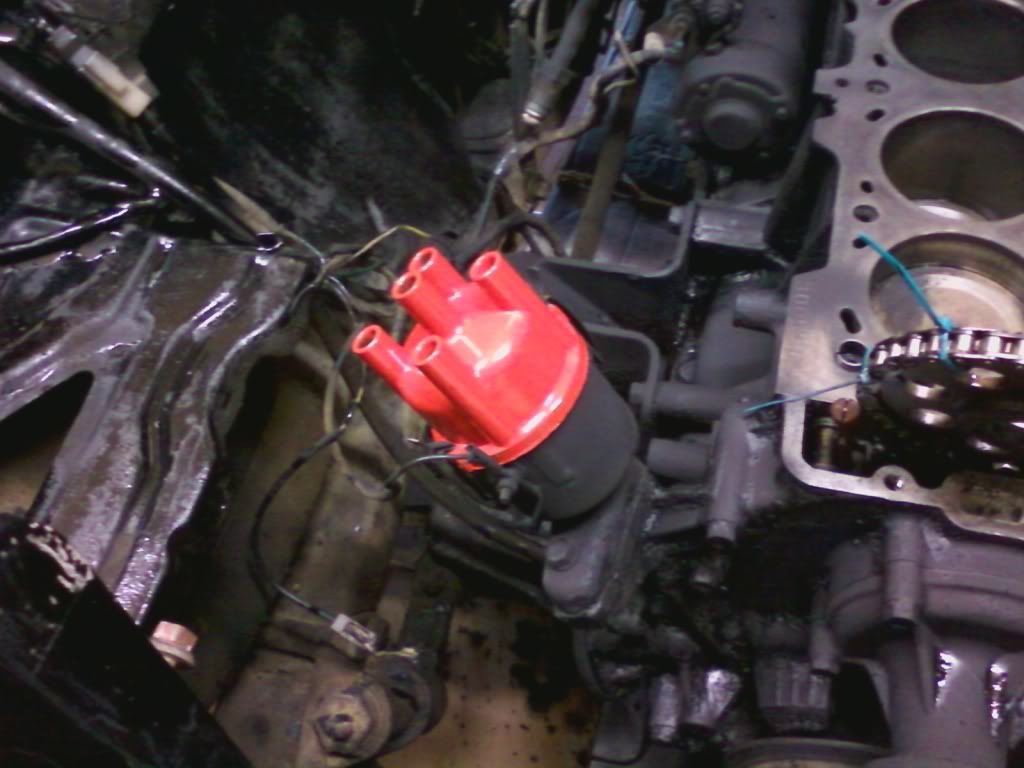
I'm also going to replace more of the vacuum lines and replace the black thing that I broke on the intake manifold. It is sticking out of the "front-end (towards the fan)" of the intake manifold and has two vacuum line nipples sticking out of it. One line runs to the carb and the other runs to the EGR valve (I believe). Any ideas what its called or perhaps a part number for it? I tried to describe it to the guys at AAA, but they had no idea. In the vacuum line routing diagram pic (three pics up), its the little thing thats right above the distributor. Anyone know what it is?
Also there is a small coolant leak coming from the underside of the intake manifold I'll have to deal with. Hopefully its leaking from a poor seal of one of the hoses attached to that "T" connector (its coming from that area). Worst case scenario, I stick some stop leak in the system (REALLY don't want to do that, I should be able to find it).
I'm also a little bit worried about that exhaust leak in the header where the hot air transfer tube hooks up. I'm afraid I might have stripped the threads in the cast-iron header. The metal screw-in hose connector doesn't screw in right anymore after I tried wrenching it in the first time. Its leaking exhaust, making the engine sound terrible, and is probably hindering the truck's performance. I was thinking maybe some JB Weld? Any other ideas on how to seal that up if it is stripped?
Last thing. I haven't done anything with the carburator. Do you think that just running some Seafoam through it will be good enough? I absolutely HATE working on carbs (horrible experiences with several dirt bikes) and really don't want to mess with it. Do you think it'd be worth taking it in to the shop to get the carb redone? It needs an alignment and the tires need to be rotated anyway, so I was thinking I might get that done also. Think its necessary?
Sorry for bombarding you guys with questions like that, but I'd really appreciate any feedback or tips. I don't have a dad that'll teach me all this stuff, lol.