Sorry for the slow response Zane.
OK, I spent a couple of hours looking over the Series 10 wiring diagram, and here's what I've found:
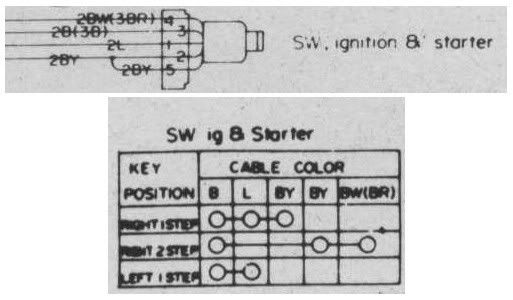
Black - (The black wire you spoke of with 4 taps on it)
Ground
This is pretty normal DC wiring, Red or Black/Red for + and solid Black for -. It's easy to check, just put one lead of your voltmeter on the negative terminal of the battery and ohm it out to your black wire(s).
Gauge Cluster:
Yellow & Green -
4x4 indicator lamp/switch
Now here's where it starts to get fun. I believe the other wire in your photo is not just yellow. According to the diagram there is a
Yellow/White wire landed on the cluster also. This goes directly to the oil pressure sender. Another easy one to OHM out. Just pull both 'yellow' wires off, attach one lead of the voltmeter to the Oil Pressure lead under the hood, and see which one ohm's out at the cluster. The Yellow/White wire should go to your Oil Pressure lamp in the cluster. The other one should be the Yellow one, which goes back on the 4x4 lamp. The Green (Light Green in the diagram) goes to one side of the actual 4x4 switch and the other side of the 4x4 lamp in the dash. From your photo, it looks like it would be possible to have the YW and the Y switched. This is bad news if your 4x4 lamp is on all the time, it means your Oil Pressure lamp is the one that should actually be lit...

Now for the Black/Yellow, you really kicked my butt on this one...hahaha...
Black/Yellow at the gauge cluster -
12V source w/ignition in ON (and RUN) position.
-Heat Warning Buzzer
-Thermo Controller
-Fuse box output side (2nd fuse from the firewall)
-Resistor bypass Relay (under cover on pass fenderwell)
-Fuel Pump Relay (under cover on pass fenderwell)
-Ballast Resistor (+ side of coil)
Each of the harness side plugs listed above should have a BY wire on them. I have no idea, physically, where the first two components are located. It looks like they may have something to do with the catalytic converter? Some of the other guys can chime in here.
Not sure if you have a California truck, but these breakouts did not show any dotted lines on these circuits for additional CA emissions stuff.
Finally, you've probably already done this, but if you are wringing out the wiring by yourself a great little helper is a 10' long piece of speaker wire with an alligator clip on each end. This lets you do lots of cool things, you can put a crimp on spade in one of the clips, slide it into the harness plug up under the hood, and then clip the other end to one of your meter leads. Then it's just a matter of using the other lead on the wires under the dash. Also, you can clip the 'gator onto your battery ground post to ohm out the black wire (ground) circuit inside the cab. I've used this for years, there is nothing more frustrating than cranking yourself under the dash just to find the other end of your meter fell off/out of the place you thought you had it wedged...grrrrr.
Anyone out there with better wiring T-shooting skills, please let me know if I've misdiagnosed anything here.
Hope this helps